Day 1 of learning to weave hadn’t scared me off, so I was keen to get stuck into understanding more about the contraption that is the weaving loom.
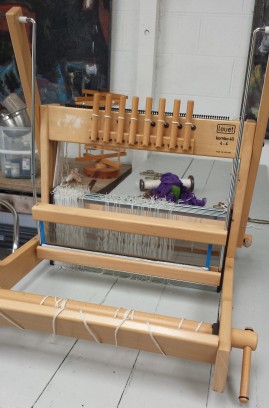
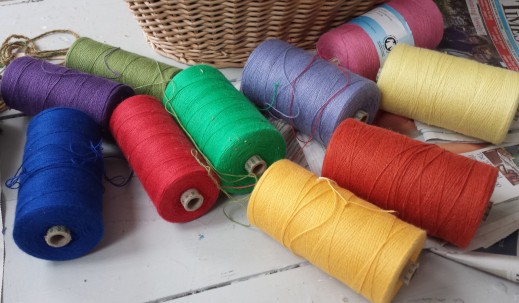
There was still a bit of work to do to finish off warping up the loom but I did have some lovely baskets and bags of goodies to look forward to using…

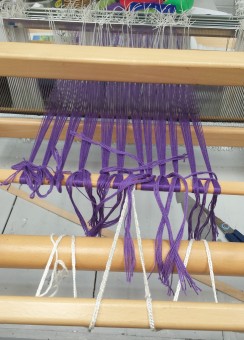
I’d made two separate warp threads, just due to space restrictions on the warping mill and unfortunately, one of them had got a little tangled in the process of removing it. Separating it all out and getting it through the heddles was a very good learning experience for why being calm and organised is a valuable part of the weaving process!
A few hours and many swear words later, we had one warped loom and it was time to go.
Challenge number one was simply learning how to do thread up the shuttles, do a plain weave and a bit of colour changing. It is so much nicer and straightforward to weave on a ‘proper’ loom, rather than something like bead weaving on a simple loom where you have to manually go up and down over the warp threads because you can’t just lift them out the way.
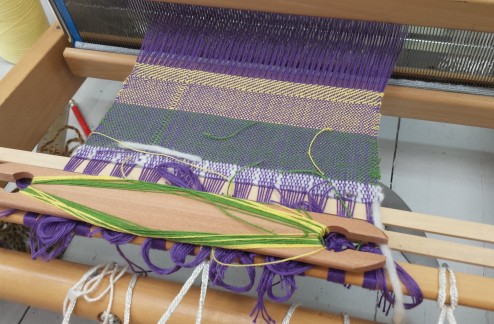
I had made a mistake when threading up the heddles, requiring some in-situ heddle manufacturing and then a bit of ‘I cannot be bothered to rethread this, it’s just a sample’, which some of you may notice in the photo!
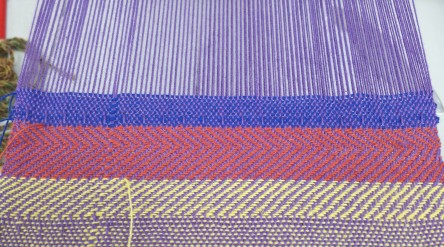
However, it was lovely to just be weaving. I once heard someone describe plying as ‘your reward for all the hard work in your spinning’ and I think finally getting the weft in is like that as well. It pays to be a little more disciplined than I was getting set up but there’s very much an instant reward seeing the fabric building up before you. It’s so much quicker to grow than anything else I enjoy as well!
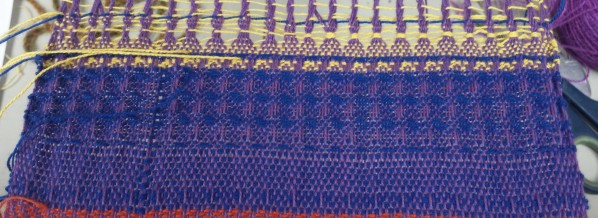
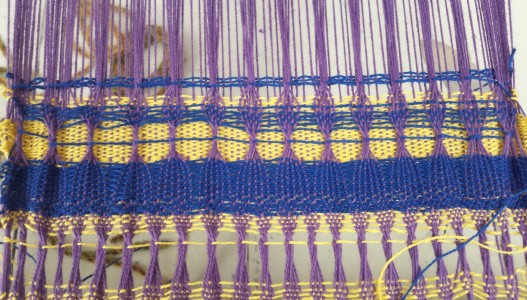
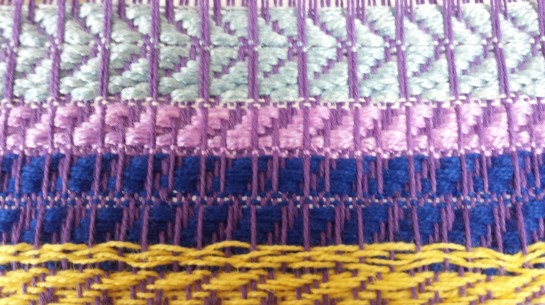
Feeling thoroughly overconfident after my success with plain weave and twill patterns, I wanted to have a go at something a little more complex. Honeycomb was the next pattern to try, which makes the most lovely, very dimensional cells. I did try doing a two colour honeycomb, with the centre in yellow, but it ended up looking relatively flat and disappointing, probably because of the colours involved.
My next challenge was trying some ‘weaver-manipulated lace weaves’, which is weaver-speak for getting your fingers in the warp and pulling it all over the place. On the left hand side, there is some leno, where you just twist the warp threads around each other. On the right are some Danish medallions, which are surprisingly easy to and look very effective.
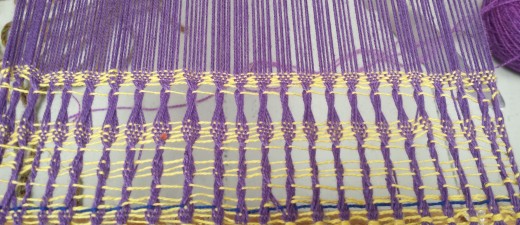
The lace patterns reminded me of the type of twists you see in hairpin lace which did the dangerous thing of getting me thinking and experimenting. I ended up trying to add some extra twists and wraps in to the warp which gave the fabric an interesting, wavy finish.
Time to try some double weave. Double weave is where you essentially have two layers of warp threads, one on top of the other, and can do a whole range of things, from making reversible fabrics, with different designs on each side, or making double width cloth. If you’re feeling adventurous and have enough shafts you can even try doing more than two layers.
There some complications with the order in which you weave the layers so you need to be able to beat both the top and bottom layer, without the reed getting blocked by one of them. Double weave did give me a bit of a headache to start with but I think this was the point I started to really understand how the loom worked and exactly what all those levers were responsible for.
Plain weave is nice and all but I was still apparently suffering with the experimentation bug, so ended up trying to do some lace weaving on the top layer with a plain weave behind. I did have a few problems being able to beat the rows down and a tapestry beater might have helped but I did have a lot of fun.

Some dodgy basket weave and experimenting with what happens when you change which threads are on which layer.
We then played around with some twill patterns using double weave, which are suddenly a lot more interesting (and headache inducing) when you have two layers to think about. There’s some interesting inconsistencies in these!
I often rave about how much I love silk and if there was only one fibre I could use, it would definitely be silk. It turns out weaving with it is just as wonderful as knitting or spinning it and particularly when there’s a little variegation in the dyeing, it makes any pattern look fantastic.
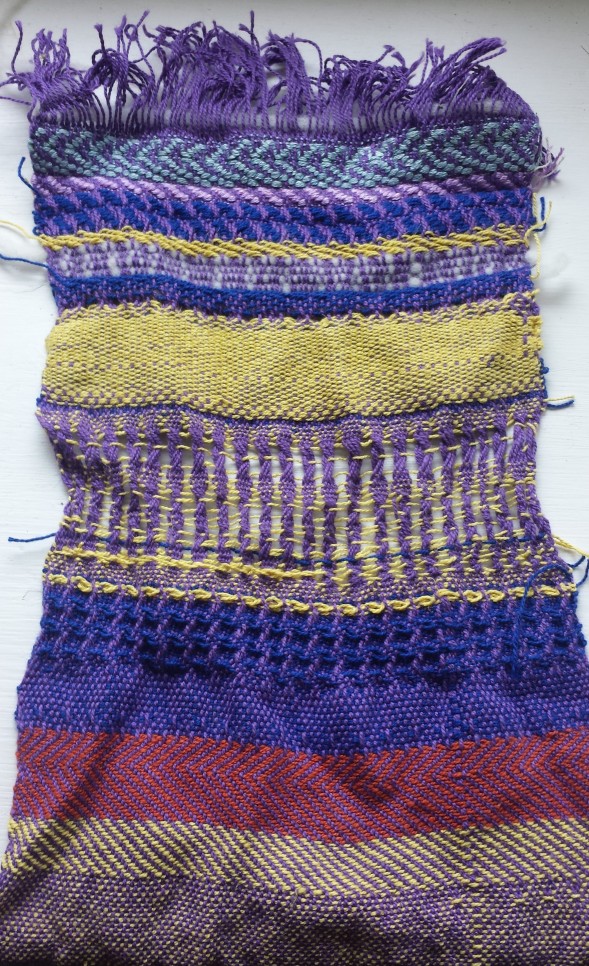
I suspect this sample piece won’t quite be on display at any art galleries soon but I had a huge amount of fun making it. Jane Deane is really good at encouraging you to be creative and just have a play to really understand what you’re doing and it was very liberating to adopt the ‘sod it, it’s a sample’ attitude rather than sweating over every bit of tension being equal.
Now I’ve just got to find my perfect loom and a huge pile of silk to go with it!

That just looks like the most fantastic fun! I just don’t think I could stay calm and focused enough for all the setting up though. I love your trial areas of different techniques and how nice to have a tutor who was obviously so supportive in letting you experiment.
LikeLiked by 2 people
When I’m in company I tend to refrain from being my usual grumpy crafting self, which definitely helped in this case! It’s going to be interesting getting my first warp on independently. I loved the felting you did at your school recently, absolutely beautiful. Wish I’d had the chance to learnt something like that!
LikeLike
WOW – brilliant sampler – I love it.
LikeLiked by 1 person
Thanks! Hopefully be some more done in hand-dyed cottons coming soon…
LikeLiked by 1 person
Oooh – I will look forward to that x
LikeLike