Disclaimer: This post contains affiliate links meaning if you sign up to the course from this blog or purchase any of the books, I get a small commission. However, any recommendations and opinions are my own. For more information, please click here.
I don’t know how I’d managed to miss this fantastic institution on last year’s visit to California, but just in case all the wonderful quilt stores haven’t wowed you, or the amazing world of lace, San Francisco has yet another gem very well hidden away on top of Tiffanies, the SF School of Needlework & Design.
In some ways, the UK is quite spoilt in terms of its embroidery scene, with both the Embroiders’ Guild and the Royal School of Needlework having an impressive presence. There’s a few places in London, like Hand and Lock, and many awesome, small independent embroiderers all over the place as well. There are also fantastic suppliers, like the Golden Hinde (whose customer service manages to be unfailingly outstanding and very human), Benson and Johnson, Pipers Silks, The London Bead Company… and many, many more, so there are many opportunities to give things a go.
Lucy Barter wanted to bring some of this embroidery culture with her as well as starting something very new and cool, part of the reason she co-founded the SF School of Needlework & Design. Since starting the studio, there’s already an amazing array of techniques and classes going on and she’s in the process of process of developing her own more extended courses to allowed for more mixed-technique work, something that is sadly verboten under the standard RSN syllabus. If you can’t make it, she teaches an (highly-recommended by me!) online goldwork class on Craftsy that covers absolutely all the basics you need to get started independently and in a great level of detail that I find is sometimes a bit lacking in the RSN Goldwork stitch guide.
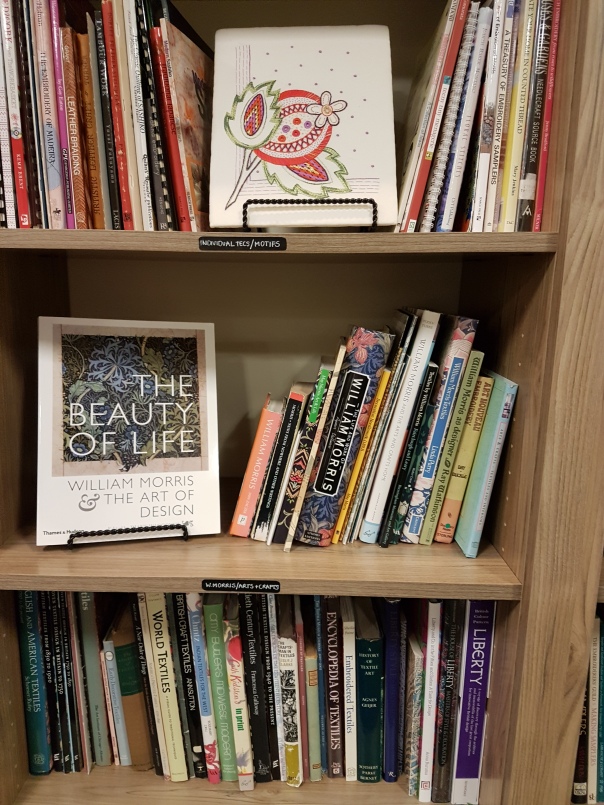
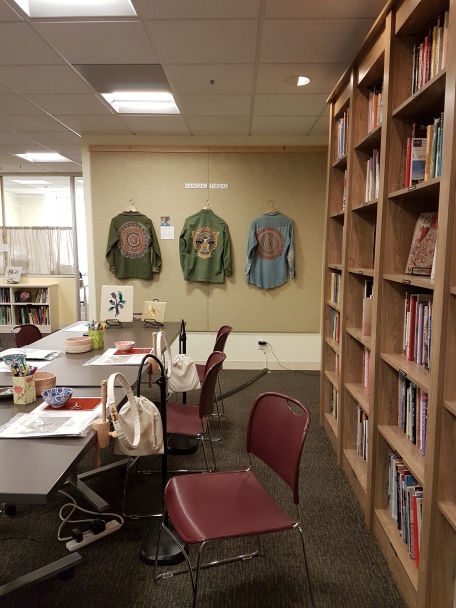
The studio is gorgeous, a little oasis of calm in the middle of SF with the most beautiful and extensive library. At the SF School of Needlework, they run an insanely packed schedule of classes, which is absolutely great and worked out very well as it meant there were some courses available when I was there. They aren’t just day classes during the week either (is the default assumption that no embroiderer can be gainfully employed?) but classes during evenings and weekends too. Part of Lucy’s goal is to create as much a community hub as a studio space and honestly, I really wish this was somewhere on my doorstep. There are lots of special events, visiting experts, mini-exhibitions and I have the impression that the amount of activity there will be increasing in the future, making this an even more exciting place to watch. If you want to be part of the community, but are separated by a few continents, they run regular stitching challenges that are open for international participants. To take part, you just need to sign up here, which also has all the information you need.
Lucy was kind and flexible enough to allow me to take just one day of what should have been the two day ‘Friday Favourites’ course. I opted for the Goldwork Moth piece, that was being taught alongside a rather zingy crewelwork design. Perhaps unsurprisingly as Lucy Barters is RSN-trained, the class format will feel comforting familiar to any of you who have been to RSN day classes. The idea is to work as many separate areas of the design as possible to get all the skills you need to go and finish the piece at home.

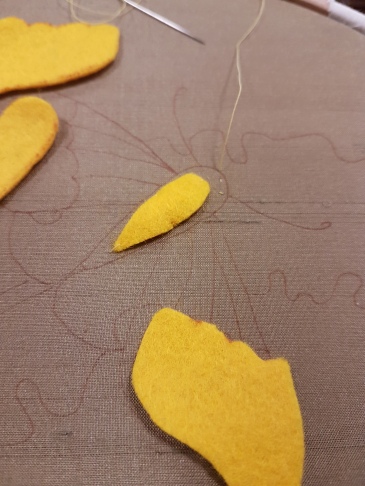
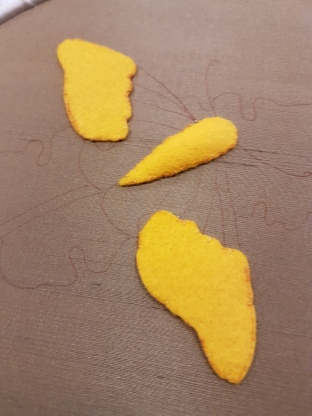
Mr. Moth, as he shall be known, is worked on silk backed with calico, and first challenge is of course getting everything nice and tight in a ring-frame. One of the things that makes this design so captivating is the variety of different textures. The body is very raised and the top part of the wings are slightly elevated too. Texture of course means lots and lots of padding so the first measure of the way was trying to cut some shaped felt (something I always find way more challenging than is reasonable) and get it all couched down. One thing I learnt was to be careful with both stitch length and tension, excessive tension and short stitches will distort the edges of the felt and the best way to avoid moving it is to come up in the fabric with the needle and down onto the felt.
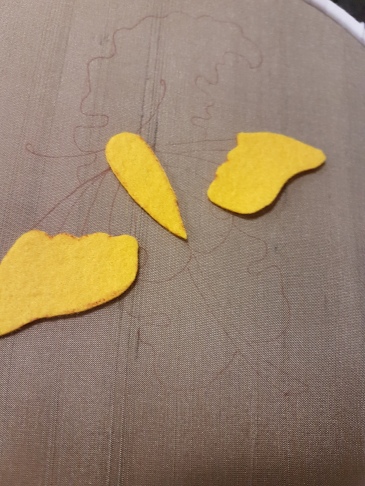
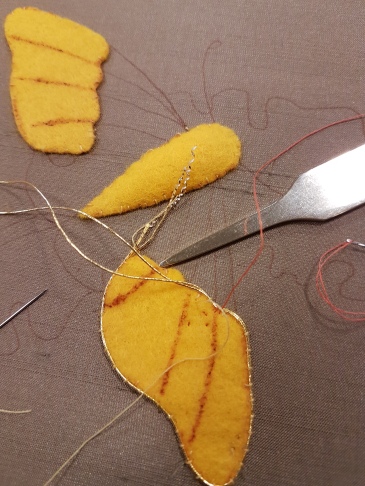
The domed shape of the body is achieved by having a smaller piece of felt couched underneath a larger piece to give some extra elevation in the centre and couching it all down in the same way. Maybe I should try some applique because for some bizarre reason, despite being someone who normally hates prep work and ‘just wants to get on with it’, I love couching felt. I drew some lines as guides on the felt which follow the veins on the wing as these were supposed to be highlighted with the stitching for the couching in a different orange to create a bit more interest.
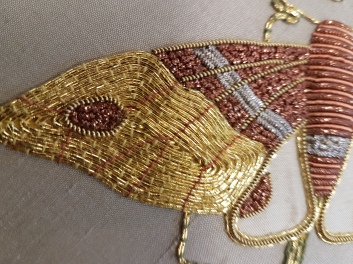
Gold time! This wasn’t the first time I’d used couched threads before (see my Goldwork Monogram) but it all went to a good start when I managed to shred some of the passing thread. Good rule of embroidery, yanking is always bad, pulling harder rarely makes the problem better and patience is required for not just nuns, but embroiderers also. Whoops. One thing I was trying to work on was not just getting all the threads nice and snug, but getting the bricking more even. These things all take practice but it’s amazing when you see how effective this can look when done by an experienced goldworker.
As I needed to make some speedy progress to try and cover as much as possible of a two-day class in a day, I only needed to create the initial edge of the couching so I could start adding the little bits of silk that also needed cutting and to spring out of my hands and all across the room in the processes. The edges of the silk just have some Fray Check on them to stabilise the fabric for securing it (which is magic stuff and should be in all embroiderer’s essentials bags…. Just well-separated and mummified in plastic as it stains like a fiend when it inevitably explodes everywhere).
Pearl purl is awesome thread and looks great for edging areas (apparently the RSN say it should be used for edging all cutwork areas too?) Stretching the thread without destroying it is a delicate operation but it’s much less effort to couch than threads like the Japanese as it’s not so wiggly and lively either.
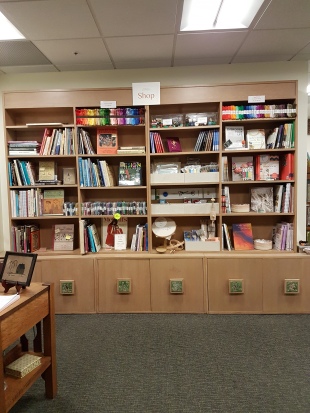
The day passed in the blink of the eye and I did leave with a few new metal threads and needles as well. There’s a small but well-stocked shop as part of the studio where you can find most of the embroidery essentials alongside the latest embroidery books. Most of all though, I left having had a very nice day, having met some great people and learnt a few new tricks. I very much hope I can make it back next year!
")
")

[…] of way too many crafty places. My personal favourites on this year’s tour were: Lacisby far, the SF School of Needlework and Design and ScruffyQuilts. Here’s hoping some conference takes me back next year! Soon to come will be a […]
LikeLike
[…] travelling adventures, including my first trip to South Korea and its incredible markets and the San Francisco School of Needlework. I’ve been getting over my discomforts with the sewing machine and enjoying many mini-projects […]
LikeLike
[…] to absorb either no information or interpret it completely incorrectly! Even more shamefully, this isn’t even the first time I’ve done multi-layer felt […]
LikeLike