With some of my other projects on the go all being quite involved, and some requiring furniture rearrangement to work on, I wanted something that would be straightforward and simple to pick up and put down. I love kumihimo for this. It’s very easy to just plonk down on the floor, work a few patterns repeats, and be done. As a repeat is usually less than twelve moves, it doesn’t ask for too much commitment.
I’d fallen in love with using Biron Imposter thread after my first project with it and suspect I’ll be sticking with using it until I don’t feel like enjoying its sumptuous shiny luxury. It isn’t as forgiving and easy to work with as stranded cotton, and it turns out I hadn’t quite discovered all the facets of how much of a pain it could be, but the finished result means I could probably forgive it anything as a material.
While I loved the more complex nejiri kumi braid with its fantastic structure, I wanted to opt for something simple and effective as my goal for this piece was to try an extended length braid but also to figure out how to divide down the individual Biron ropes so I would be able to make things that weren’t super chunky and expensive.
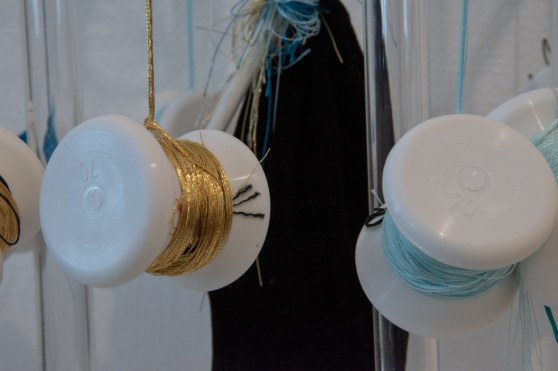
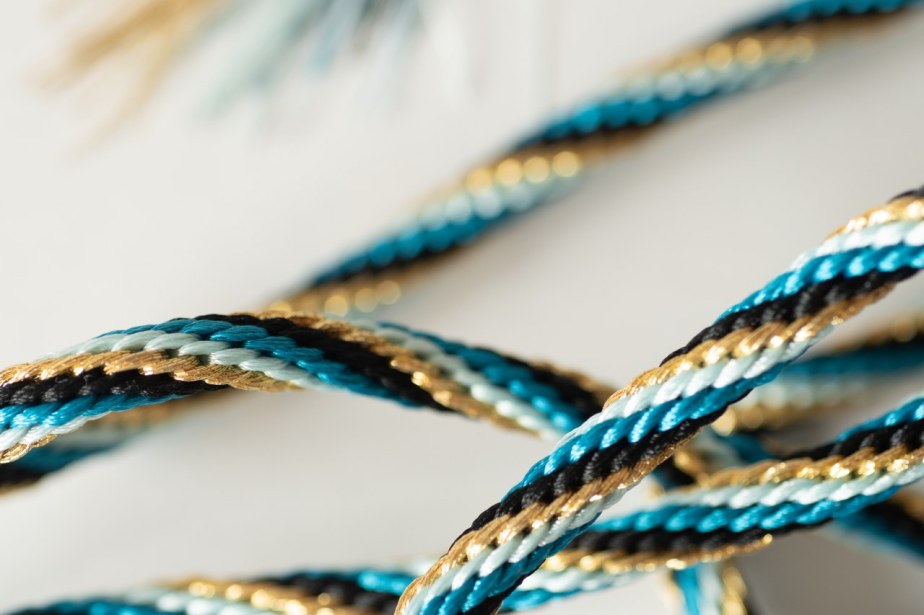
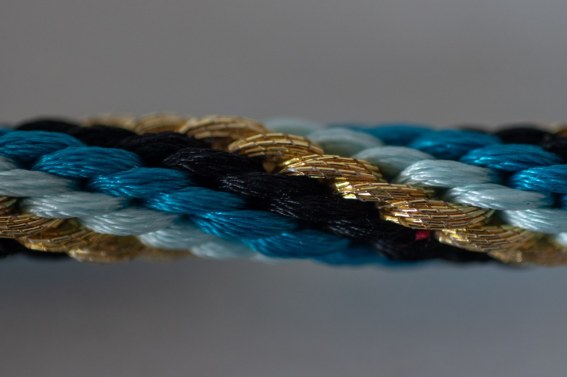
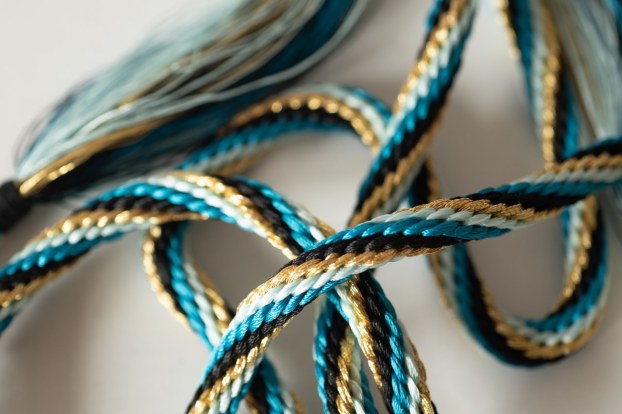
I went for a kongoh Z 16 from Treatise of Braids with a simple colour gradient with matched bobbin pairs opposite each other. You can see a simpler kongoh braid in this post worked in cotton for some comparison. I stuck with the usual 70 g bobbins as they’re the only ones I have 16 of and 650 g of counterweight because that’s what happened to be in the weight bag.
Despite my lofty goal of more cost-effective crafting with not using one rope per bobbin, I did end up making one or two costly mistakes when trying to divide down the Biron. Rule number one of crafting, never, ever, ever, pull anything ever. Even if you’re sure it’s a good idea, it probably isn’t! Resist the temptation! You will destroy your thread and be very cross with yourself!
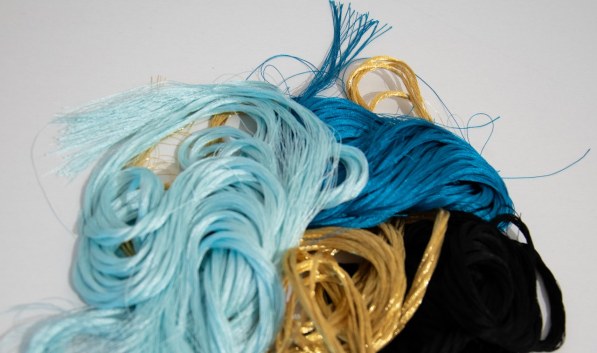
It turns out, while the non-metallic Birons are actually easy enough to separate, the way to do this is just to split them at the top, take them in both hands, let the twist run out and then ‘bounce’ the threads. Do not comb, do not pull, just shake them and let them naturally fall apart. They might take a little untwist by hand but I promise this works just fine. Sadly I didn’t figure this out until I’d made a tangled graveyard of at least one rope by trying to pull to separate…
The metallic Biron however is a different beast. It’s a cored thread, very much like Japanese goldwork thread and it absolutely loves to snag on itself. The not pulling rule applies doubly here, but it’s a pain to get the twist out as it has a longer memory than the non-metallic thread and it doesn’t separate nearly as readily… I’ve found sometimes on the bobbins it can be a pain to just release a bit of extra thread just by loosening the loops as it likes to snag on itself. I don’t have a good reliable way figured out how to do this yet, and there were a few casualties along the way unfortunately but you will be the first to know when I figure out how to make this stress free!
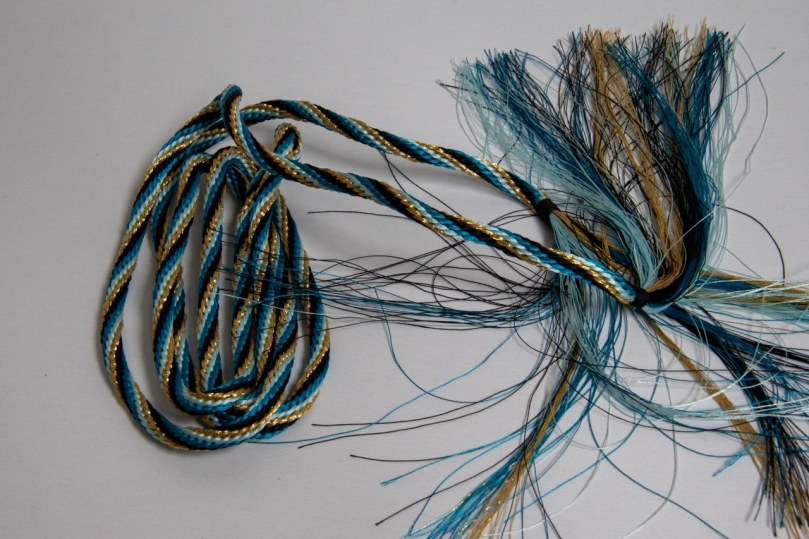
The colours I’ve used are 53, 46,25 and 20 and I tried to split each rope in half approximately. I used the full length of each rope which made for a bit of a monster braid when it was finished!
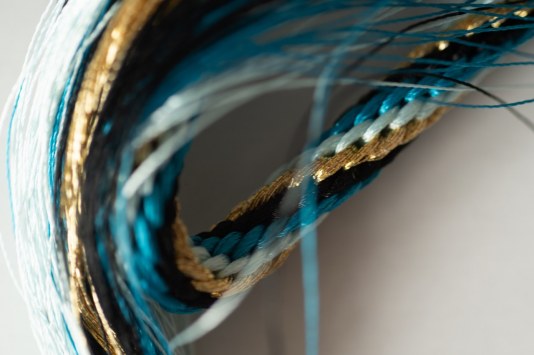
I did have a few woes getting the warp set up for this. Unfortunately splitting the ropes had unsettled some of the individual filaments so not everything was nicely lined up, which made winding the bobbins a pain, and with the rope lengths being much larger, it was hard to find a way to wind with a bit of tension to keep everything nicely aligned. Warping is still by far the most time consuming part of the process for me. It’s getting easier as I’m more familiar with the most suitable knots but I am looking forward to getting more proficient at this so I make fewer messes along the way.
As soon as the warp is together and the marudai is ready to go, all the frustration of the setting up disappears. Generally, it’s straightforward from there, though the Biron does need some constant thread management and I think one or two of the individual strands did manage to snag on my acrylic marudai and snap. The effect isn’t really noticeable but it meant I had one or two ends that needed a trim.
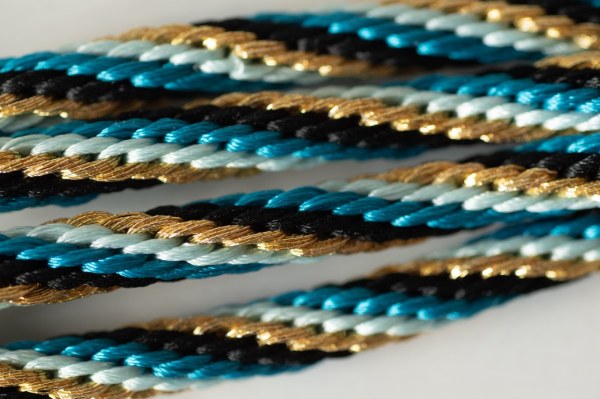
I will say that good bobbin winding is definitely worth the time. One of my metallic threads came apart a little, and while it doesn’t spoil the braid, you can see one or two sections where the stitch tension isn’t quite as crisp as all the threads weren’t perfectly aligned. Steaming the braid afterwards also completely saved one of the tassels from being a horrible mess where the threads had kinked so also comes highly recommended.
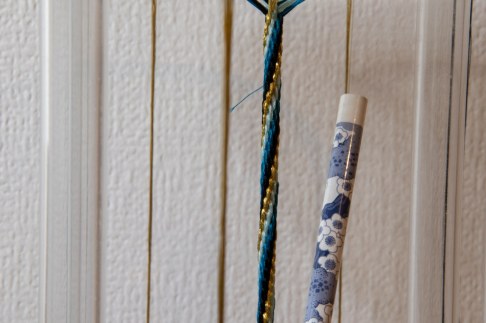
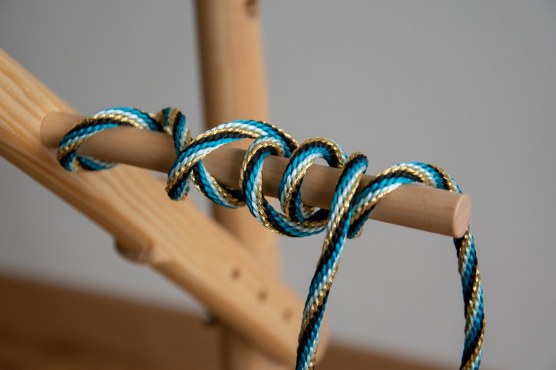
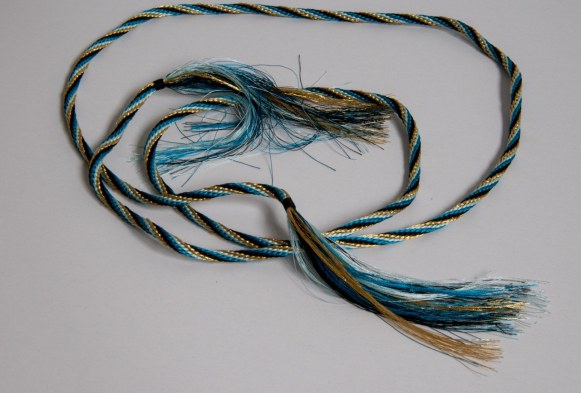
The finished braid is a whopping 1 m 30 and I did feel I got a good return on investment in terms of braiding time to set-up time. I did wonder at a few points if it was every going to finish. The braid could have been longer, but I ended up with quite a lot of waste from where I did the initial tying of the leader yarns and it took a few repeats for the pattern to look balanced and even, so I sacrificed that part to the tassels.
Simple, yet so effective. I love kumihimo.

Yours is one of the few blogs where I actually read to the end because of the way you write. You give an honest, amusing account of your experiments that I can identify with. 🙂
LikeLiked by 1 person
Thank you so much for this lovely comment, it really made my day. I wonder if I end up venting my frustration a bit too much sometimes but I am very happy if you find my accounts amusing. Thanks again 🙂
LikeLike
That is a gorgeous braid! It sounds like quite an undertaking, but your results are fabulous! Glad you learned how to divide the cords – that will likely help keep the process affordable and give you a bit more range in what you can make 🙂
LikeLiked by 1 person
Absolutely and it’ll be good to make things to a variety of thicknesses too. I really like some of the patterns that end up needing more bobbins, so being able to make sensible thickness cords is great. I also got a new couching machine foot for the Bernina recently so I’ll have to see if I can maybe start sticking a few of these things together…
LikeLiked by 1 person
[…] I’ve been really enjoying doing some kumihimo lately, for which there are thankfully quite a few good English language books, many written by Jacqui Carey. I also have a few Japanese books I picked up when I was living there. While I’ve been enjoying playing with different patterns, working up the number of bobbins and new materials, there have been a few things frustrating me, in particular preparing the warps. […]
LikeLike