As you might have noticed, I’ve been having a lot of fun with machine embroidery and one of the things I have been trying to do is explore all of the possibilities with the technique just to start building up some breadth of experience. I’ve recently invested in an assortment of different stabilisers and one of the things I was very keen to try was making freestanding lace, which requires dissolvable stabilisers.

The difference between freestanding lace and lace appliqué is with the latter you have a solid ‘edge’ that you cut around and leave whatever is left of the stabiliser where it is, whereas for freestanding lace you use water-soluble stabiliser that should ‘disappear’ in a sticky, gluey mess. This means you’d better have a well-digitised design as the threads need to be able to hold themselves together once their support is gone. What you do get though is absolutely stunning and it’s not hard to envision applying these designs to a lovingly made item to create something really captivating and unique.
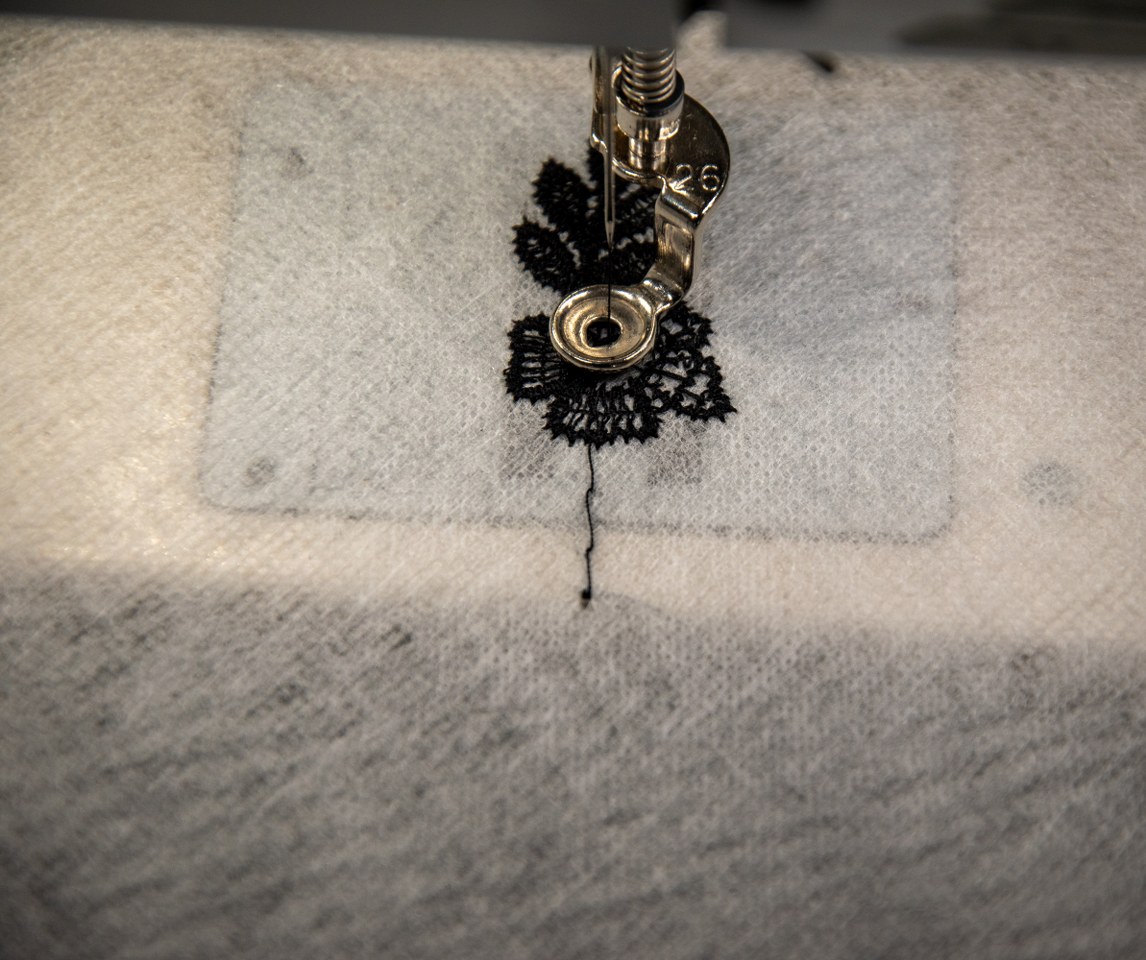
Freestanding lace looks a little intimidating to do and for exactly the previously mentioned reason, I wanted to use a design from a digitiser I trusted so I could at least rule out that from any potential troubleshooting. For that reason, I opted for some of John Deer’s patterns that do tend to sew out delightfully easily. I ended up choosing two designs, to start with a smaller piece and then a larger one (to save on potential thread realted heartbreak…)
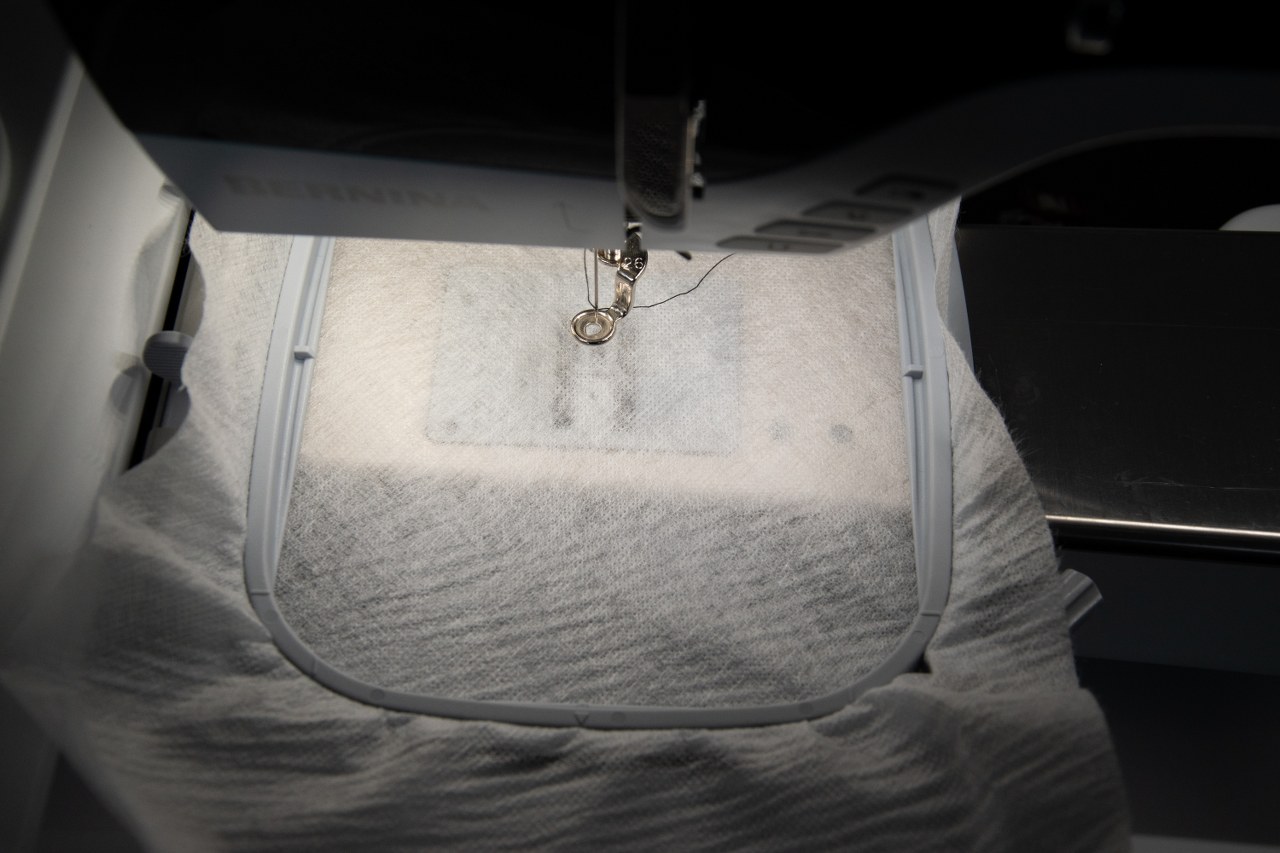
You can see one of John Deer’s brief introductions to setting up for freestanding lace embroidery which is very handy. I’ve been using a lot of Maderia’s stabilisers recently, and used the Maderia Wash Away Avalon Plus for these with fantastic results (the Sulky stuff you see recommended a lot doesn’t seem to be so easy to come by here).
I started with the tension at 3.0 but that looked a bit low, so switched it to 4.0 and then let the machine go, slowly and gingerly through the design… Honesty, I don’t have much to say about what happened after that. It was just a case of sitting, waiting, sitting, while the machine hummed along happily doing its own thing. If you ever want to feel inadequate as a lacemaker with the agony it can be to create just a few centimetres of bobbin lace, watch a machine running away… You might not be able to recreate everything you can do by hand but what you can make is very impressive and fast.

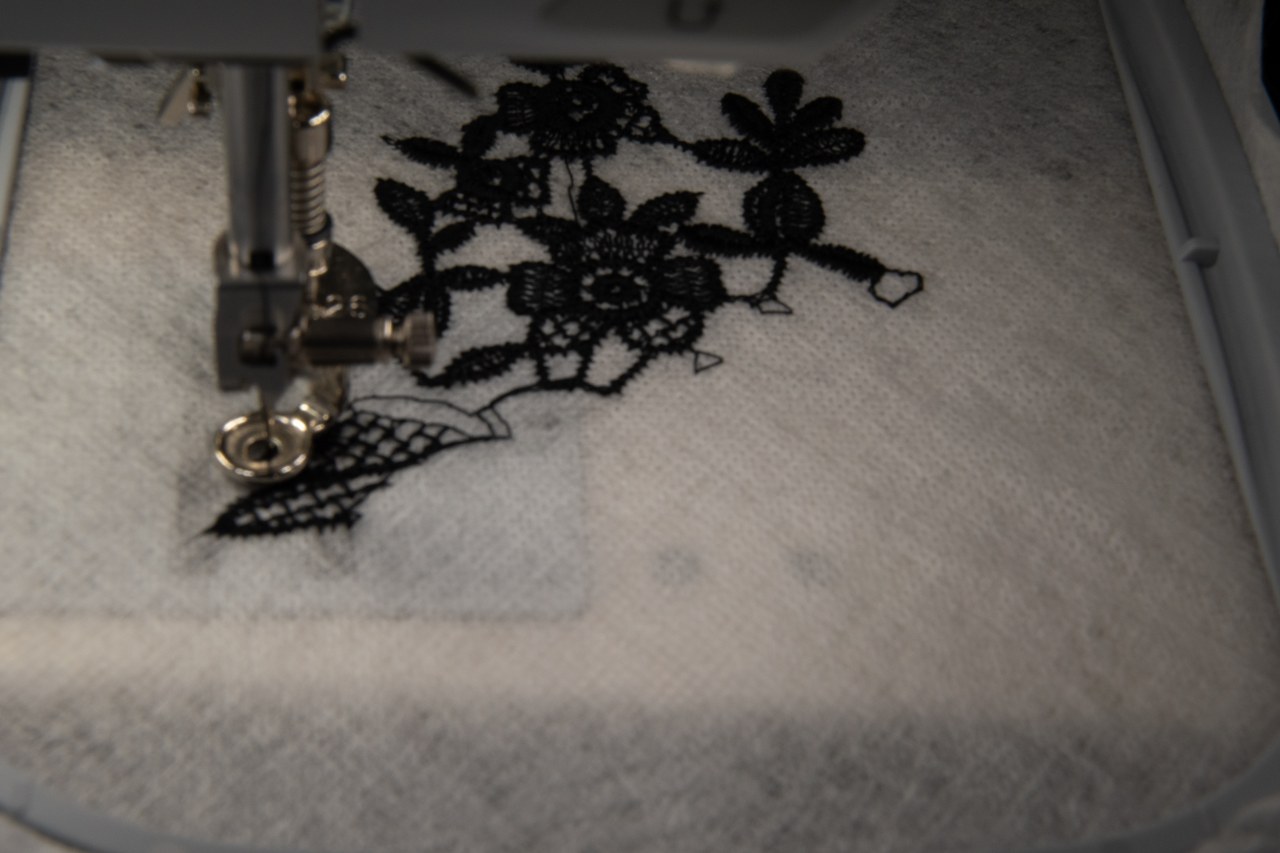
With the design done, it was just a case of putting into hot water, running it under the tap and rubbing it a little to get rid of the sticky residue left from the stabiliser. It is incredible how fast it disappears as soon as it is wet. How thoroughly you clean might depend on how ‘stiff’ you want the lace to be as you can leave some remaining stabiliser residue as a sort of thread stiffener if you want.
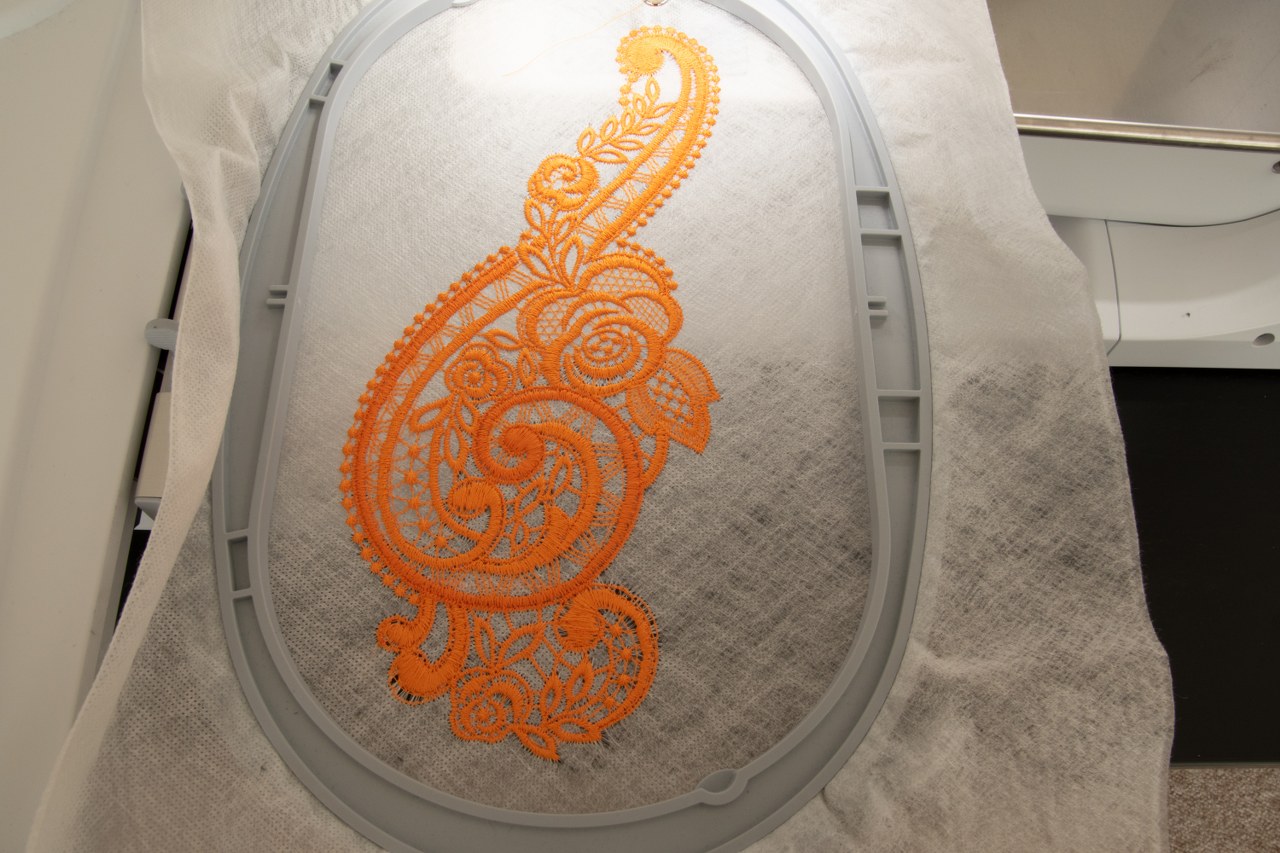
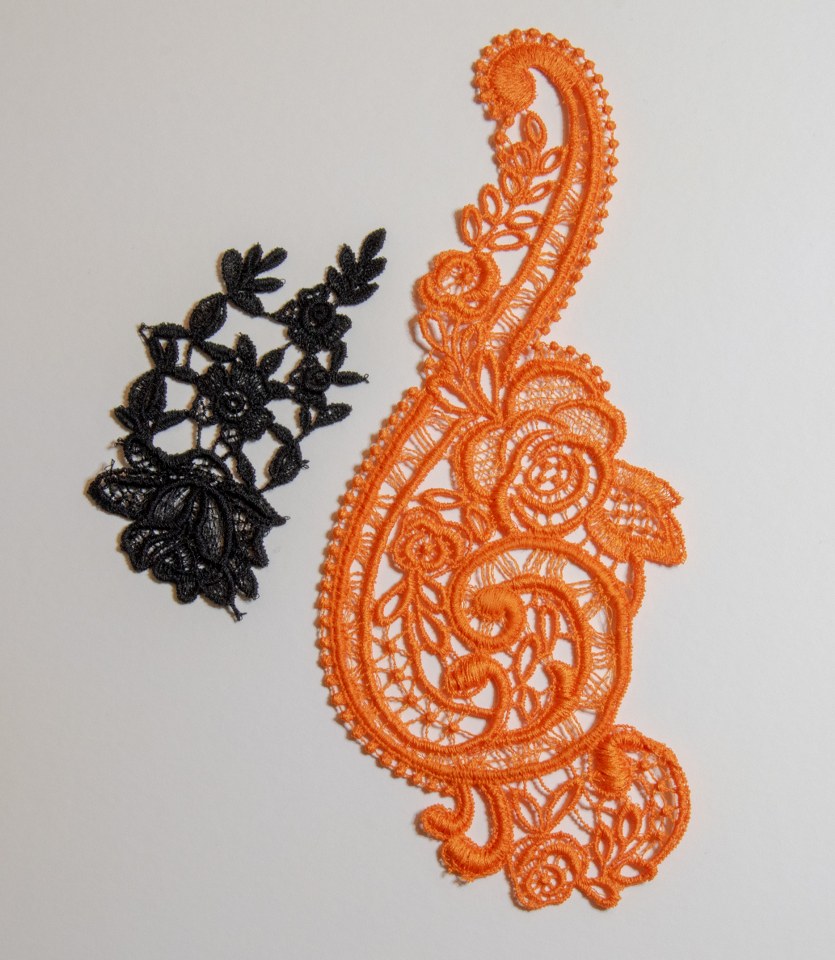
All I could say is – wow. The huge number of stitches meant it did take a while to get through but here I was left with some lovely flexible lace that seemed sturdy enough I could even imagine it surviving on clothing.
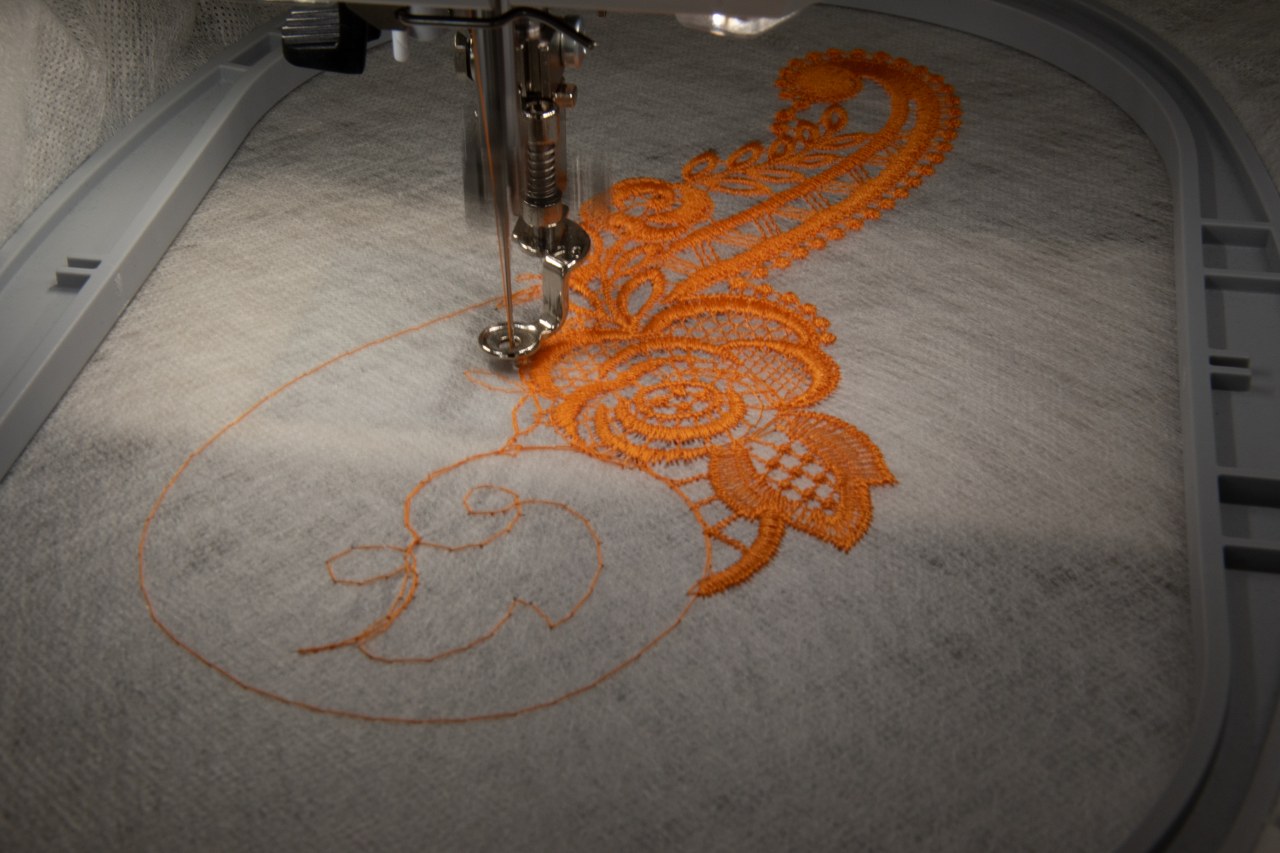
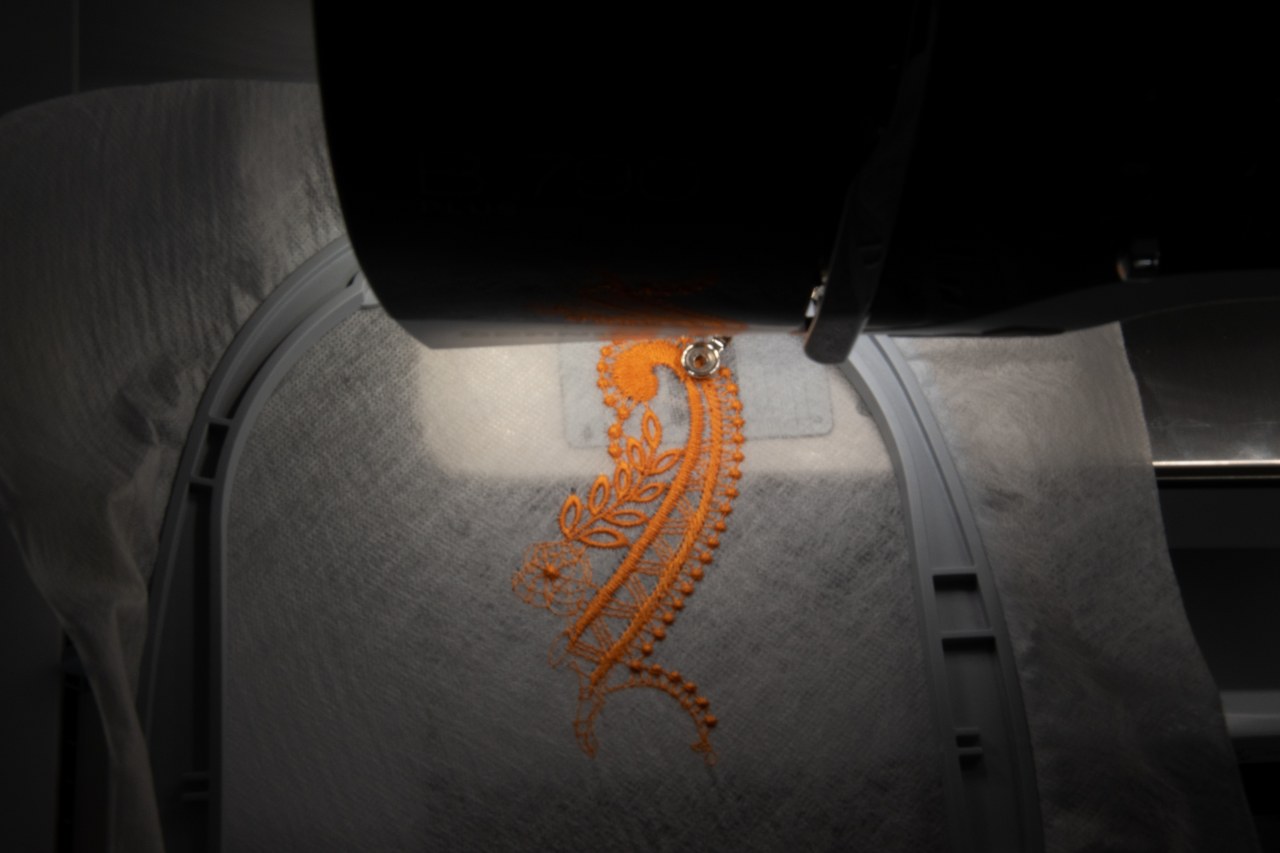
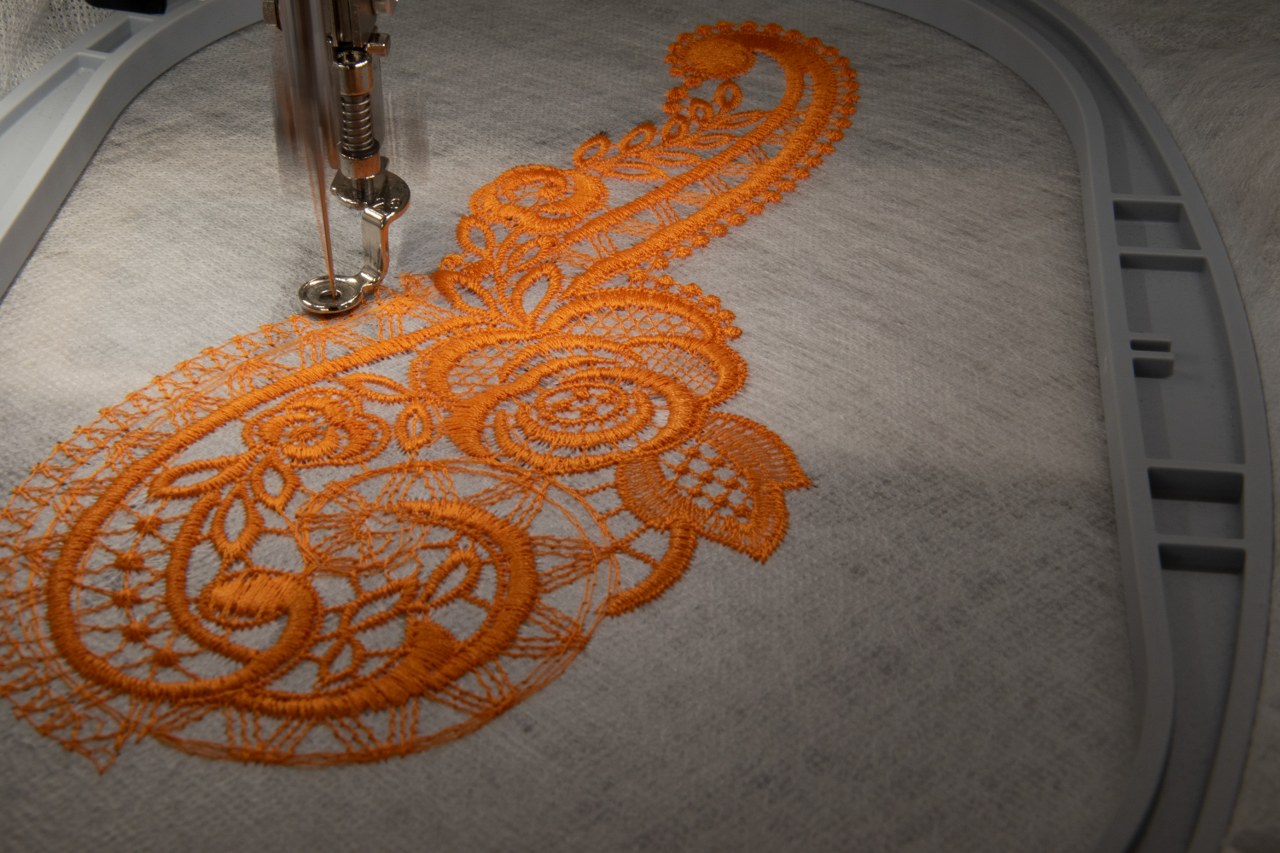
The next challenge was the larger design, which I just managed to squeeze into the 255 x 145 mm hoop. For freestanding lace the ‘no resizing’ rule is even stronger, as it’s likely changing stitch lengths will leave a few parts that don’t quite hold together properly.
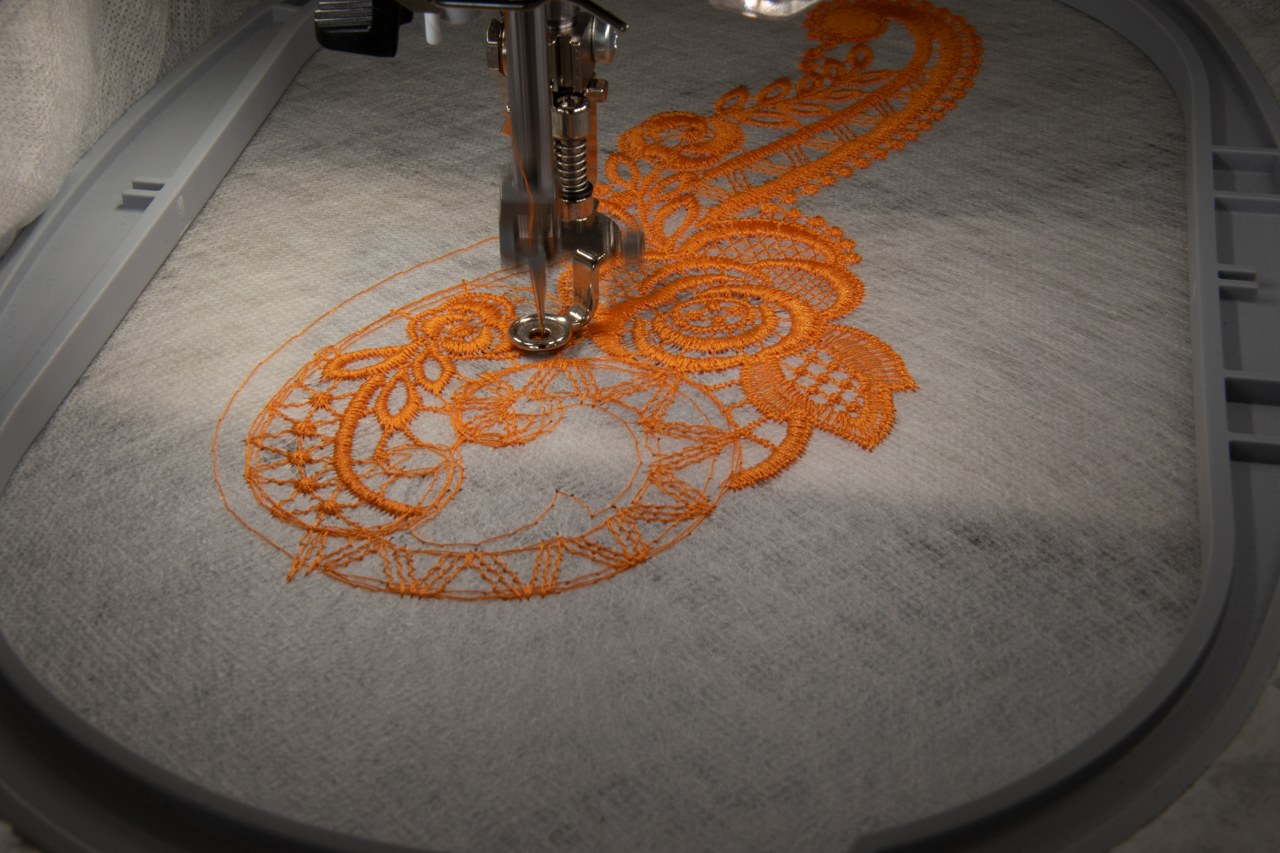
For this piece I did use the same colour top and bottom threads but again… there is really not much to say about the stitching process. I started with the 1200 Mettler PolySheen but managed to destroy an entire bobbin with still 2000 stitches to go! I then substituted the 1200 Poly Sheen for a Gutterman in the closest colour I had… It’s not a perfect match but at least it meant I could get the piece done and honestly isn’t that noticeable on the final piece.
Maybe I thrive too much on strife or feel that making beautiful things needs to take a little more toil and sacrifice but I was honestly shocked by how easy this was. I had removed some of the difficulty by taking a well-created design to start with but I guess this shows with the right prep for machine embroidery and a well-loved machine, everything can go swimmingly!
I’m very excited by the possibility of being able to create appliqué pieces in any colours I want – I often find pretty lace pieces are only really available in whites, beige and black – and in a way that isn’t really a headache. It’s very thread-hungry but these kinds of motifs are usually quite expensive to buy anyway. What I really want though is to be able to do not just that… but to digitise my own designs too, though this is apparently some advanced level digitising so I’ll be sticking to simpler things for a while yet!

Wow! Both of your lace pieces are just gorgeous! I’m impressed at how expert you are with your machine and the setup and techniques. That is just amazing!
LikeLiked by 1 person
Thank you for the very like words! I think the machine deserves most of the credit, I just keep it fed with new needles.
LikeLiked by 1 person
It takes a lot of skill to set up and run! Don’t undervalue all that you do to make this beautiful art happen 🙂
LikeLiked by 1 person
These are so beautiful, especially the large orange one. It will be very exciting when you get to design your own.
LikeLiked by 1 person
Thank you. I am very much looking forward to it.
LikeLiked by 1 person
[…] Plus is lovely for free-standing lace (you can see some samples of things I’ve done with it here) but it will suffer badly from the stitch density that goes into the satin border. I’d recommend […]
LikeLike