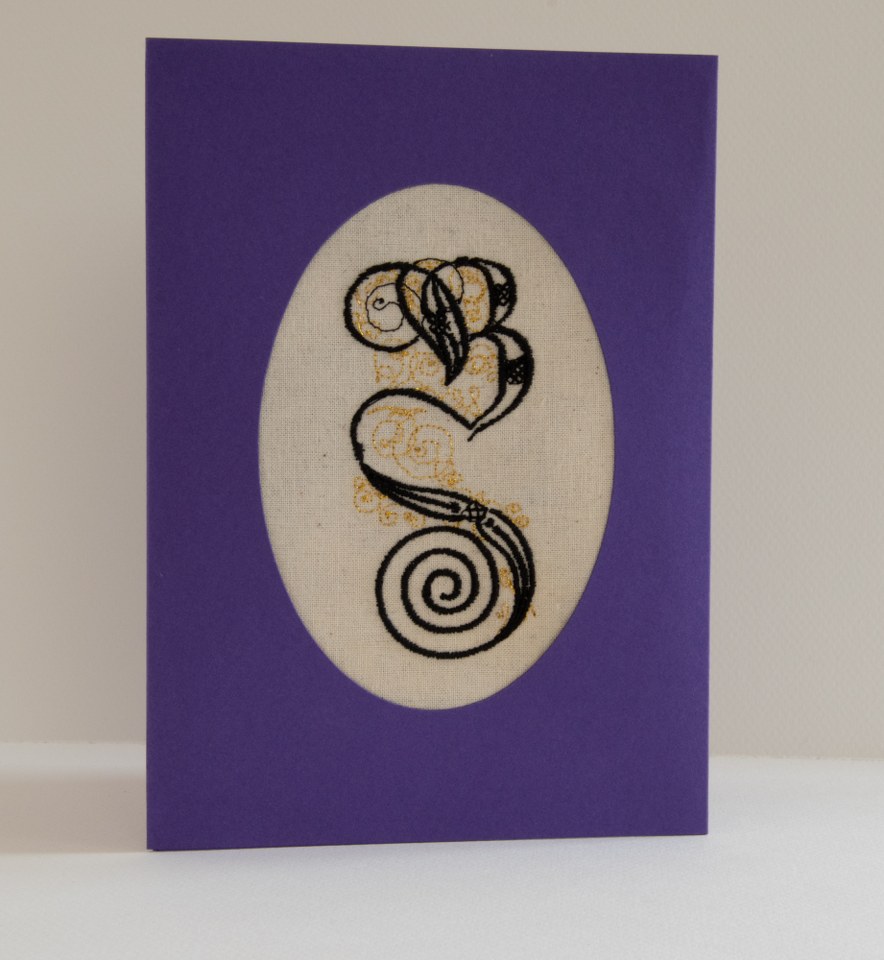
After the success of my last monogrammed card, and as part of the greetings card factory that is now my apartment, I wanted to have a go at digitising and stitching out a more complex design… and including my favourite thing, more metallic thread. This design is a very simplified version of a beautiful cadel by Elen Verch Phelip and you can see some more of her amazing work on her website here. She seems to be a person of limitless talents!
One of the big challenges with converting artwork to machine embroidery is that you are always limited by the minimum stitch length the machine can manage, which is around 0.5 mm. Of course, stitching with such tiny little stitches leads to a higher stitch density, which can then start causing problems of its own.
The original monogram just oozes elegance and I want to try and get something that had a bit of texture and interest to the stitching while capturing the graceful shape of the original. It became clear very quickly that I wasn’t going to be able to recreate the number of flourishes in the original but I thought I could still add some accents to add some interest.
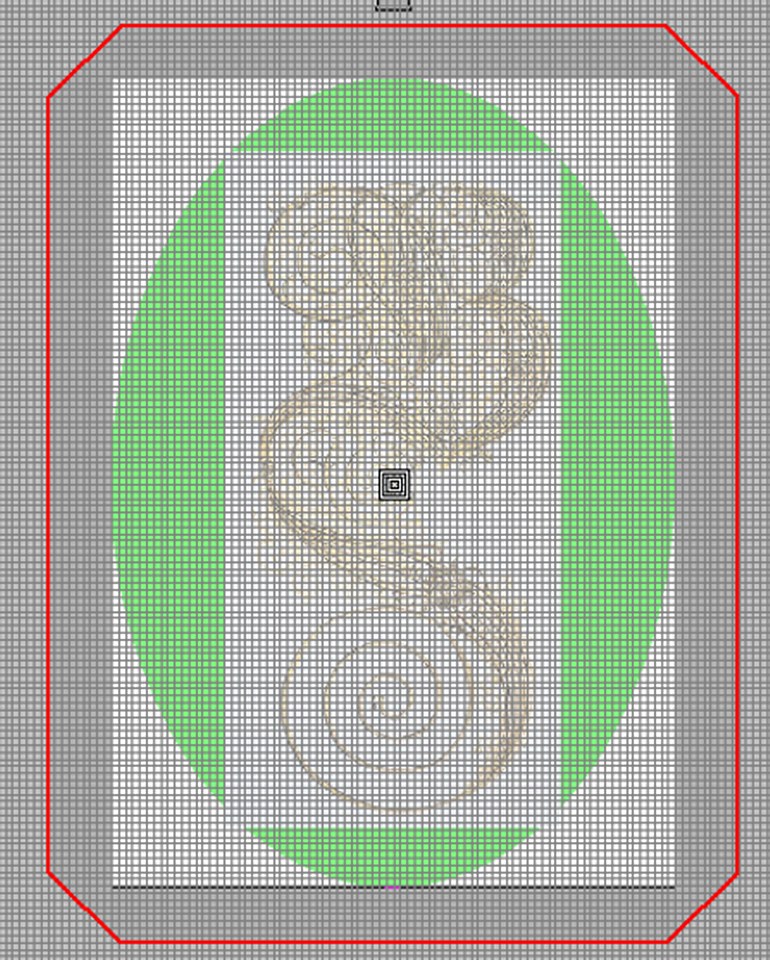
I ended up digtising this in the reverse order to stitching it, working the main letter first and then the flourishes to complement after. The nice thing is it is very straightforward to change the order of the stitching in Hatch, the digitising software I’m using, so asides from worrying about some jumps and trims making a bit of a mess, then that is easy to do.
Most of the regions are in a raised satin stitch, with a radial fill to get the spiral on the bottom and various angles to try and create a smooth transition through the shape and capture the ‘flow’ of the letter. The little cross grid areas in the original were a bit more complex to do – for these I cheated a little and used some cross stitch fills just to get the right kind of shapes, which worked pretty well in the end.
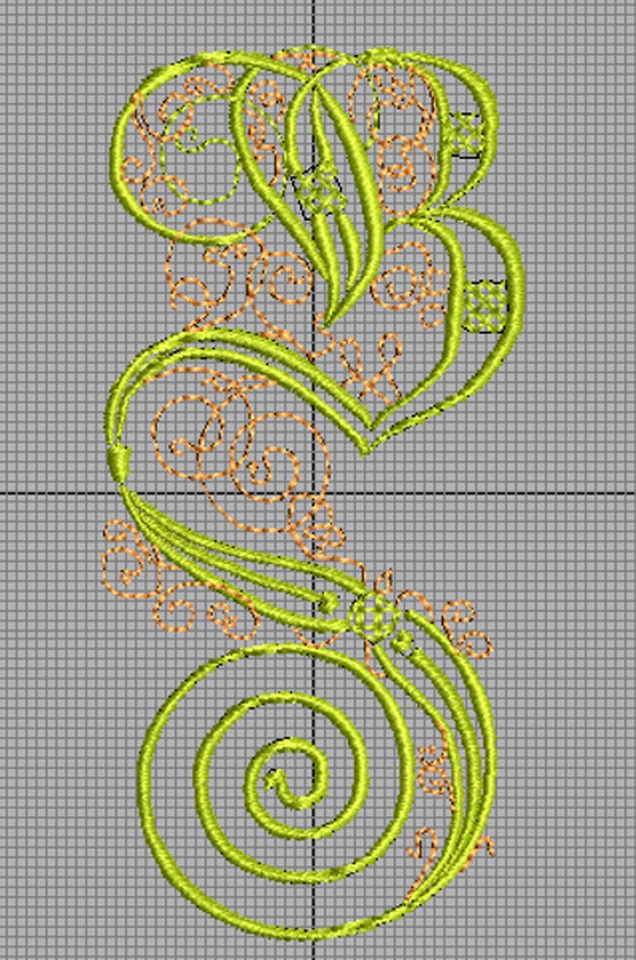
For the flourishes, I was very well behaved and put in lots of travelling stitches to run under the satin stitch that could be hidden and would avoid unnecessary jumps but I wasn’t quite so patient with putting together the rest of the design. One thing I find a bit tough about digitising more complex or bigger designs is that, as I don’t have a lot of screen real estate, it can be hard working section by section without zooming out to check I’m doing okay. I prefer working small parts of the design at a time, saving it, and moving on too as it’s a bit easier at the moment than doing large areas all in one sweep.
The big challenge as well is organisation. Maybe it would help if I sat down and really planned the order I would tackle a design in but I still find myself getting into corners that the only way out of is to hop on over to another area of the design. I also find my concentration and patience wanes after a while so I perhaps end up with more jumps than are really necessary. I keep promising myself I’ll go back to one or two of these designs and redigitise them just to sort out some of this.
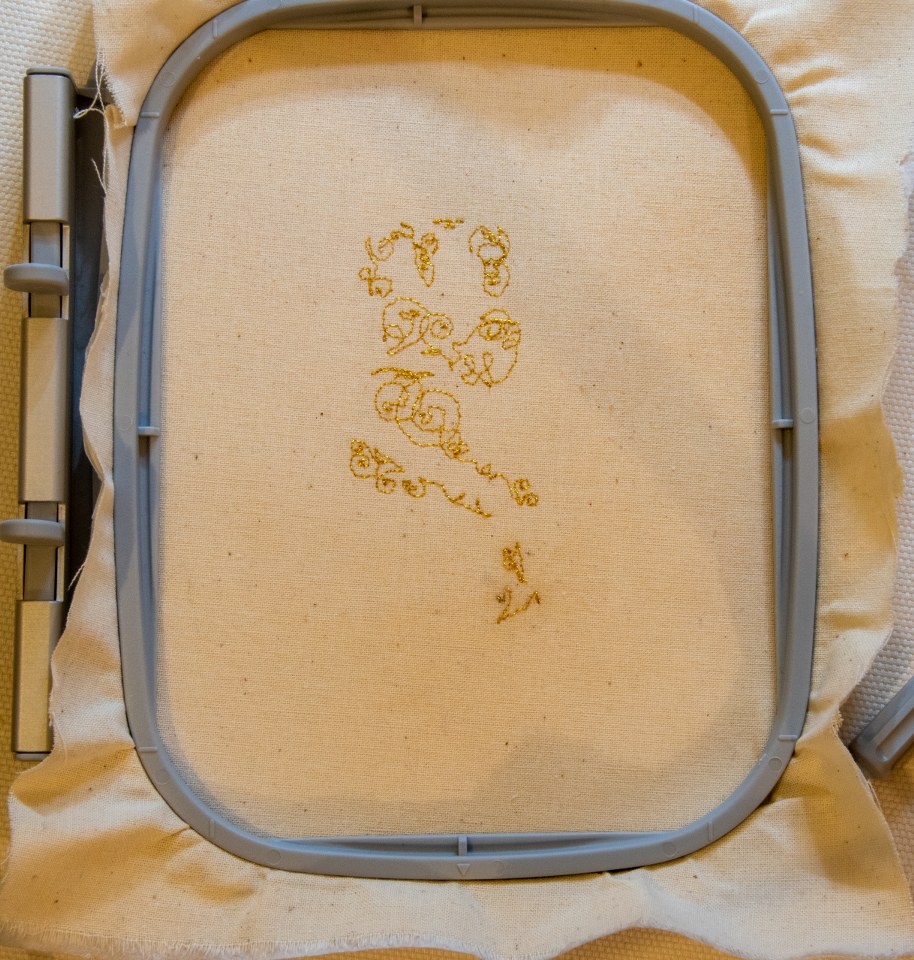
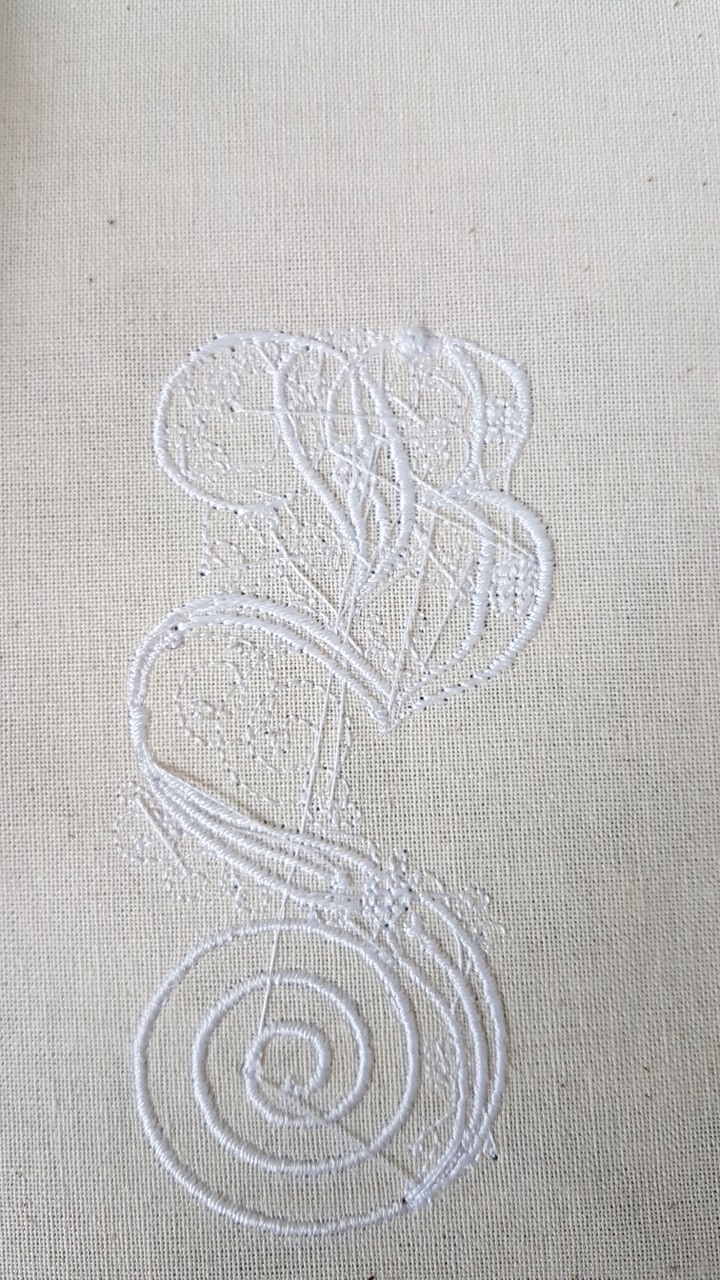
I was really pleased with how this came out first time – between the sampler and the real thing I did reduce some of the jump stitches as it did look a bit ghastly!
First up was the Mettler metallic thread for the flourishes with Gutterman bobbinfill on the bottom. Within about two seconds, I had two of the worst bird’s nests I’d ever seen and was thinking I should have known better than to consider trying a self-digitised design and metallic thread all together…

The three golden rules of the sewing machine, have you threaded it properly, have you changed the needle and you cleaned and/or oiled it. I think there should also be a fourth. Have you murdered the needle tip by bashing it against the hoop? It turns out that’s a really good way to render a needle useless after only a couple of stitches.
When I switched to an Schmetz 80/12 Metallic embroidery needle, and poof, like magic, the machine was running completely smoothly and there were no more problems. I always swore I could never tell the difference between Bernina/Schmetz needles… well, I finally figured out why. Apparently they are just rebranded Schmetz pieces (and you pay a lot less for not having the ‘Expensive Swiss Technology’ brand name…)
The satin stitch also came out really smoothly as well and I was really pleased with the design overall. Perhaps a few parts of the edging around the satin stitch could have been nicer but I was very pleased with the black and gold and to be working fuss-free with metallics! I see sparkles in the future!

Ah, yes, smashing a needle against a hard surface is always a bad idea!
LikeLiked by 1 person
You made me laugh when I read about the smashed needle tip! So glad you had a replacement at hand.
LikeLiked by 1 person
Me too… I keep a relatively big stock of needles because there’s nothing worse than running out of them!
LikeLiked by 1 person
Wow – this process is way more complex that I would have thought – and it turned out just lovely! Definitely don’t bash your needle tip 🙂
LikeLiked by 1 person
Thank you! It’s a lot of fun but the digitising does wake a while – getting faster though!
LikeLiked by 1 person
[…] is something of a guilty pleasure. If I’m not going for adventurous fabrics or tricky threads (or murdering needles) then stitching out a design has become a relatively painless […]
LikeLike
[…] despite not owning a single complete Christmas card, I did own some card blanks, fabric and a beautiful Bernina, so not to despair. I purchased a few designs from Urban Threads, […]
LikeLike
[…] big projects. However, there have been lots of small victories, some hairpin lace pieces, lots and lots and lots of cards, some more machine embroidered goodies I have yet to share, and even a course or […]
LikeLike