Nothing like a good Christmas deadline to focus the mind and needle… Traditionally, I am terrible at Christmas. I barely manage to get Christmas cards to friends and people who definitely deserve it, even though I really appreciate everyone who is infinitely more competent, organised and takes the time to think of me. I usually deal with this by an absolute refusal to make handmade Christmas gifts, saving them for birthdays instead, but I did want to at least try and redeem myself as a human being this year…

I have to admit the looming Christmas deadline came as a bit of a shock this year. I’d had quite a few big work-related deadlines just before that I’d been intensely focusing on one after the other and then somehow when all the hurdle-jumping was over it was the 18th December and nothing was in the post, bought or done. Whoops.
However, despite not owning a single complete Christmas card, I did own some card blanks, fabric and a beautiful Bernina, so not to despair. I purchased a few designs from Urban Threads, whose embroidery work I absolutely love, and then it was off to race needle against clock, to see just how far through the address book I’d be able to go.
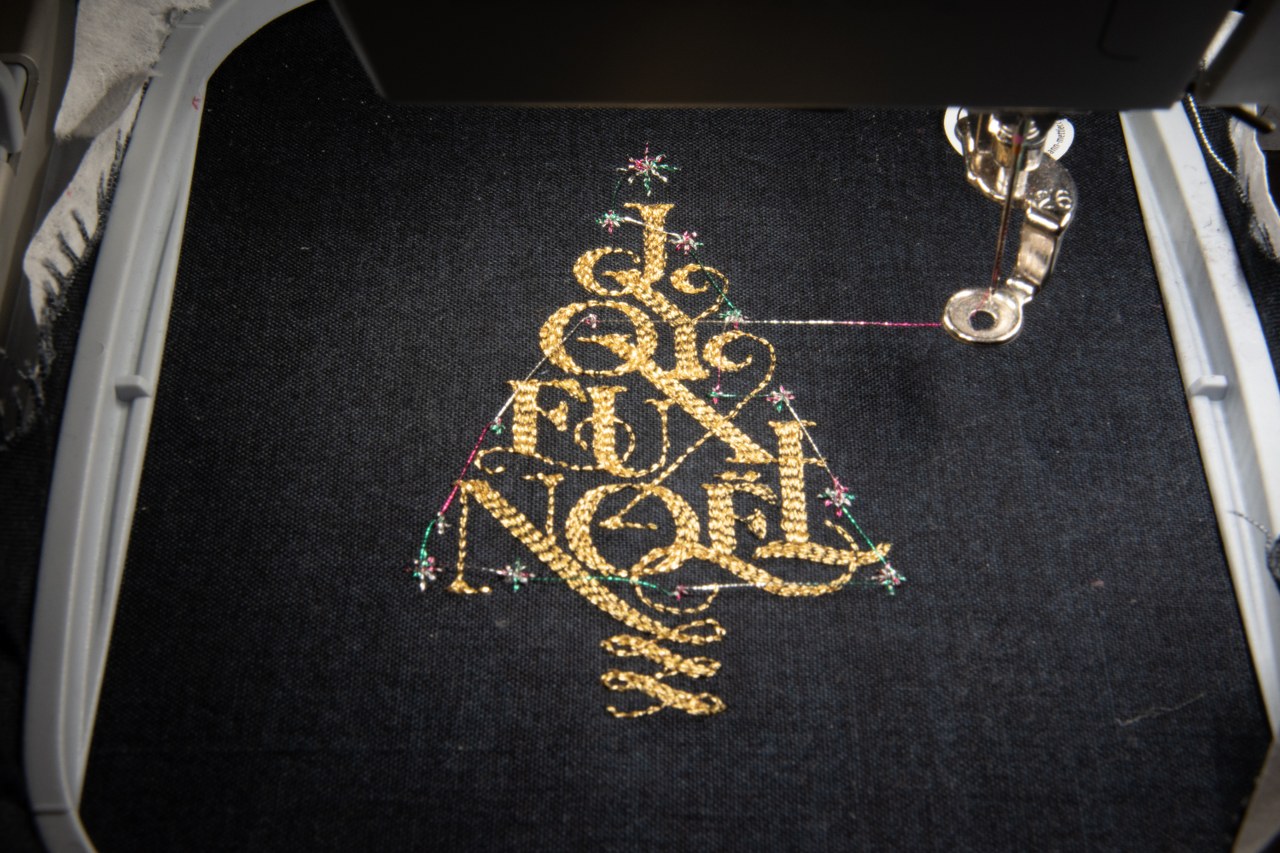
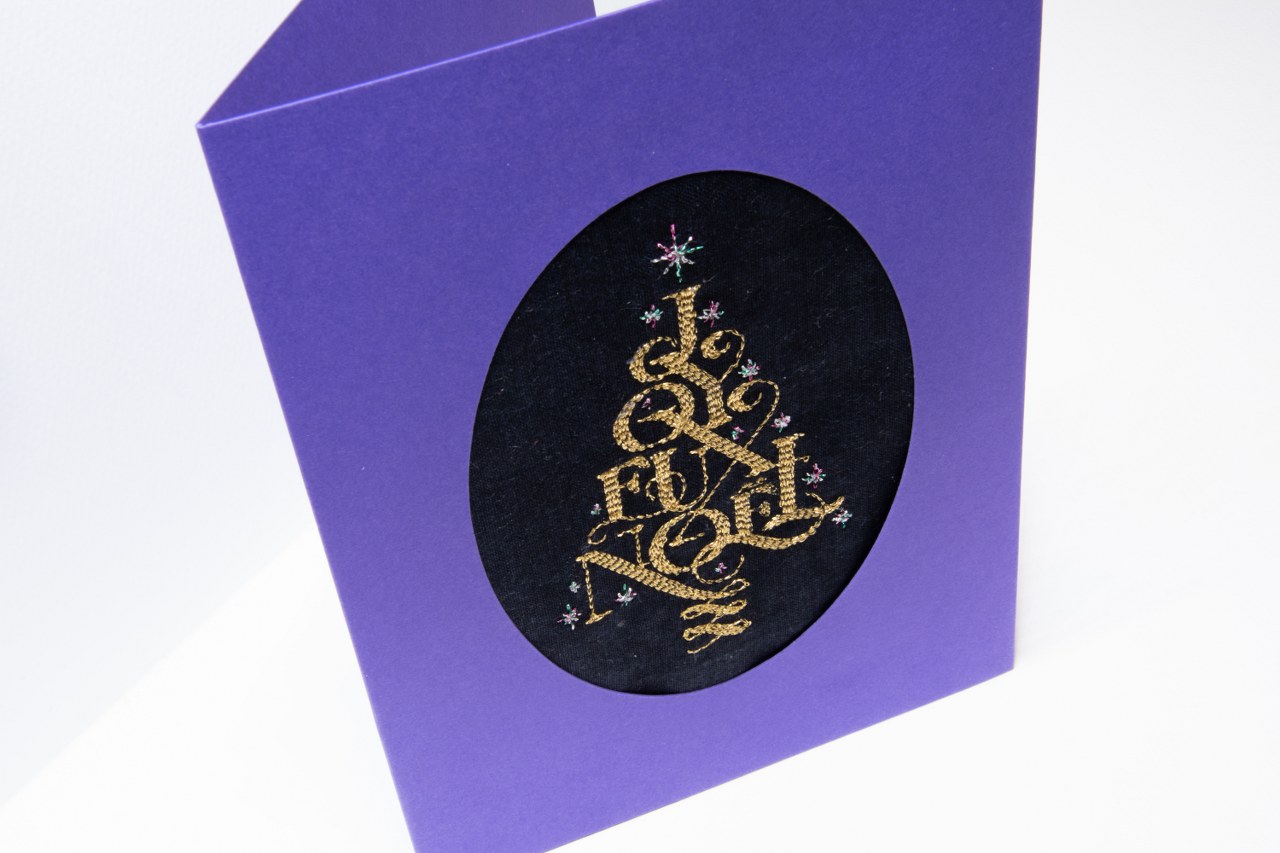
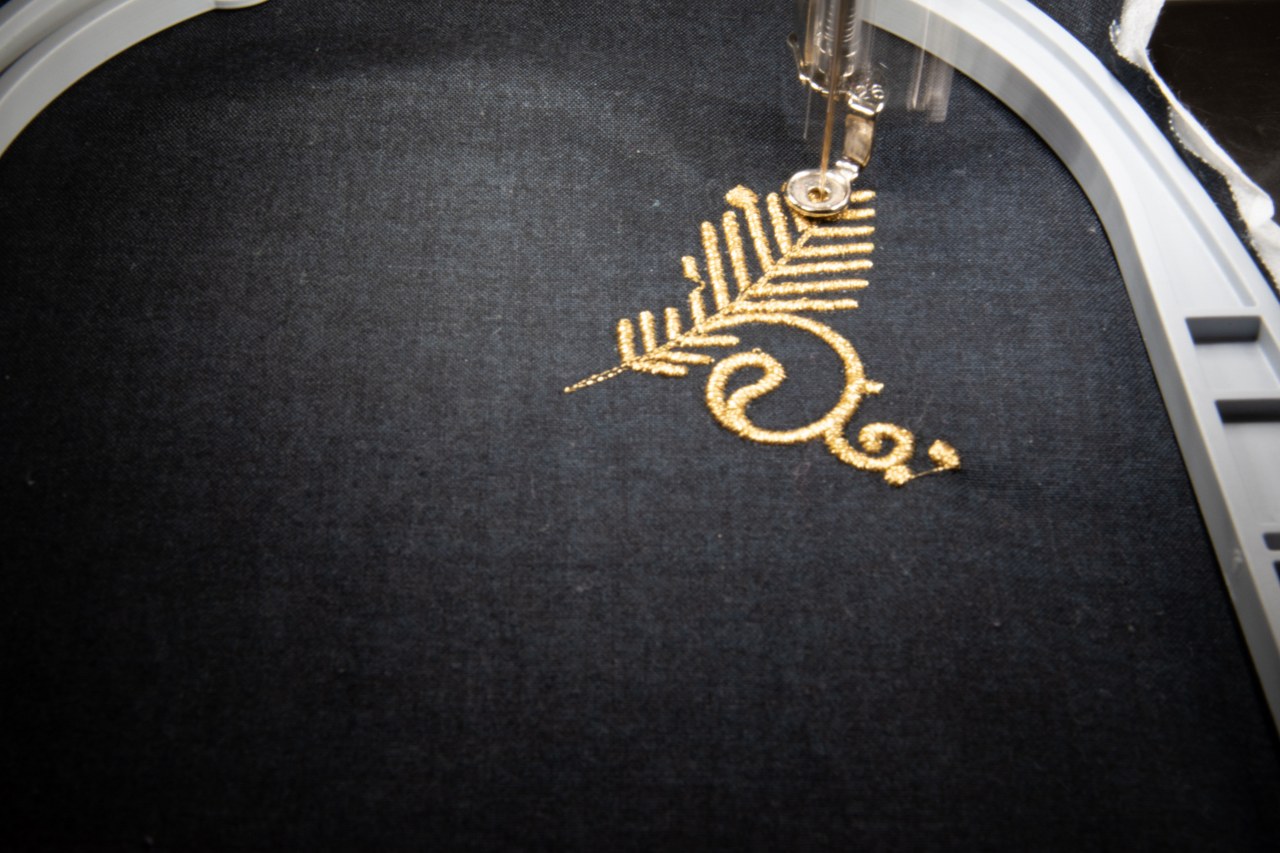
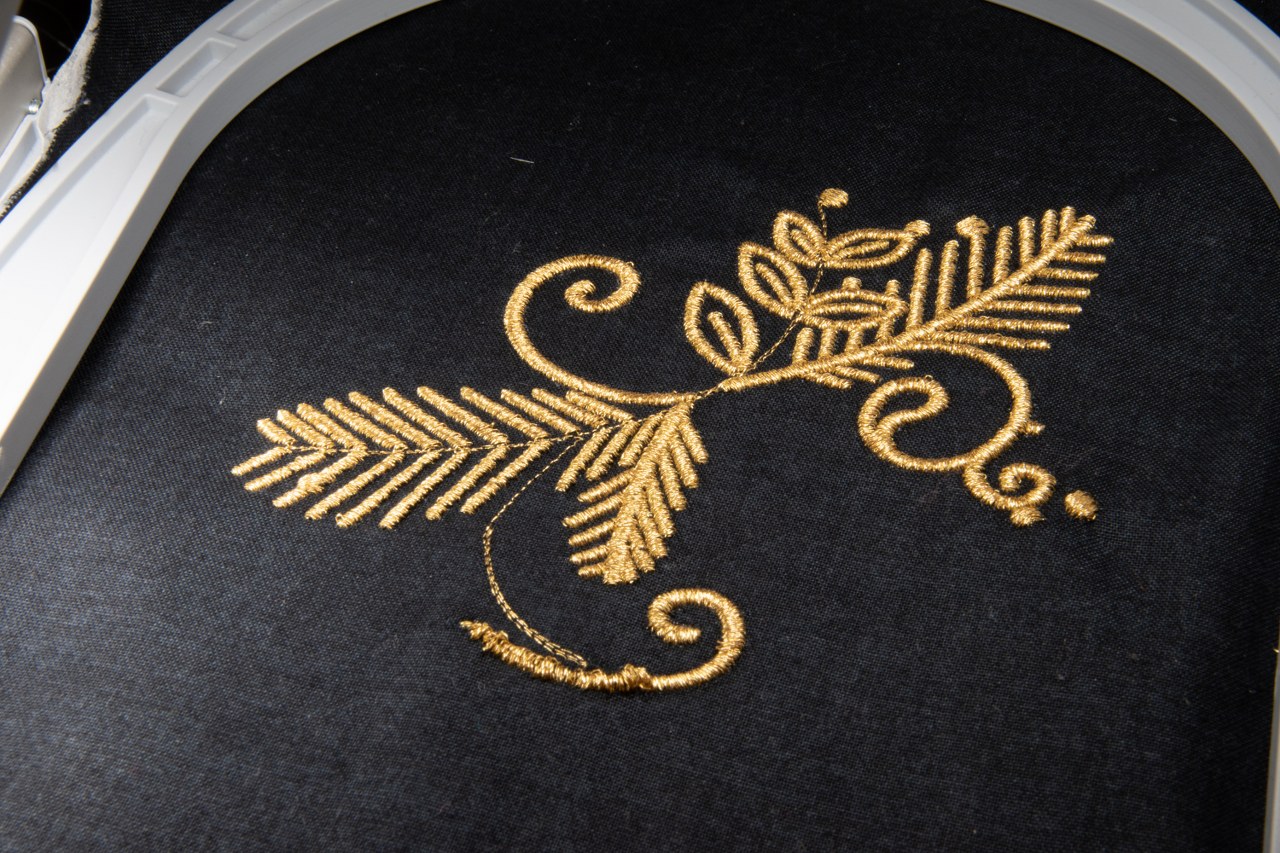
First up was a relatively simple, but very elegant, calligraphy-style card. I wanted to do this one with nice glitzy metallic threads and owing to the joy of Schmetz Metallic Needles, this went without a hitch. I had more problems with the hooping! The base fabric is Linen Texture Black 1473 by Makower which I absolutely love. I’m a big fan of Makower’s SprayTime collection but I think the linen textures work even better for embroidery as they’re closer to a solid colour, without looking ‘cheap’ as I find some cotton solids can…
Very happy with how the design came out but that was a lot of jump threads to deal with! Good excuse to use some variegated metallics for the stars too. With design one down though, no time to waste before moving onto some calico for design 2 with a very charming cow.
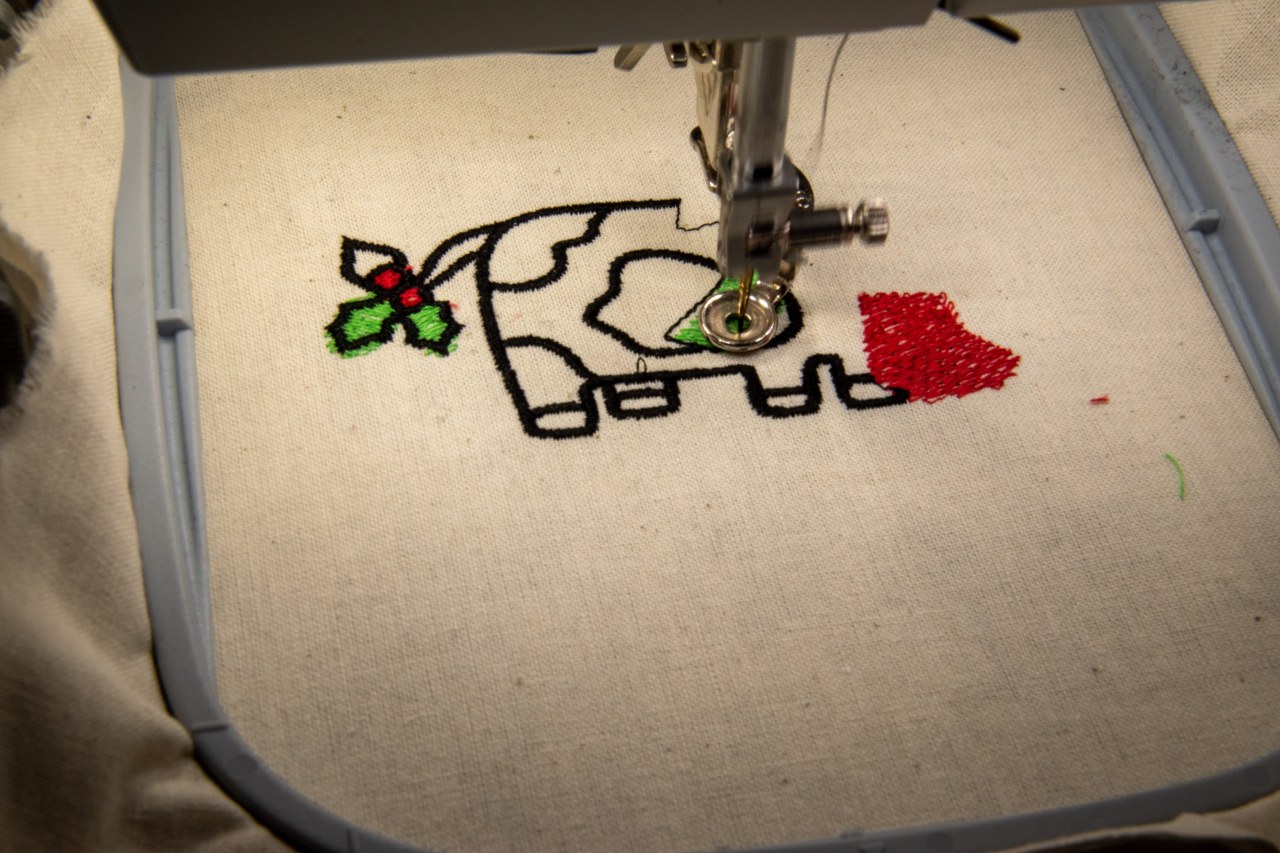
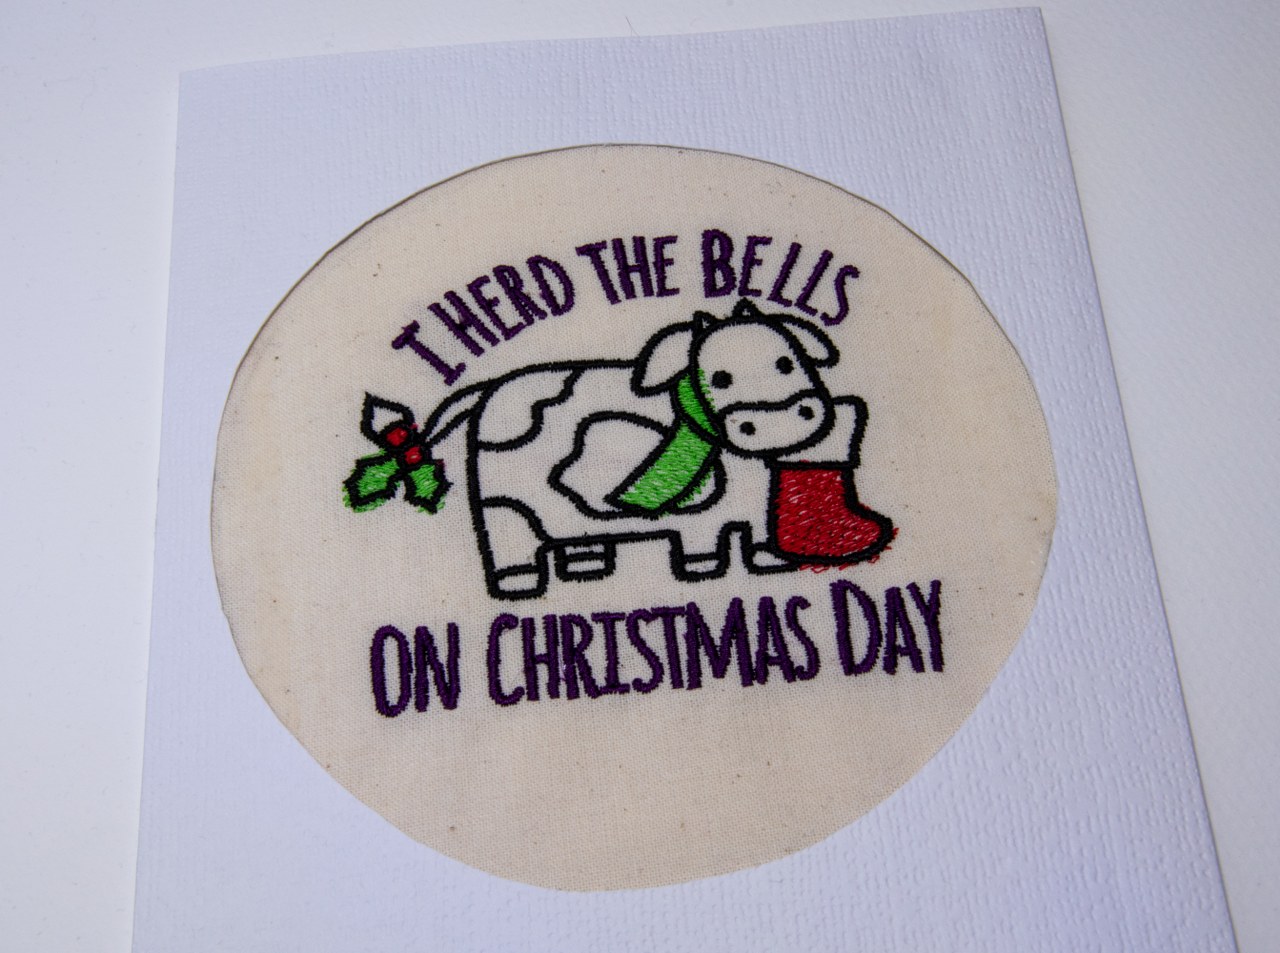
After a slight false start a minor bird’s nest incident, this one was mostly smooth sailing. Background fabric here is just a cheap standard calico, also making use of Madeira Cotton Stable Tearaway Stabiliser. These really seem to be a winning combo. The calico is easy to iron, the stabiliser just need a bit of heat to get it to stick well, which makes hooping less fiddly, and the calico barely puckers and irons well afterwards!
It’s clear that card making has been something of a theme lately and I did want to use this mad mass-production event as a chance to try and ‘professionalise’ the process. While I’ve been very happy with the way a lot of the embroideries have turned out, I’ve wanted to try and improve the finish on the cards and in particular, reduce the faff-level with getting the fabric placed and stuck in.

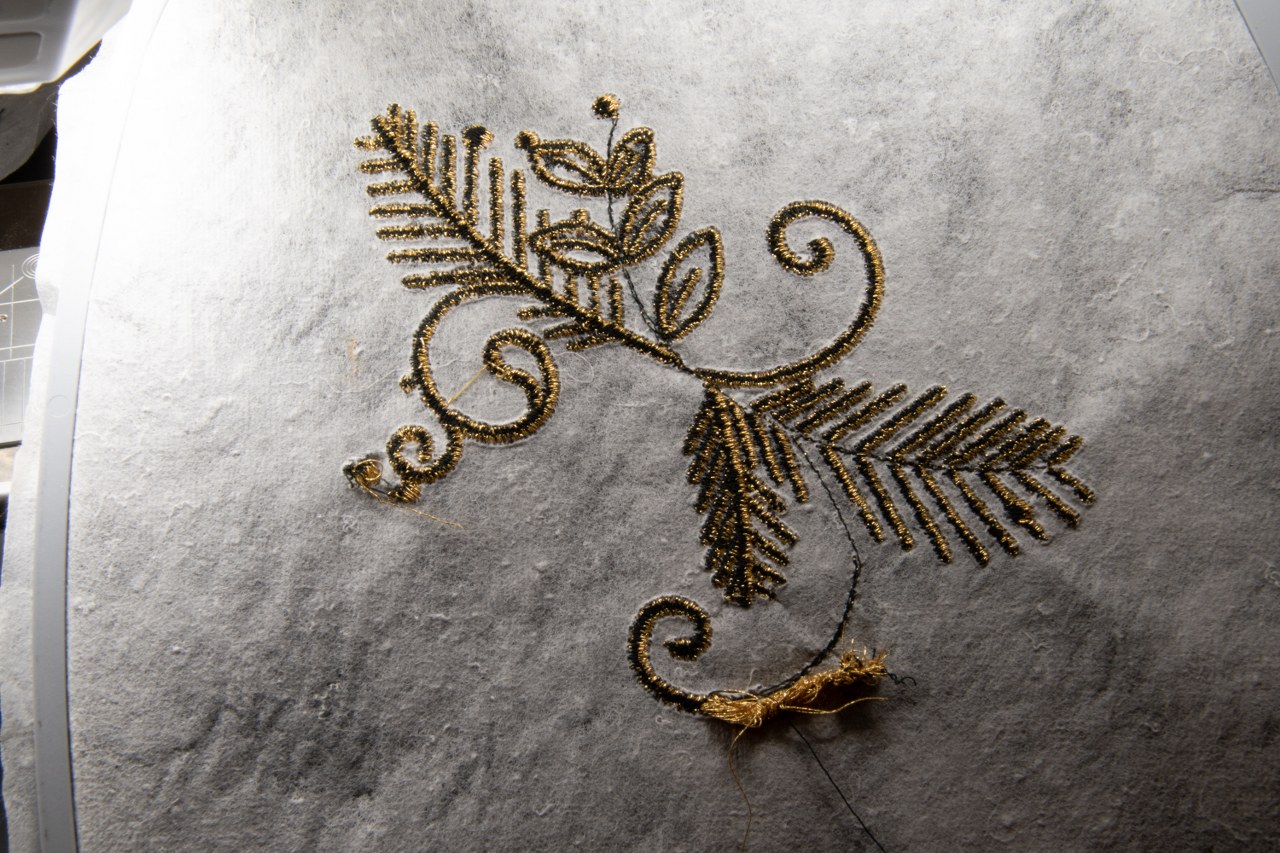
For both of these, I did remove the tear-away stabiliser I use tri-panel cards and have a fondness of thick cardstock so any extra bulk brings them into clunky territory. The disadvantage of removing the stabiliser is that, even if there are no puckers in the fabric from the embroidery process, you now have to find a way of ‘stretching’ the fabric to get it to look taught in the card frame.
Normally, I hack the fabric down to the rough size I’ll need, place the card ‘right side down’, cover it in glue and hope for the best in terms of aligning the design. Apart from the headache that is the alignment, which I cope with by deciding that some things in life are allowed to look handmade, it works well if the stabiliser is still intact.
However, this time I used a ‘tape and stretch’ approach to try and get the fabric to look more taught in the aperture. It turns out Sellotape is reasonably benign when it comes to damage and this means you can make quite a lot of adjustments with no problem before using some more heavy duty glue for the final securing. Just be careful, check your glue doesn’t show through your fabric, dry a funny colour or you don’t do my favourite party trick, you end up squidging it out the sides and coating everything, including the card, in it. If any of you wise embroiderers out there have any suggestion for stretching pieces for cards, please let me know!
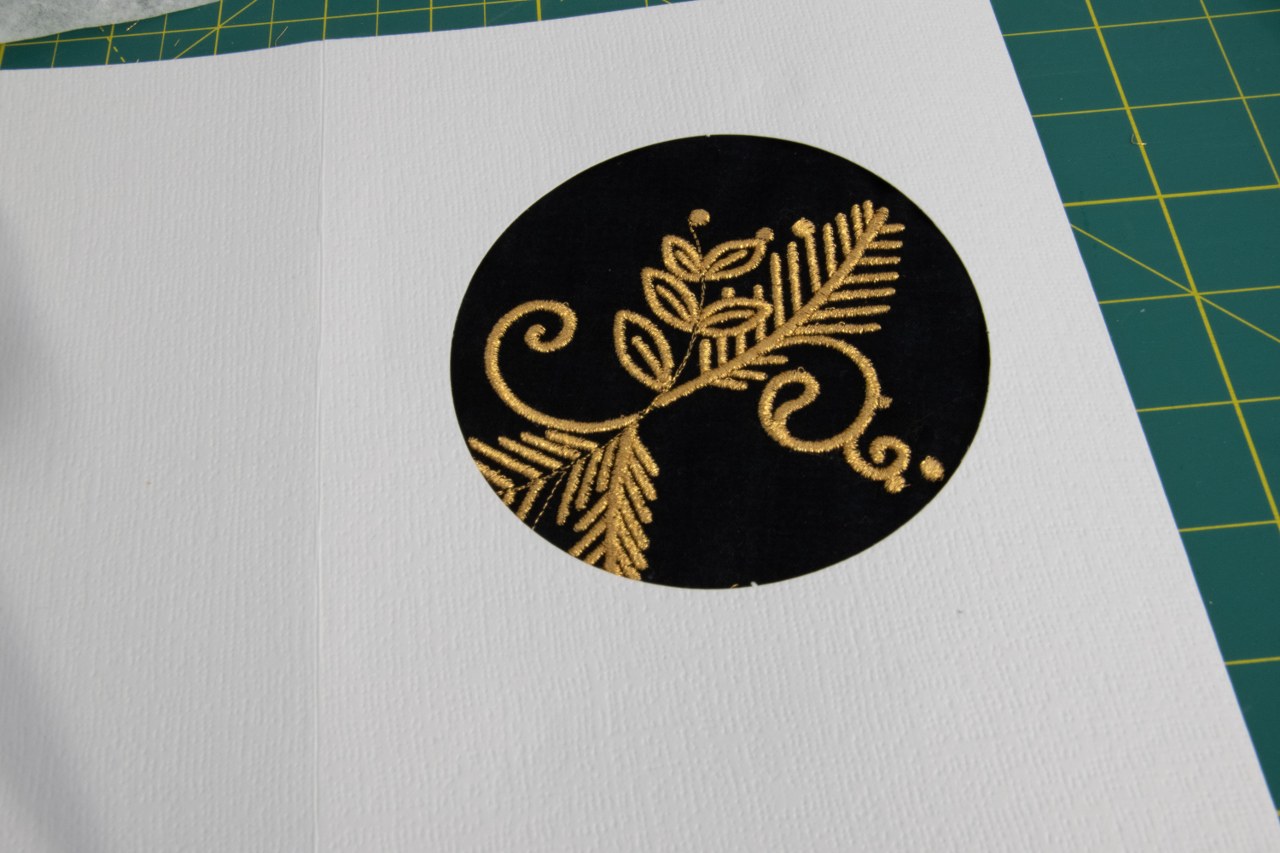
This worked reasonably well, except the aperture for the cow design turned out to be too small to fit it all. I did reduce this design to 92 % but apparently that still wasn’t enough. Out came the scalpel, grabbing the nearest round object, and hoping for the best. There are a few wobbles but I hope it is not too noticeable!
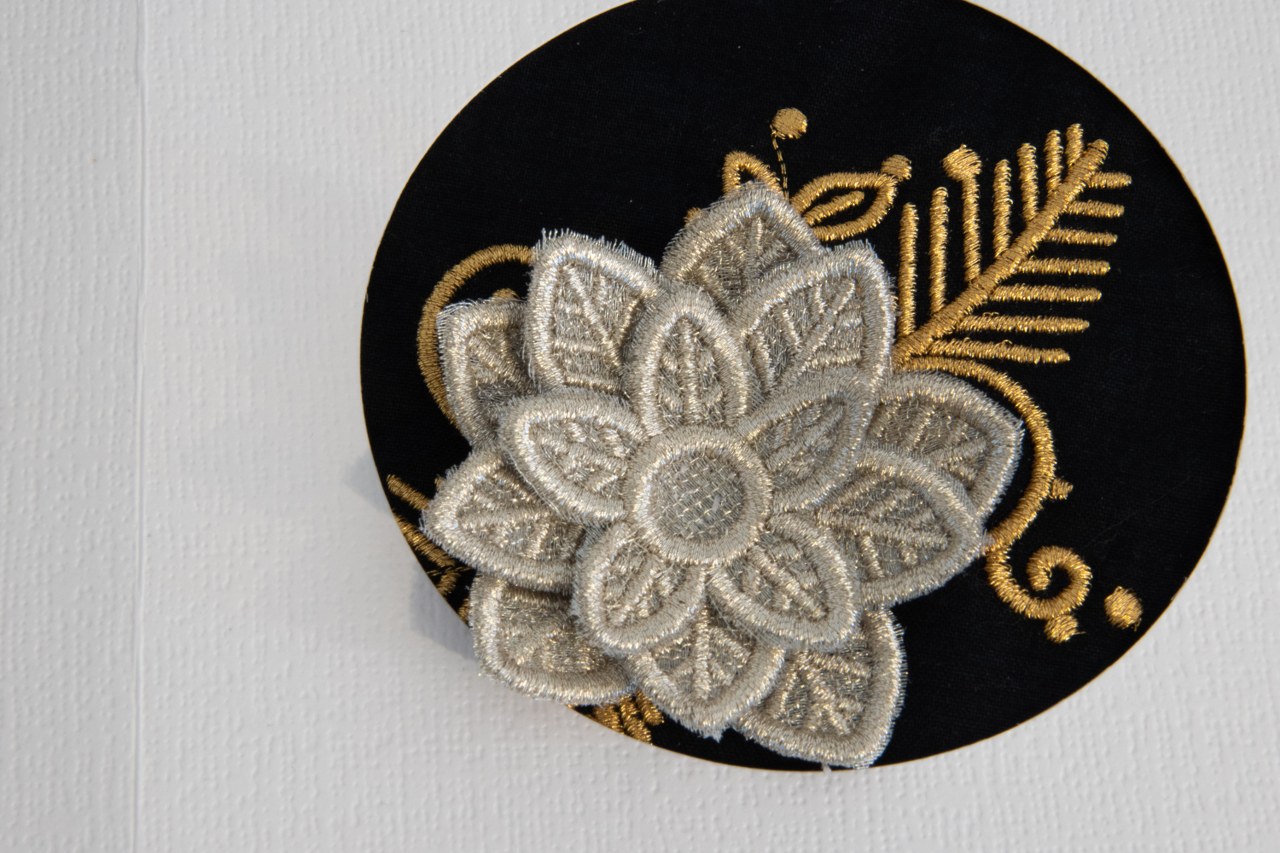
Two down, onto the next. This was a more ambitious design, with a simple backdrop and then some organza lace that would require assembling and gluing to the design. Metallic needle back in, new thread, and away we were…
Here, it was clear that there would be a problem from the start. All of Urban Thread’s designs seem to be on the rather large size. They sell usually three different dimensions but I often find the smallest is still a little too large for the size of cards I want to make. It was clear when I’d had to get the large hoop out that there was no way this was going to fit any of the apertures of the cards I had…
Then, fortune struck. The top spool was empty and on changing the thread, there was a snag and bird’s nest ahoy. This has become something of a non-event for me now so out come the snips and the cleaning brush, out go the broken threads and onwards does the design. What hasn’t become something of a non-event for me though is accidentally popping the design out of the hoop with absolutely no reference for what the original position was.
I did my best to translate the design to match up with the previous stitching but to no avail. Perhaps the machine was wiser than me here as it decided to vomit a huge amount of metallic thread all around the bobbin case, all over the back of the design creating and incredibly impressive lump. Thanks Bernina. It was getting late, I was tired, and fixing this mess was going far beyond anything I wanted to do.
It turned out though, giving up was exactly the right things to do. What I had of the design so far fitted perfectly into the aperture I had which also conveniently covered the savaged region of fabric. Ideal. Now it was just a little selective framing and making the organza flower that, despite my attempts to destroy the beautiful organza with having the iron set to a temperature only suitable for strong cottons, went without a hitch. I was so short on time to get this done I ended up running the machine with the metallic thread at much faster speeds than I am normally comfortable with for metallics.

I hastily hand sewed the pieces together while they were still sopping wet and gluey from dissolving the water-soluble stabiliser and then just prayed that a bit of glue would be enough to hold them in place. It turns out my optimism was not misplaced but the sogginess did end up destroying the envelope during transport… Whoops!
The moral of this story is that embroidery mistakes should always be trialled as opportunities first and that deadlines are excellent encouragement out of the comfort zone. I didn’t quite get everything I wanted done, I think a few people may get ‘new year cards’ or something instead… but, at least this is some improvement?

They look beautiful and better to send out late than to never send at all.
LikeLiked by 1 person
Thank you! Definitely my philosophy this year.
LikeLike
You made some lovely cards there!
LikeLiked by 1 person
Thank you, hope you have a lovely Christmas!
LikeLiked by 1 person
Beautiful cards. I cheat. I make one card and either send an ecard or photograph it and print it adding a bit of machine embroidery to the card or mount. It’s the thought that counts and at every stitch you can think about a friend. Merry Christmas to you.
LikeLike
Aha, thank you for sharing your secrets. Good idea! Hope you have a lovely Christmas and new year.
LikeLike
What lovely cards. I especially like the first one with the gold thread calligraphy.
LikeLiked by 1 person
It’s an incredible piece of design work that one – so clever. Hope you have a lovely Christmas!
LikeLike
And you too! 🙂
LikeLiked by 1 person
It’s the levels of faff that have put me off making cards, I admit!
LikeLiked by 1 person
They look lovely, despite all the trials and tribulations!
LikeLike
[…] on any big projects. However, there have been lots of small victories, some hairpin lace pieces, lots and lots and lots of cards, some more machine embroidered goodies I have yet to share, and even a […]
LikeLike