We’ve seen a lot of things on this blog. Bobbin lace, saori weaving, an infinite number of embroidered cards… but they’ve all had at least one thing in common – thread. It’s true that I enjoy far too many different crafts, and one of the joys of that is finding how they all feed into each other, but today we have something of a first, a craft that involves no thread!

Today’s fun is all about resin casting. I’m not sure where the ‘must try that’ feeling came from, probably the number of excessively colourful and shiny pictures of this stuff on the internet, but on something of an impulse I decided to get a few bits and pieces and have a go myself.

What is resin casting? It is basically filling a mould with some resin and waiting for it to set. Doesn’t sound too complicated but there are plenty of things to worry about during the process and plenty of possibilities to have fun and play with delightful amounts of colour and sparkle.
To get started, I’d opted for a coating resin with a fairly short working time. There is an overwhelming number of resins out there, all with different chemical properties, which is ideal for the expert and slightly overwhelming for the beginner. What makes resins rather fun/disastrously messy is then they have excellent adhesion to many different types of surfaces so you can do things like coat acrylic paintings to give a sealed, transparent finish. Or, you can just wait for the resin to set and make a standalone object.
I’d bought a few moulds of various sizes to get and started. Fortunately, I already had a lot of micas and different coloured inks and pigments from when I was making my own calligraphy inks so that gave me a good palette to play with so it was just a case of getting everything mixed up and ready to go! After finding a huge bit of plastic sheeting that I usually use for dyeing of course.
Doing resin casting well has a lot of subtleties, you want to try and control any bubble formation you get in your pieces, make sure you work at an appropriate pace to match the working time for the resin, having chosen an appropriate type of resin for your application… When you’re just playing around and happy with whatever though, there’s not too much to think about!

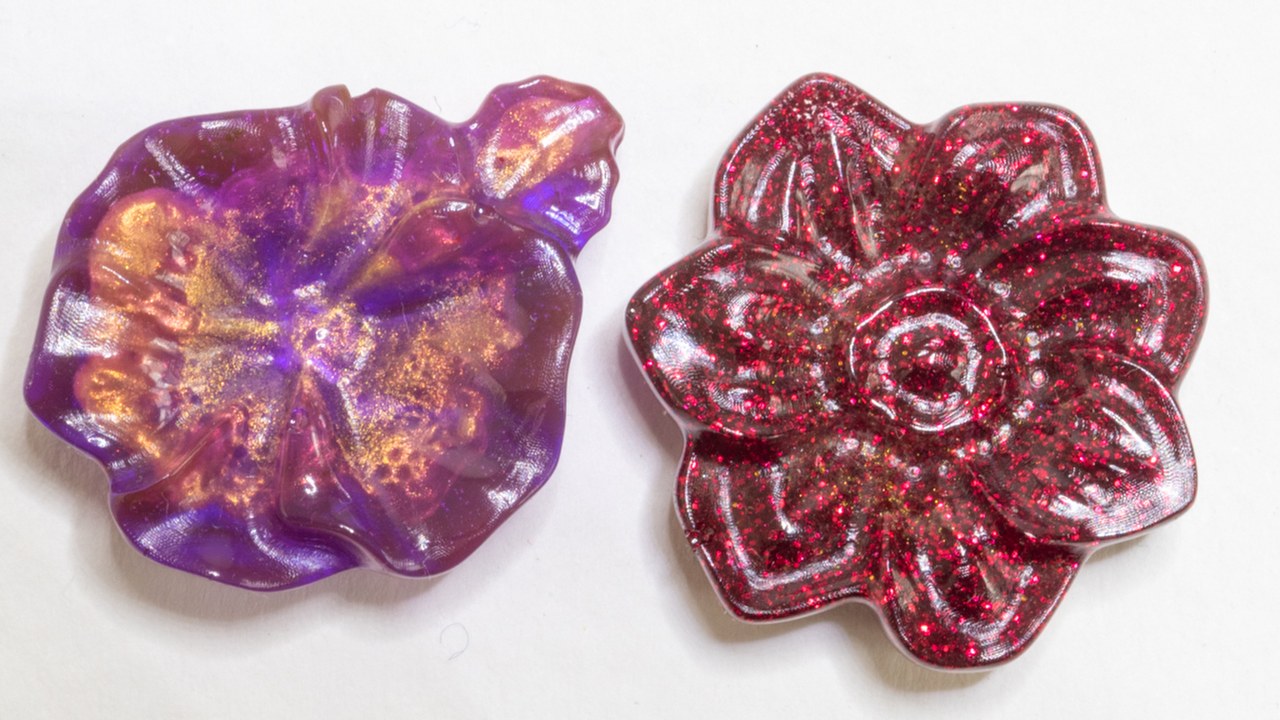
Play with pretty colours, add some mica powders and glittery sparkly flakes… Try some fountain pen inks and accidentally discover some chemistry experiments. One of these flowers (far right) was supposed to be done with Diamine’s Imperial Purple – a good, well-named ink that is a colour totally evocative of regal emperors and poor buckets of snails that would have died to get the cloth that colour.

However, on adding it to the resin it became this odd blotchy ‘interesting’ …. Brown? It’s quite an indescribable colour actually. Getting blobs or drops of ink wasn’t so surprising as many fountain pen inks are dyes in water solutions and these don’t necessarily mix with organic species like resins – in the same way oil and water don’t. However, I’m not quite sure what triggered the dramatic colour change. Some dyes will change colour when they change pH – but again, not sure what the pH of this resin would be either. A mystery indeed. To be avoided in future I think.
Acrylic inks however do work brilliantly in resin – there’s some of those in the pink hearts. You can see they remain unmixed as pink blobs but it’s a really cool effect. Alcohol inks are good for this as well.
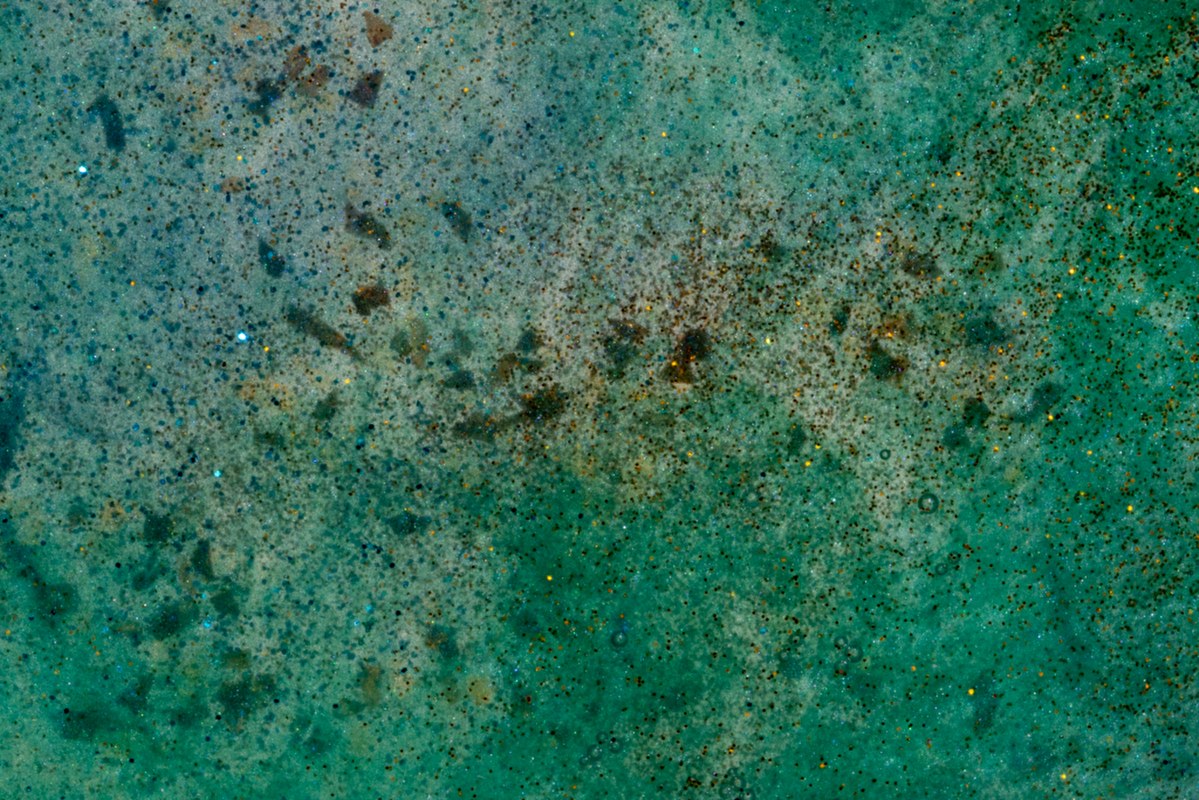
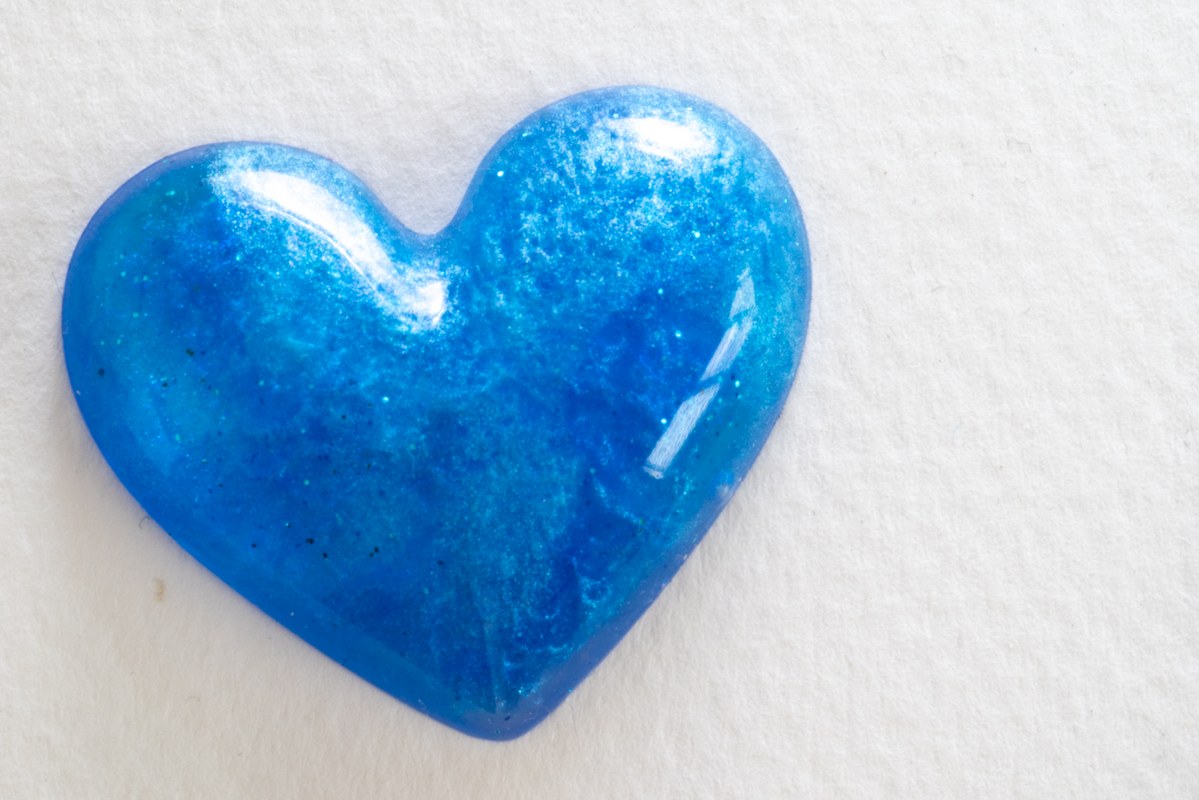
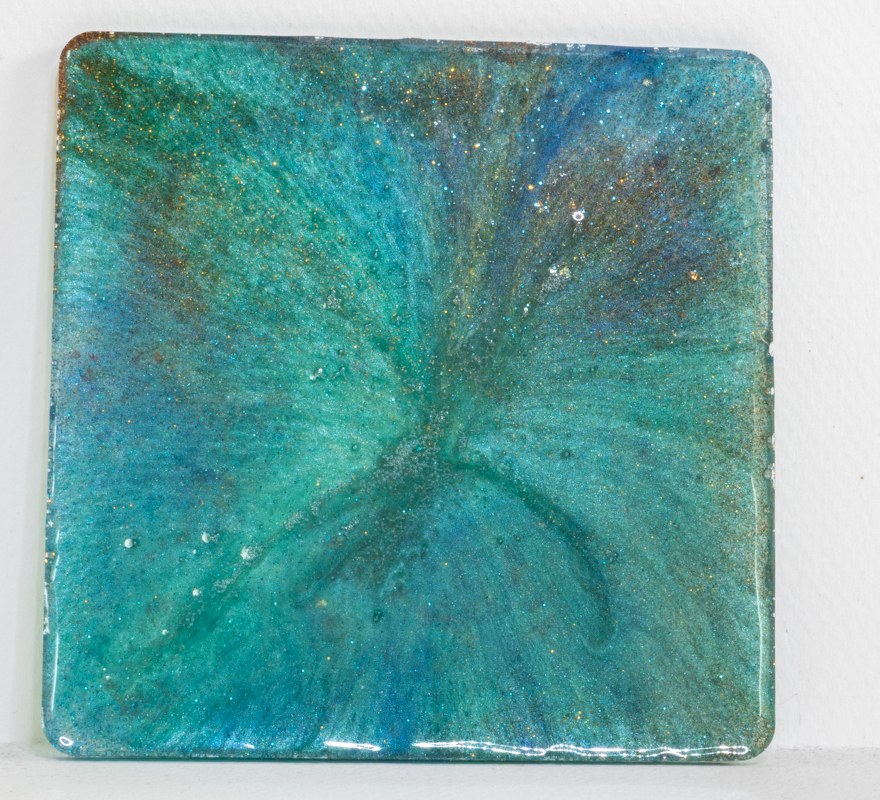
The micas and various other pigments are just beautiful. You can mix them thoroughly enough to properly colour the resin but with a bit of light mixing you can get some really interesting semi-translucent effects with lots of shine.
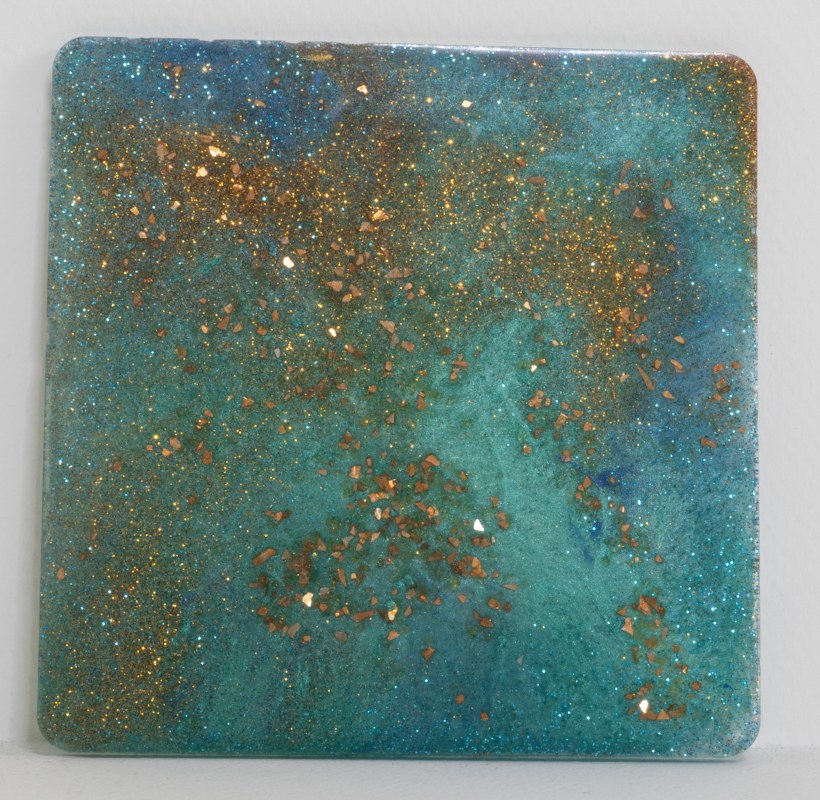
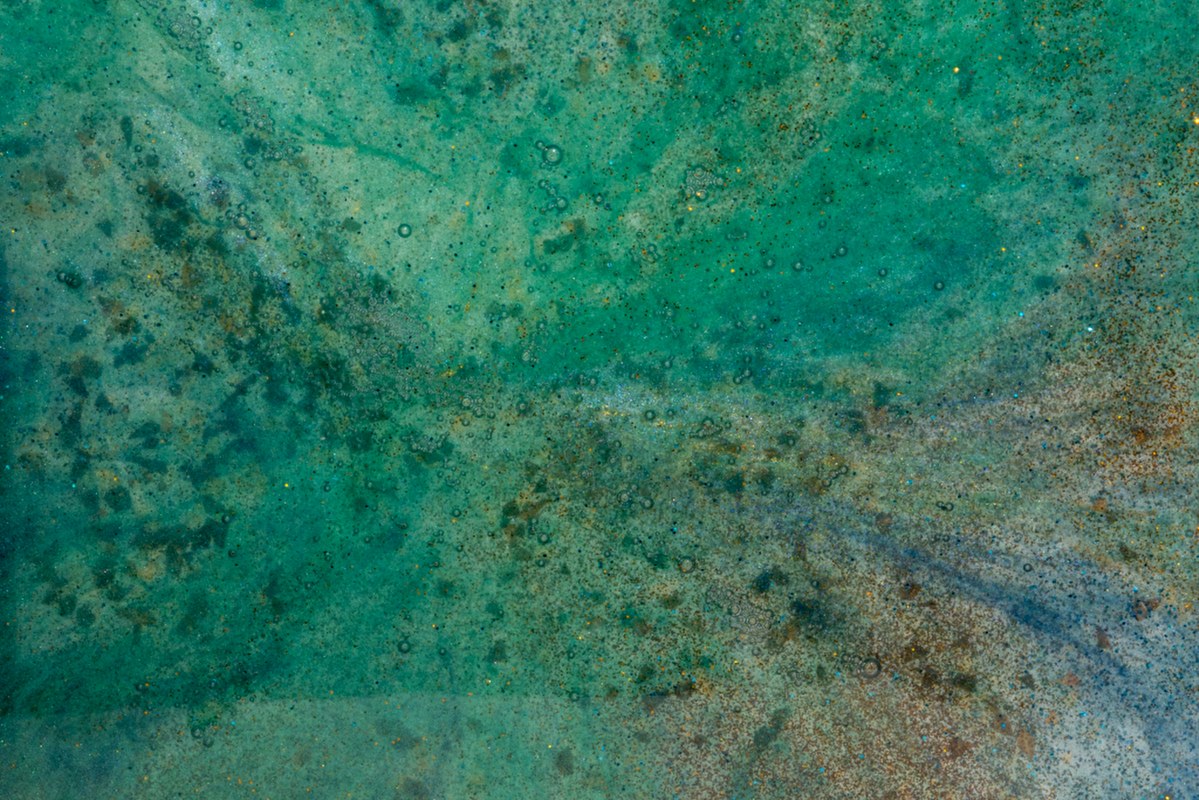
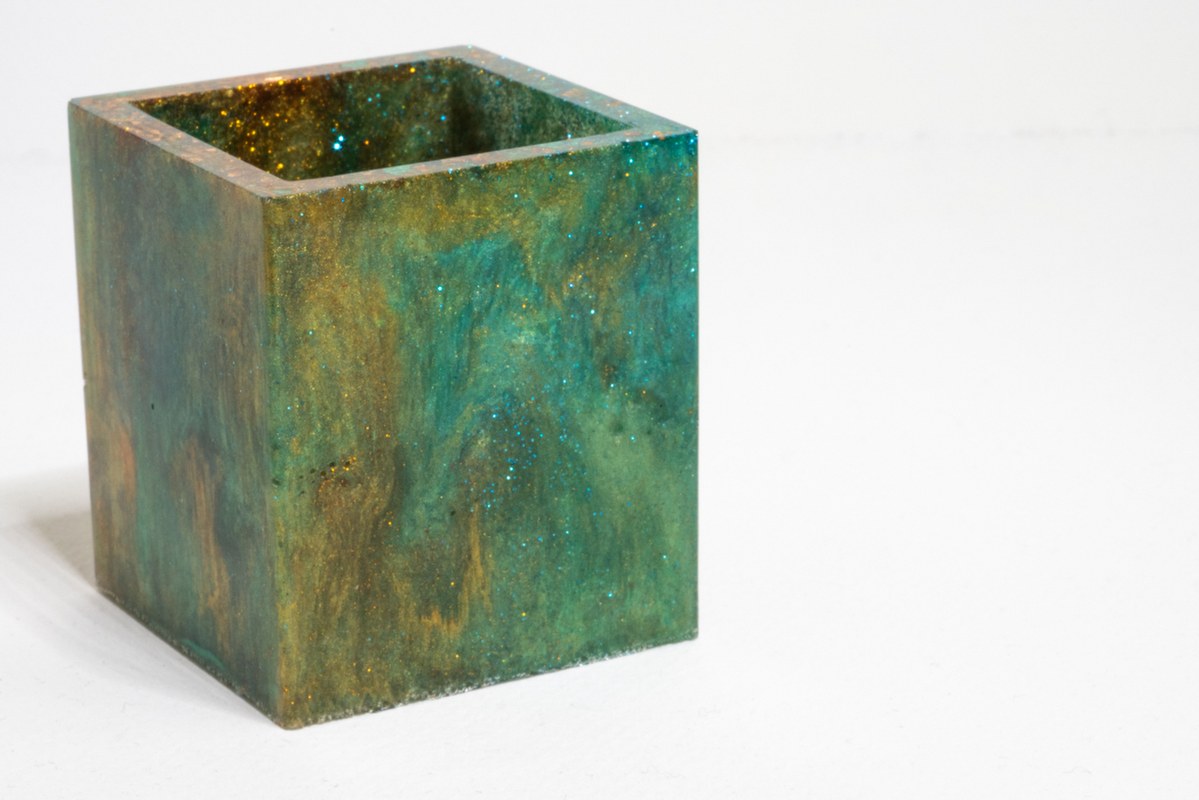
The pot and coaster were done using a ‘dirty pour’ method, where you essentially splodge everything into one pot and pour it out and see what happens. I love these though. The flakes did sink to the bottom of the mould but the colours are just amazing and I love how every side is its own unique piece.


A lot of these are quite bubbly – I have since figured out this was degassing from not completely dry pigments and thermal shock on the silicon moulds. I had been heating the resin but the moulds were on a cold stone floor which did them no favours. As I said though, this was really just a first go to see what was possible, not to get too intimidated by all the technical factors.
These are all so much fun. I’m disappointed with the bead mould – it’s a pain to fill as it’s narrow and then the central hole is disproportionately large and makes the whole thing kind of clunky and the flowers are weird (or maybe it’s my creation of strange indescribable colours) but I just love the colours and the effects and the process is fun. It’s very challenging to take photos during as normally everything is covered in sticky resin and you need to work quickly enough before everything hardens and you’re doomed but we can still all enjoy the pretty after effects…

Fabulous experiments – especially the sparkly ones. It’s nice to do something now and again that has a bit more instant gratification than textiles!
LikeLiked by 1 person
Instant gratification is a good word for it!
LikeLike
How fascinating and some great results: especially like the pot and coaster. I almost feel tempted to try, I used to make candles, but I think it sounds as if the stickiness could be a disaster for me.
LikeLiked by 1 person
I think gloves and a plastic sheet are a must! I have had more trouble with making a mess with the pigments than the resin
LikeLiked by 1 person
Goodness, you have been having fun! That brown does make a good simulation of some historical glazes on pottery, if your inclinations should happen to turn that way…
LikeLiked by 1 person
I love your positivity and creativity with the applications!
LikeLiked by 1 person
Very cool! I like resin pieces and always wondered if it would be hard to do or not. Are you thinking about trying a bit more with it?
LikeLiked by 1 person
There’s already a backlog that needs photographing for the blog 😉
LikeLiked by 1 person
[…] do wonder if the culprit might have been the addition of some fountain pen inks. I mentioned last time that one of the Diamine inks underwent a rather drastic colour change on addition to the resin. I […]
LikeLike