More cards, but a little bit of a different theme today – Somerset patchwork! Ribbons are wonderful, versatile things. You can wrap presents and decorate with them, embroider them to make particularly lovely looking flowers and cut them up and fold them over to may all sorts of fanciful shapes.
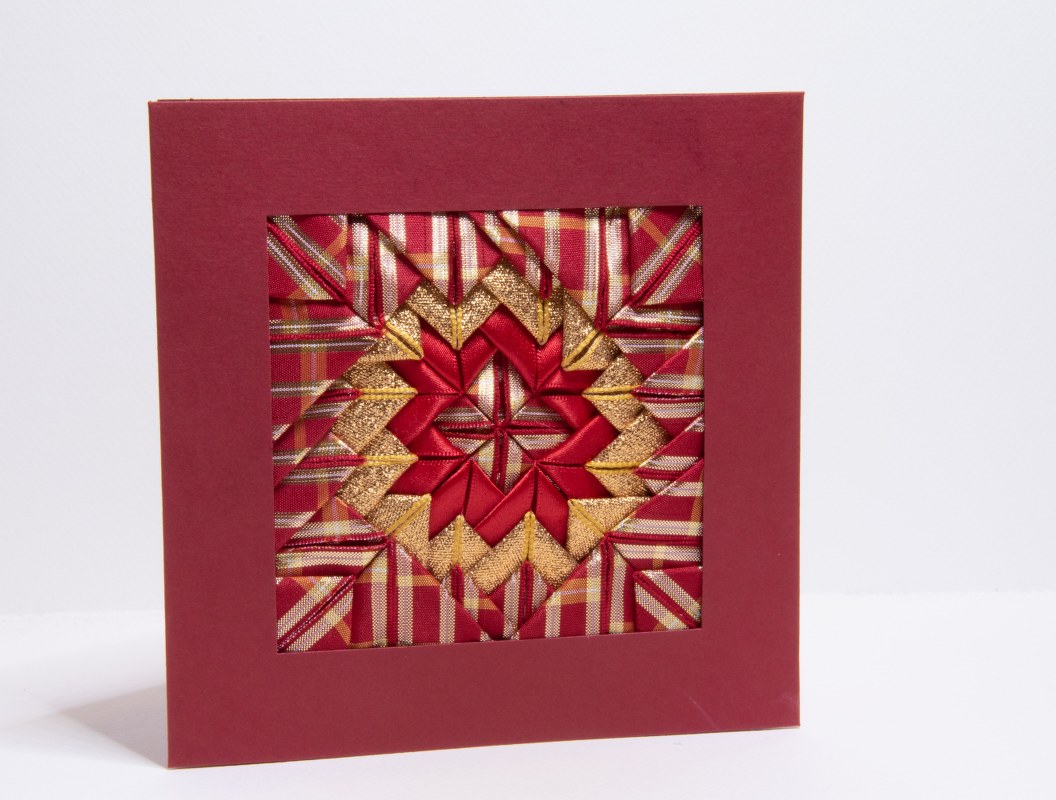
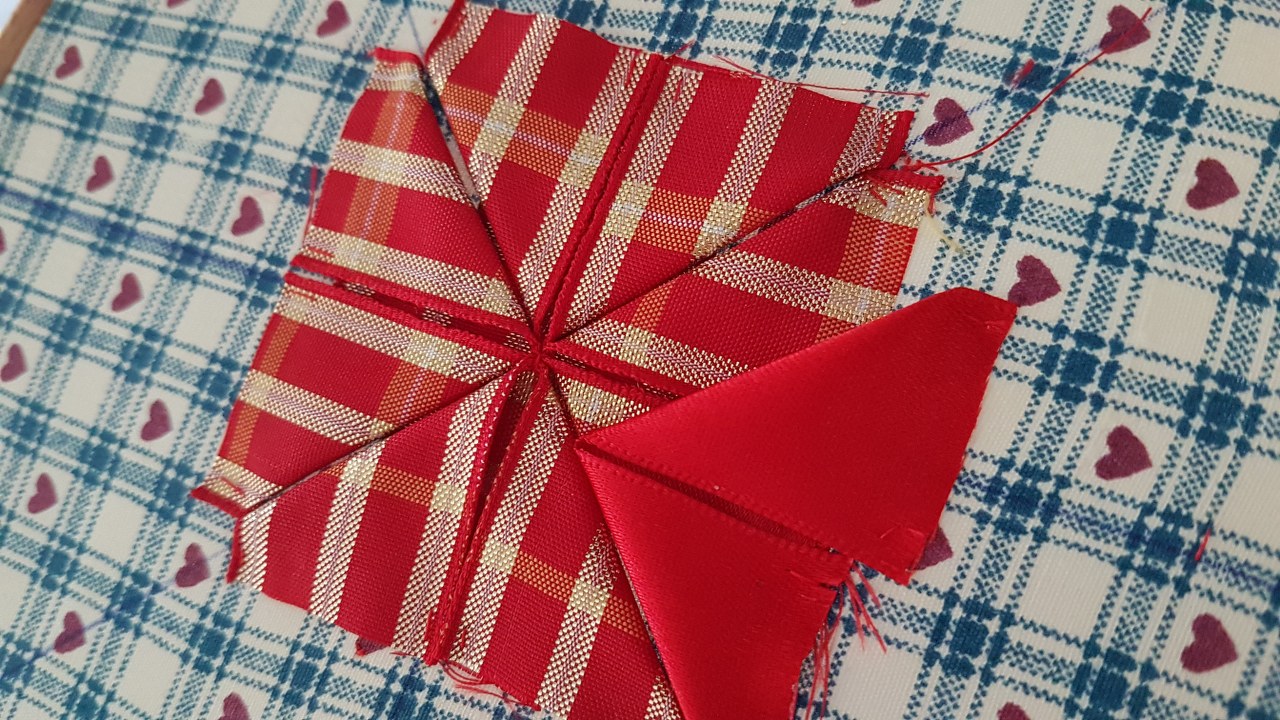
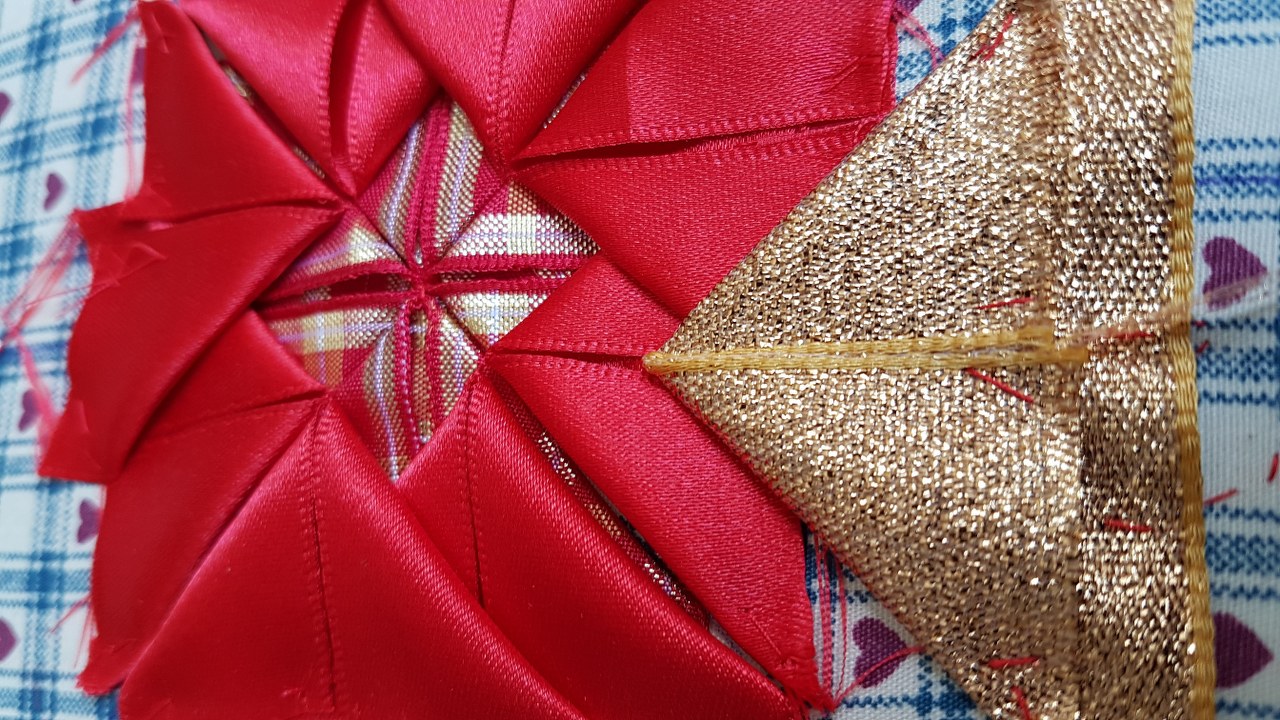
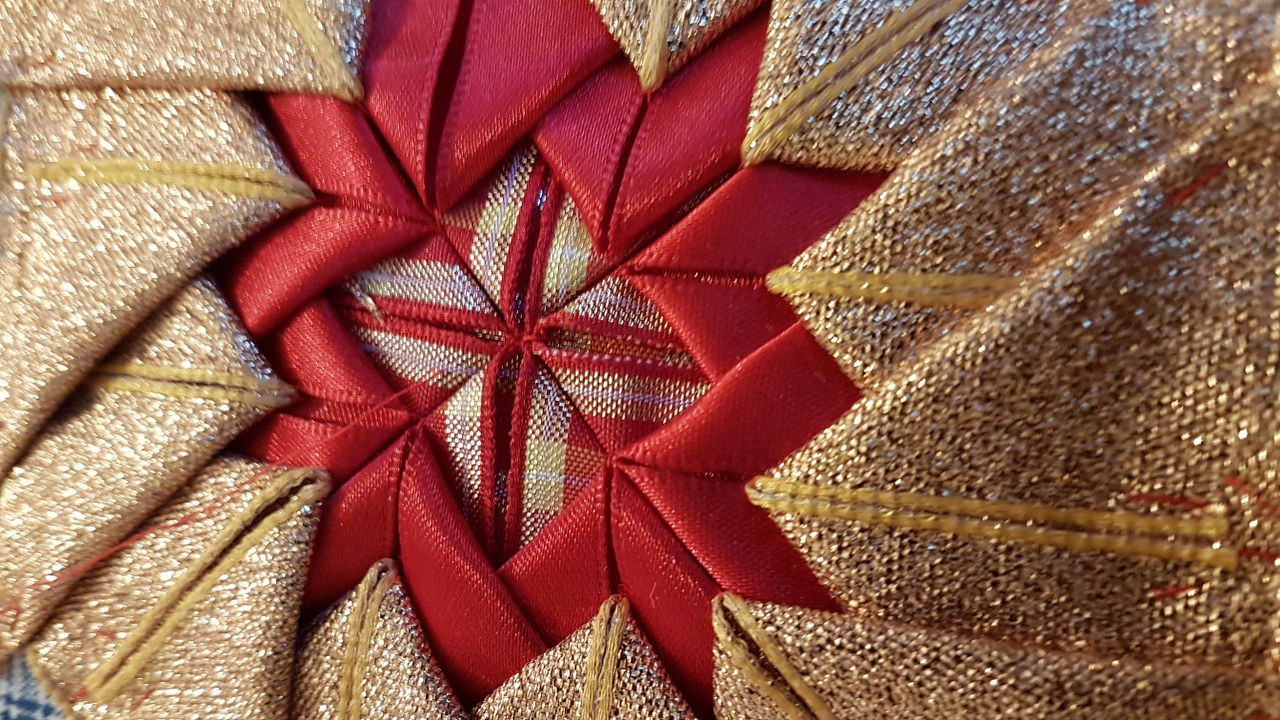
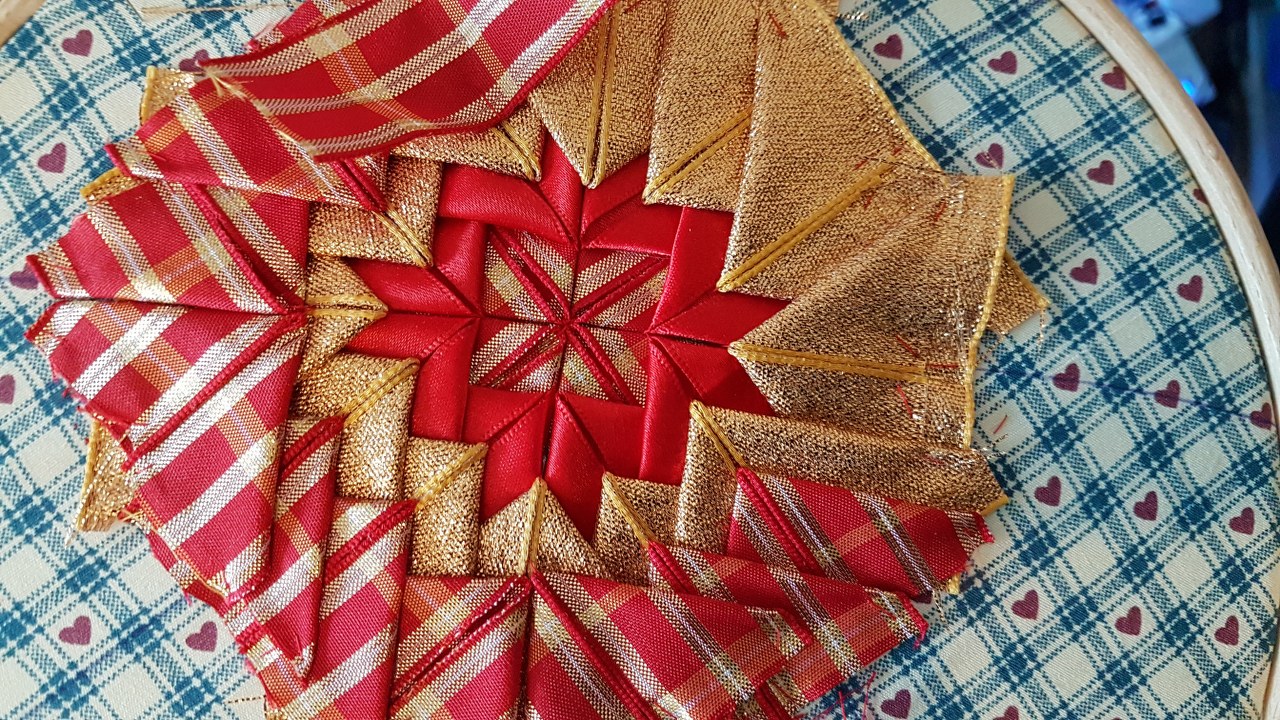
Apparently the Somerset patchwork pattern is also known as the ‘folded star’ because that’s exactly what it looks like. I’ve seen it used before for fancy cushions and decoration before and it’s a really lovely pattern. What I didn’t expect was that it would be quite so easy to do.
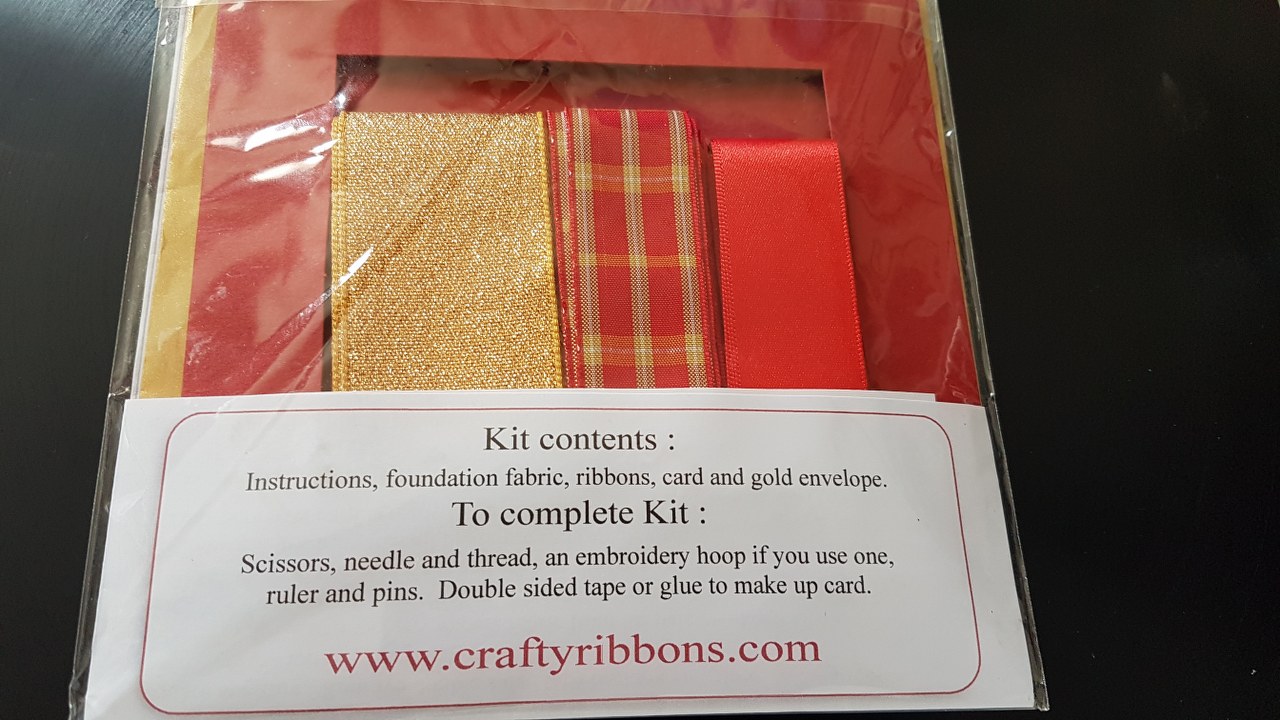
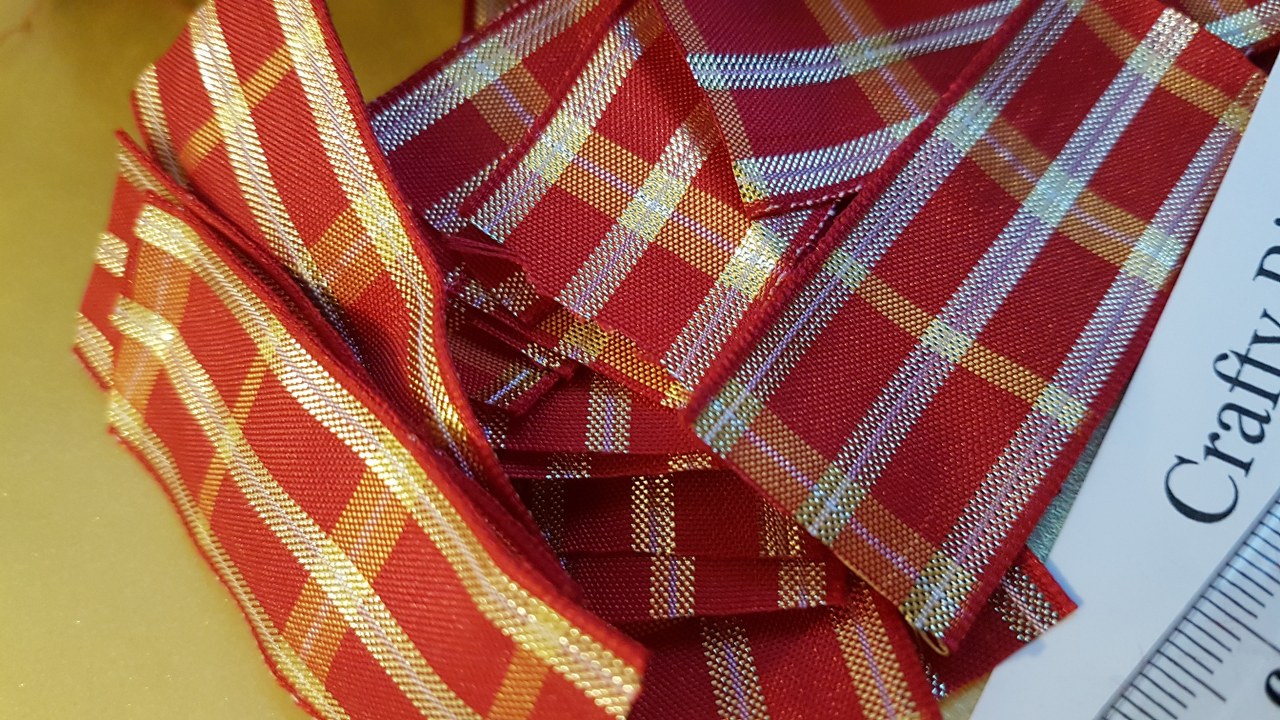
I had to put in an order from Crafty Ribbons anyway as I needed some ribbons for another project and when I saw the very affordable kits I couldn’t help but have a go. I really like craft kits – perhaps it’s a bit lazy of me but I love it when someone else has done all the hard work of sourcing the materials and making sure there all the correct amounts and all I have to worry about it is the putting it together part.

I was pleasantly surprised that, although the Somerset patchwork looks really striking, it’s not that complex to do. There’s a helpful tutorial here and Crafty Ribbons do send instructions with the kit, as well as have their own videos you can find through their site. Once you’ve got into a good rhythm with it and don’t start questioning exactly where you need to measure down from for the next row it’s really quite therapeutic. I do wish I’d had a seam allowance measurer for this rather than a ruler – some of my measurements were more than a little skewwhiff!
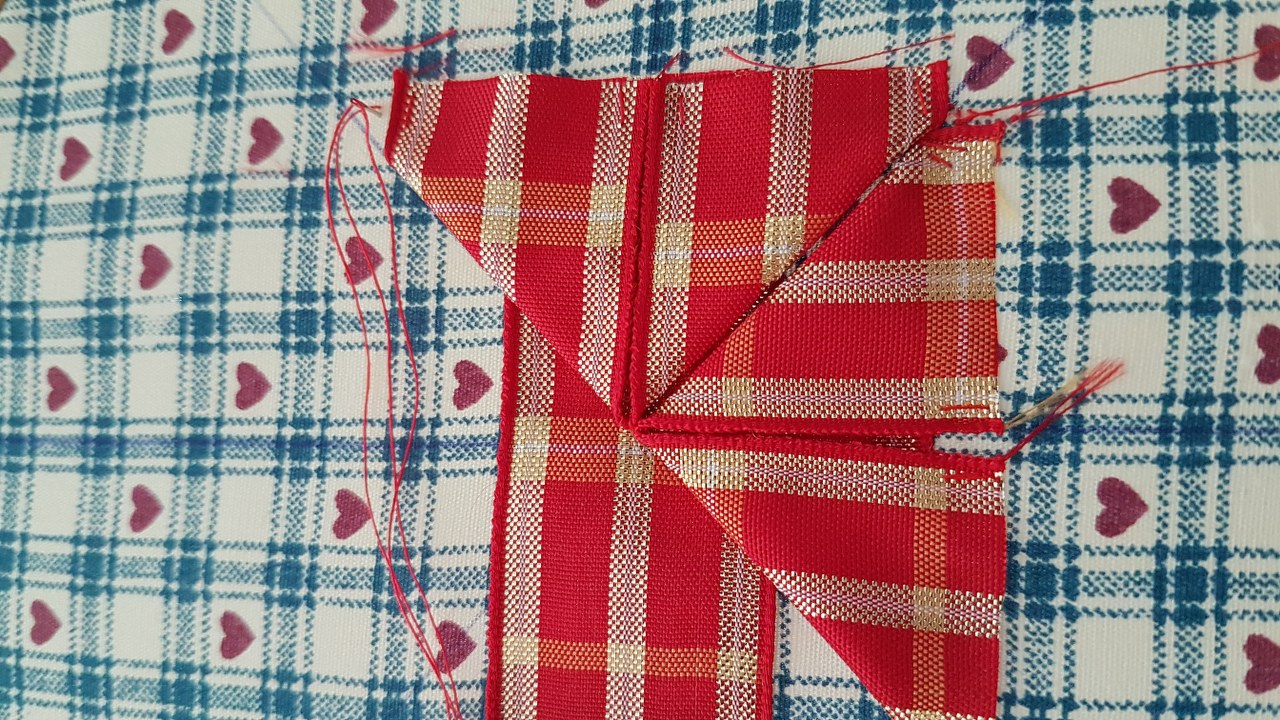
I have to confess that I did embrace the mantra of ‘perfect is the enemy of done’ and didn’t concern myself too much with making sure all the ribbons were cut exactly to length and all the folds were as crisp and precise as they should have been. The ribbons that came with the kit were pleasantly substantial though this did mean that they tended to put up something of a fight during the folding process. I didn’t also use the pins as proposed in the tutorial to keep the folded triangles in place while stitching which I’m sure would have greatly helped with the finished effect but I would have lost the dynamical fun of trying to imitate an octopus stopping the ribbon springing open while getting all the stitches in place.

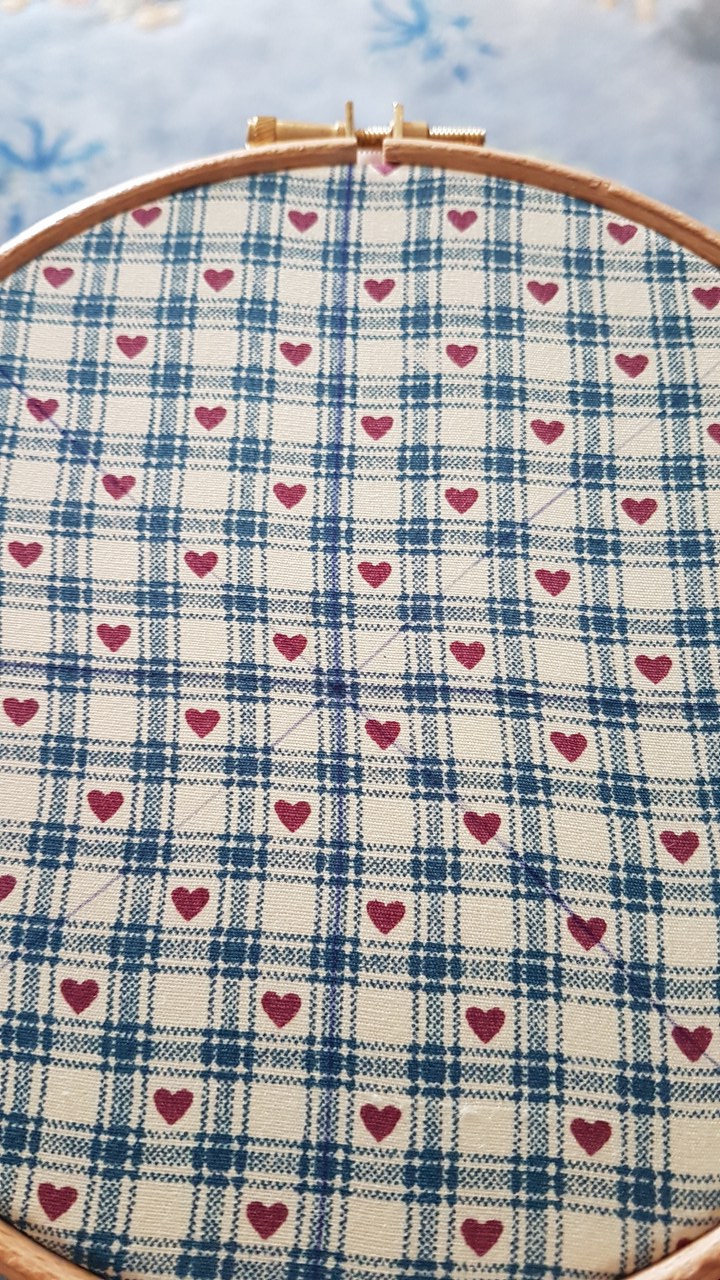
The heart check gingham and all of the ribbons in the kit were absolutely gorgeous and went together so well. The gingham heart check for the base fabric was also very sweet – and a good practical surface to work on as it gave me some extra guidance and lines to work on – I just think it’s a shame that it is obscured in the final design.

For something that is hand stitched, the overall project didn’t take as long as I would have expected. I would imagine this would have been more straightforward with fabric scraps as well as some of the ribbon was relatively stiff with something of a life of its own. (Or if I had followed the instructions and pinned things properly like I was supposed to do…)
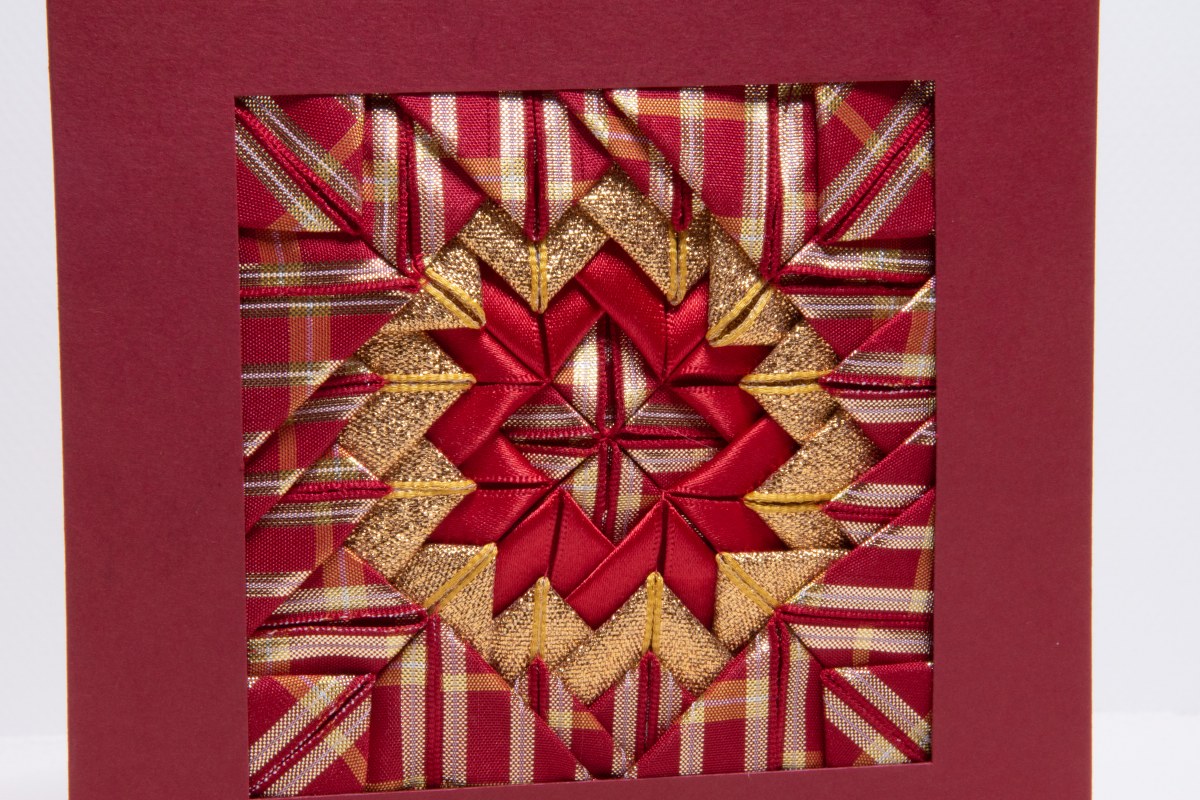
The pack included the card for mounting in for which I did make liberal use of double sided sticky tape. I don’t keep my mounted cards long enough to comment on whether glue or double sided sticky tape is better for securing the pieces. Double sided sticky tape certainly feels more forgiving and less risky in terms of a splodge ending up on a visible part of the fabric but I have some excellent Loctite glue and some mystery glue from Dongdaemun that dries like cement and does give the impression of being better at holding some tension in the fabric which gives a nicer finish.
Overall, even though there are a few parts where I was cursing my lack of care a little and there are one or two mistakes in there as well, I did really enjoy putting this one together. Definitely a lovely, visually striking idea for not that much complexity – but if anyone has any ribbon folding secrets for getting really nice sharp creases, do let me know in the comments!

You do get a lovely effect don’t you. I have a friend who has been sending me Christmas cards made with what I believe is called Iris Folding of paper. This year she sent me a card made with cloth or ribbon using Somerset Patchwork, in a similar but slightly different arrangement to yours. What a coincidence!
LikeLiked by 1 person
I love iris folding! It’s very sticky (or is when you’re like me with glue) but it’s fun laying down all the strips and watching it build up. What a great friend!
LikeLiked by 1 person
beautiful and inspirational. It suggests to me that I could make a few greeting cards with quilted fabric blocks. (tiny ones,) My mother, the quilter, would love getting one of these for her bd.
LikeLiked by 1 person
I have seen some lovely quilt block cards that are fabric front and back (I guess more like fabric postcards?) Just depends how much you want to write for the message. Saves faffing with mounting everything – although there are some fabrics that you could write directly on with pen as well to save stitching the letters.
LikeLiked by 1 person
I have been known to write directly on fabric using a marker made specifically for the purpose. Thanks for reminding me,
LikeLiked by 1 person
I agree, especially with a craft I’m merely trying out, kits are very reassuring, and this one has produced a charming result. Well done!
LikeLiked by 1 person
Very reassuring is an excellent phrase for it!
LikeLiked by 1 person
Very cool! I’m with you on liking kits – sometimes it is definitely nicer when someone else has put together all the pieces and all you have to do is the project itself 🙂 This is a lovely card, and looks like a really fun craft!
LikeLiked by 1 person
Yeah I think I’d have fun designing my own now… maybe some ribbon shopping is in order!
LikeLiked by 1 person
Definitely!
LikeLiked by 1 person
Wow that is very pretty! Now if I made that card I would only give it to someone who was never going to throw it away or planned to frame it! 🙂
LikeLiked by 1 person
Thanks 🙂
LikeLiked by 1 person