I have something very, very exciting to blog about this week… a patch making course at the utterly brilliant London Embroidery Studio!!! This was really a very perfect day and course and if you want some added context for how unusual all of this was… I actually really like the patches I made!
This was an incredibly relaxed freeform course with loads of opportunities to learn and try new things. We could bring our own photos and basically just play, under the expert guidance of Andrew Kenny. I was a little intimidated by being able to do ‘whatever’ as sometimes when you don’t have a lot of experience you don’t really foresee what designs will be challenging but actually it worked very well and I left feeling I had learnt a load of new tricks and feeling more ‘freeform’ about the whole idea of digitising.
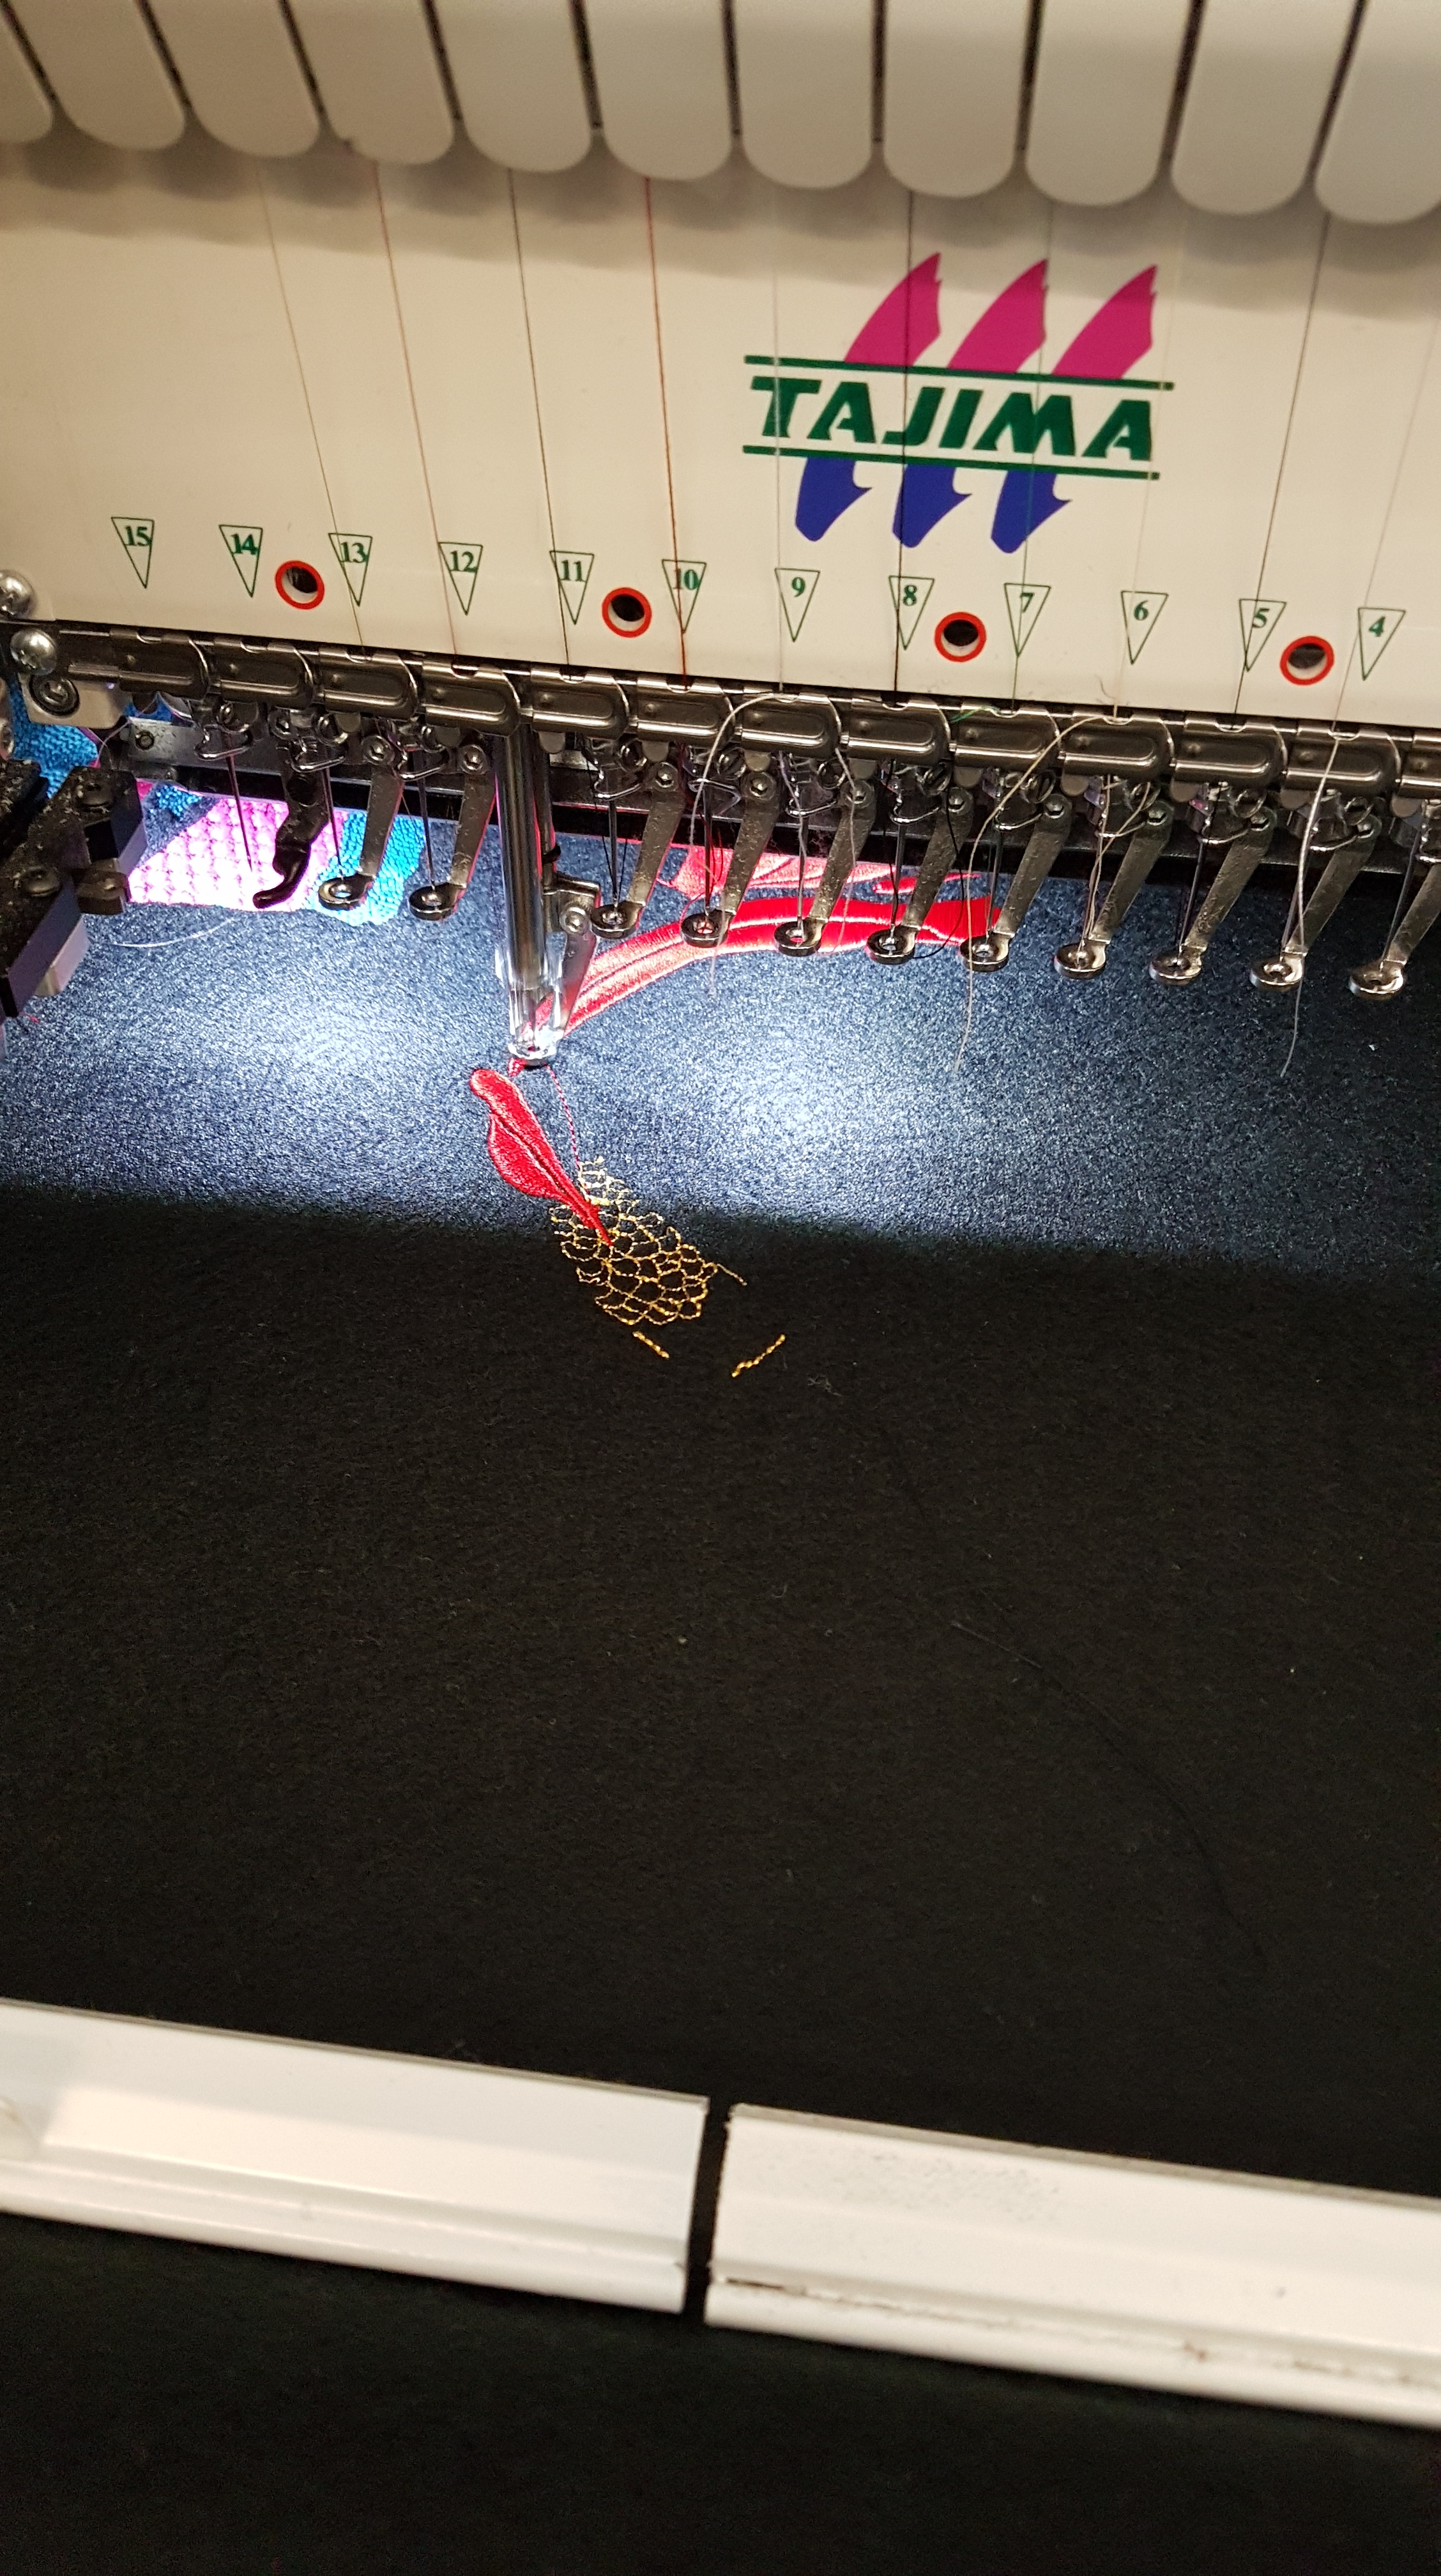
The studio is a really beautiful space with an impressive amount of really very loud Tajimas working on some mind-bogglingly complex designs. The team there are really masters of their trade and one of the highlights was getting to see a load of their own samplers out for display as excellent examples of just what is possible with time, patience and years of experience.

I was really looking forward to this course as digitising is one of those skills where there’s just not that much out there for it. I’ve done a few online courses with John Deer that have been invaluable in getting me familiar with Hatch, and I do have a book on machine embroidery I’ve found very useful for picking up good needle/stabiliser/material combinations but I’ve felt a bit ‘on my own’ without the ability to get any feedback or discuss with people with more experience.
The John Deer courses have been great with getting over the learning cliff that is digitising software. (They’re all varying degrees of bad for this, half of it is getting your head around the logic of digitising, the other half is just dealing with a UI with a hundred millions options, so just pick your poison) However, while I think have been a brilliant foundation (and good training if I ever do want to do production runs so need to worry about jump threads etc.) they were probably perhaps a little overly finicky about some things. It was very liberating being told to just go!

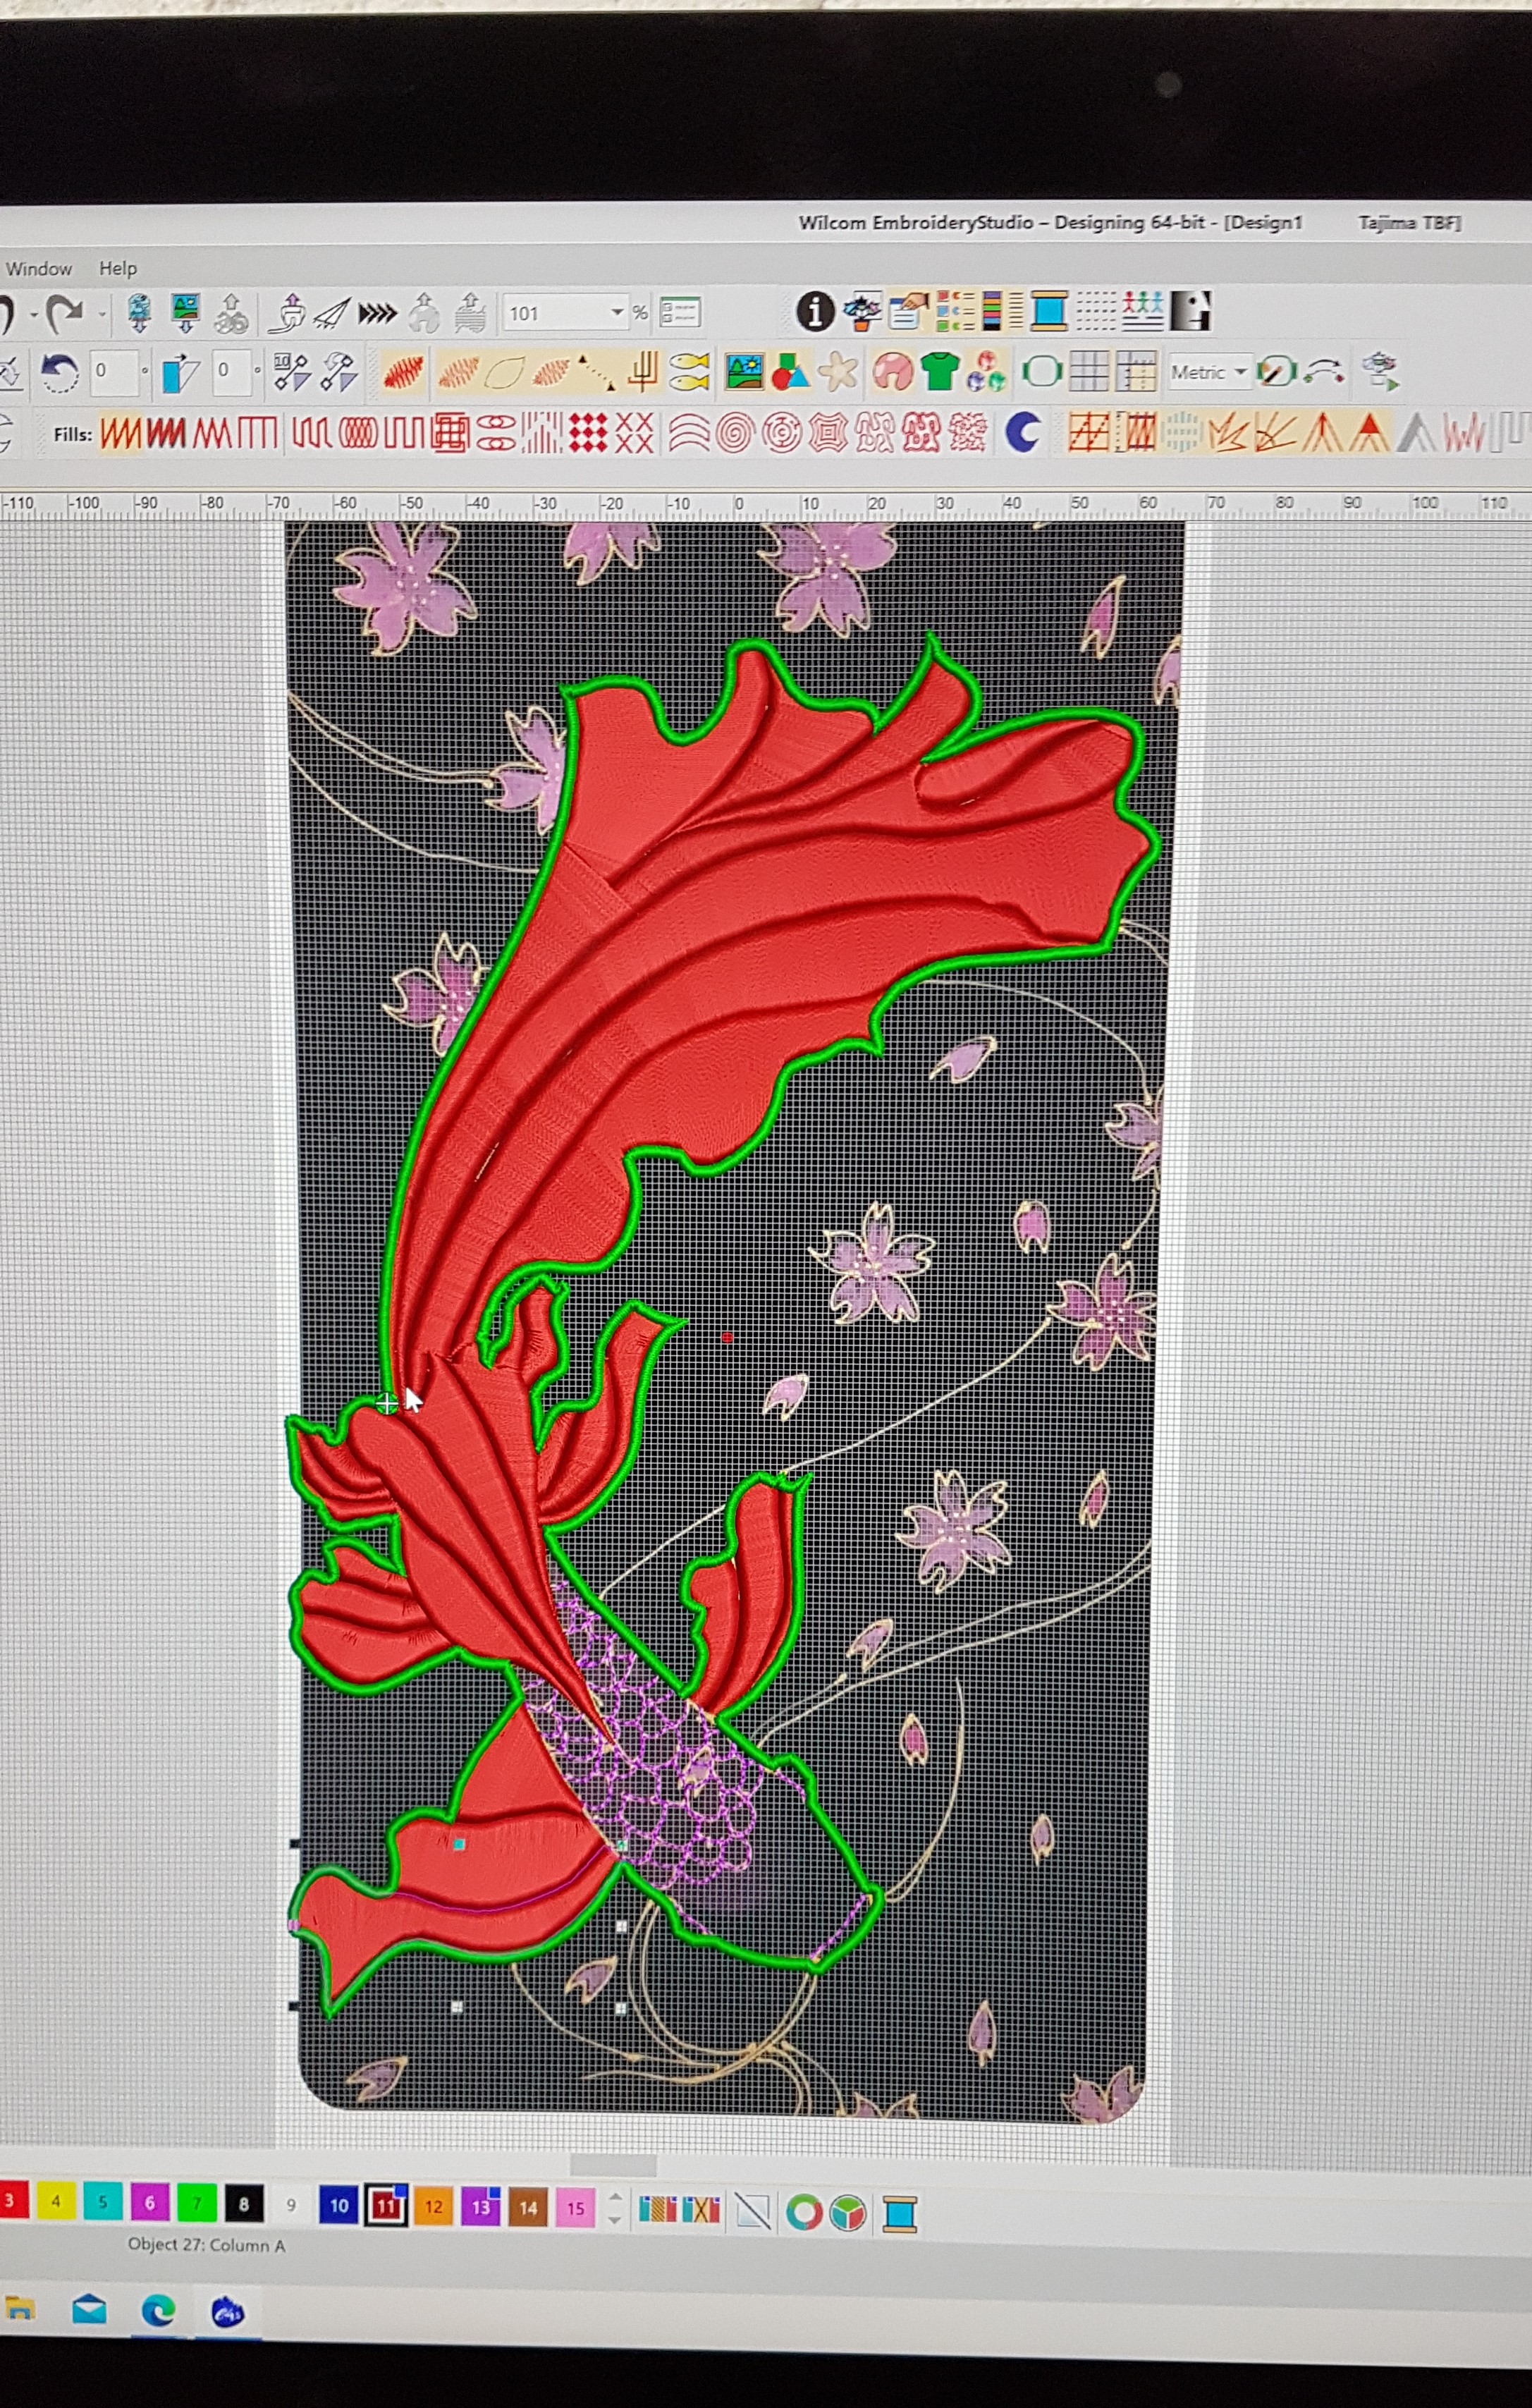
We were working with the Wilcom Embroidery software which is their ‘sell both your kidneys’ price level product. With the right machine you can use it for beads, bling, cutting and multi-head work, but what was good for me is it does look a lot like Wilcom’s baby brother software, Hatch, which is what I have at home. ES has a more Photoshop-like interface and some drool-worthy auto tools that I was completely smitten with but the basics are the same.

I picked a deliberately hard shape because the joy of having a class is you have someone to rescue you when you’ve make an unspeakable bird’s nest or tried combinations that would just never work. What was really nice is being able to just try and then get some advice and learn some new tricks like the ‘Complex Shape’ tool that lets you adjust the stitch angle on a shape with a complex outline and the type C column tool for which you just draw a line and then it magically makes it a shape of fixed width – best thing for patch borders!
Digitizing is a lot of clicking but it was a delight working on a big monitor rather than a tiny laptop and really did help with getting around the design quickly. There is an art of knowing which edges need to be perfect and which you can be more haphazard with, but I think the habit of doing things at a 6:1 ratio does help. Takes a while but means that everything usually looks quite smooth.
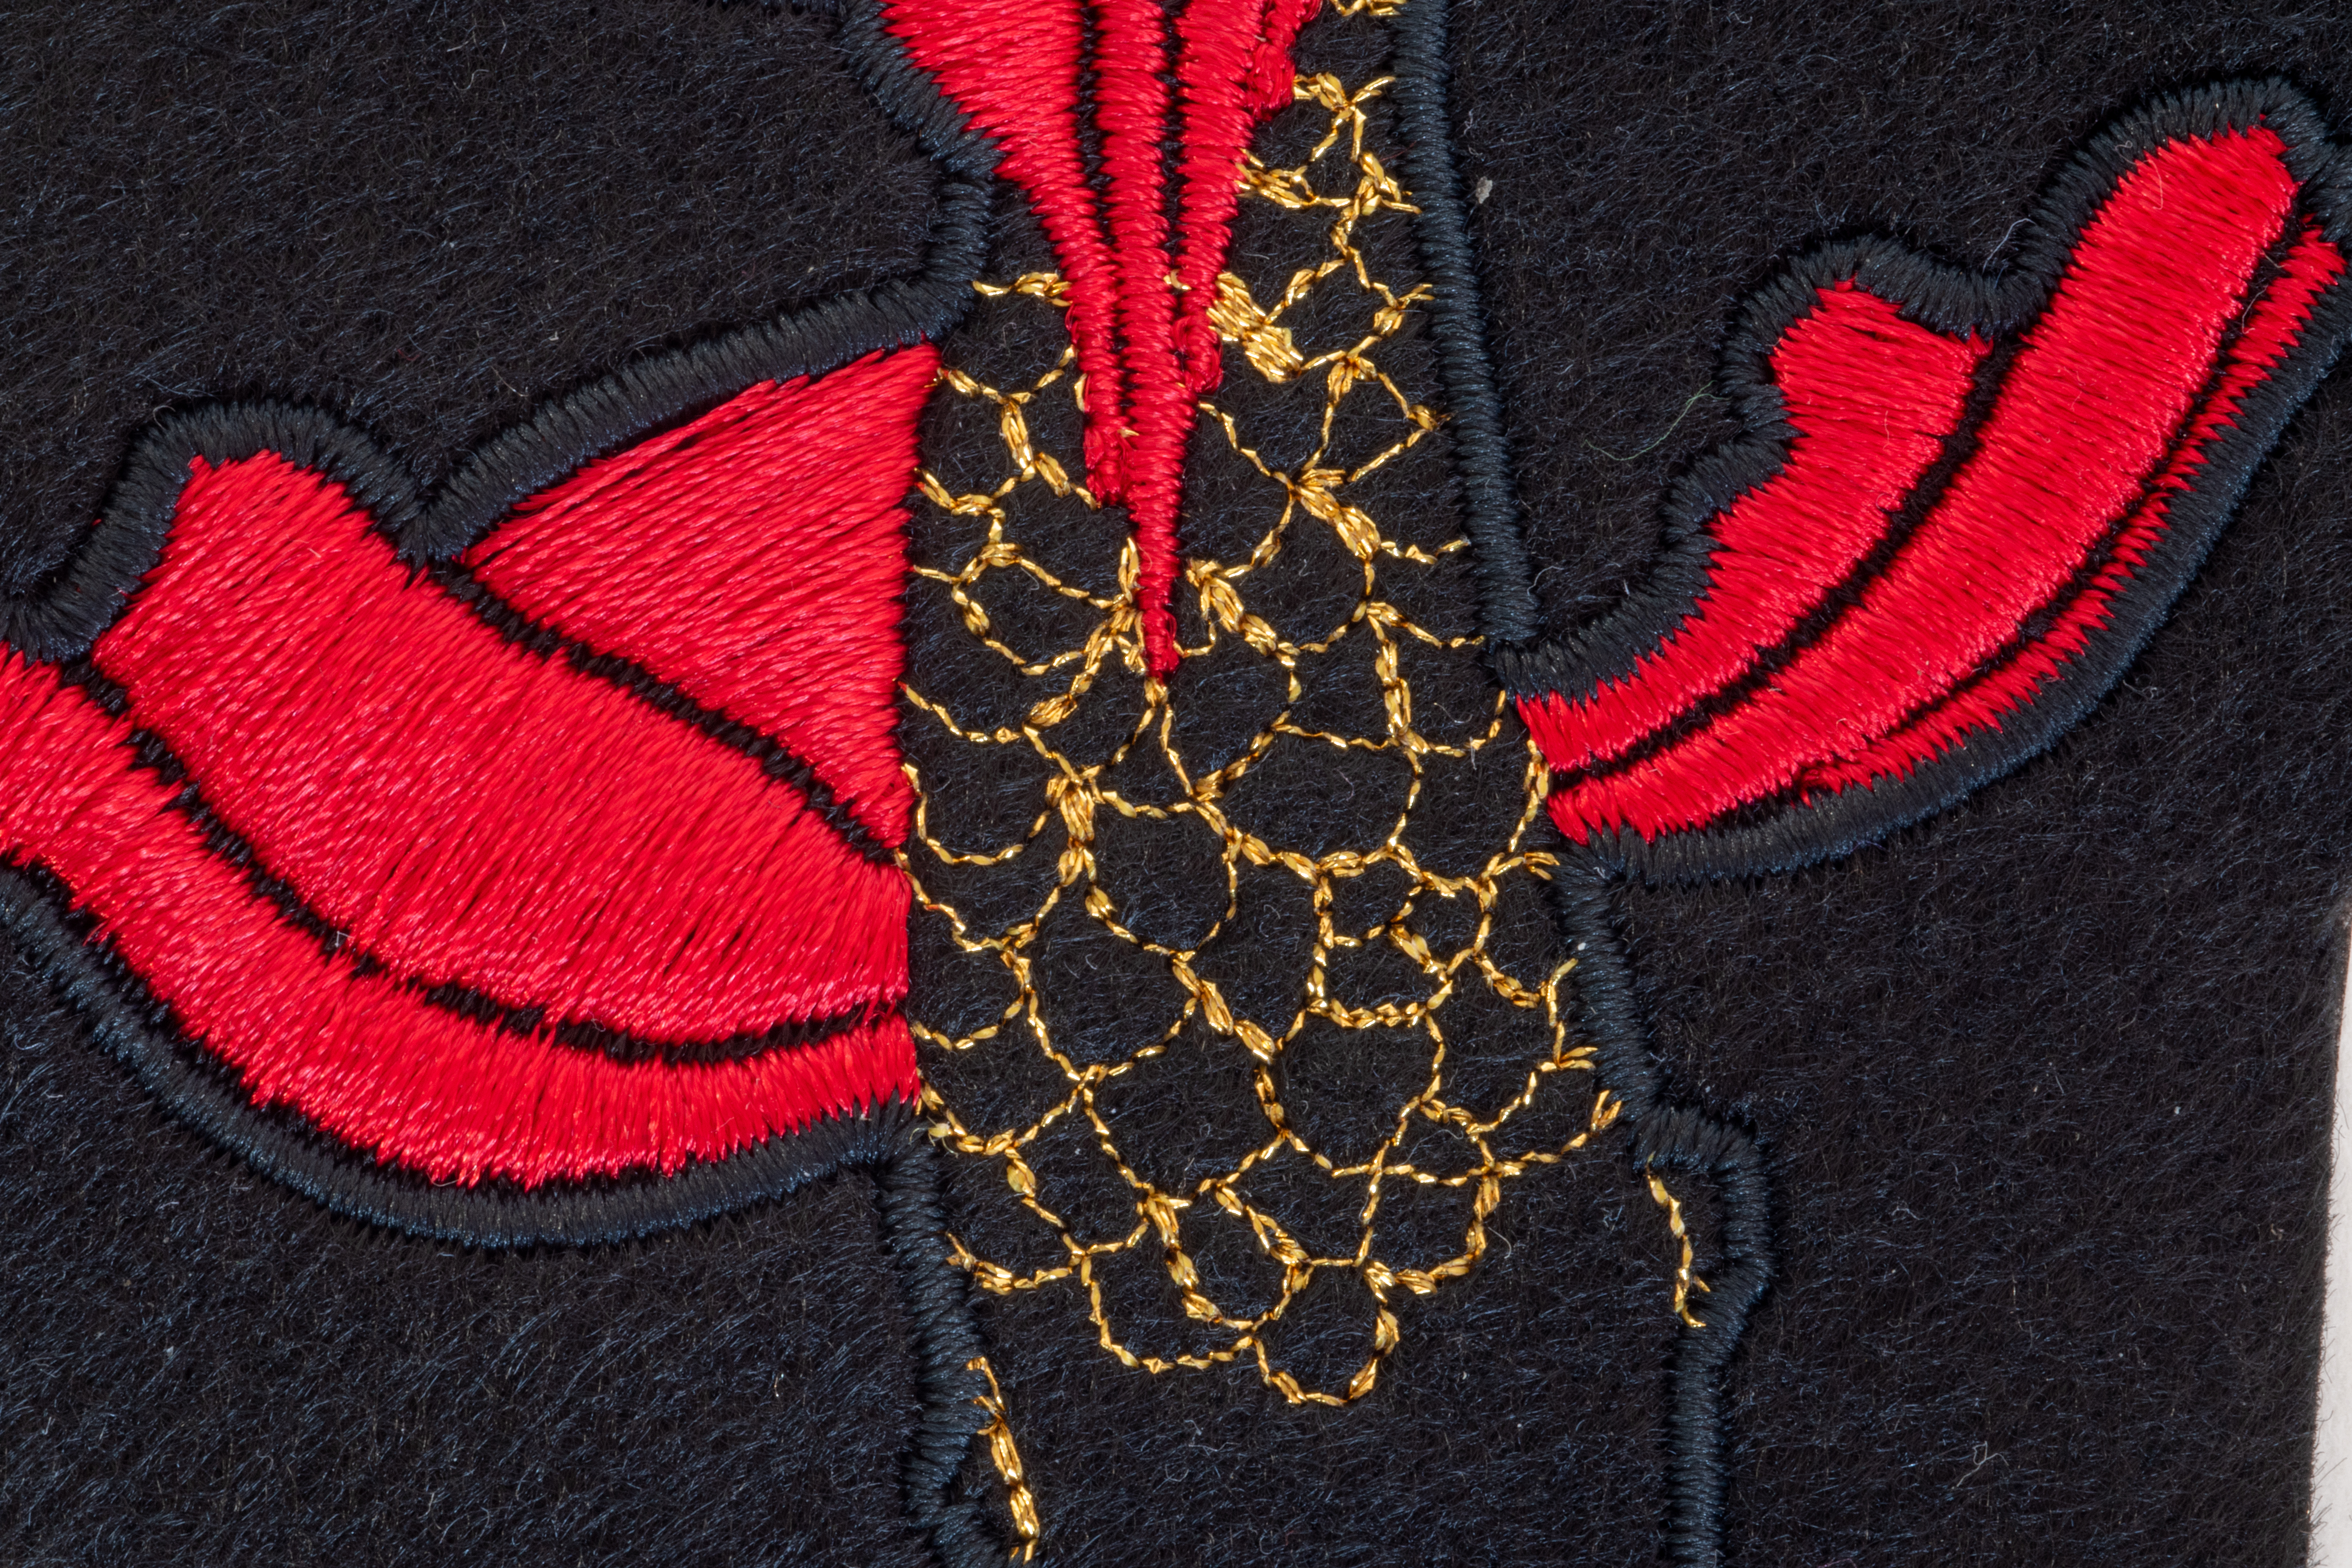
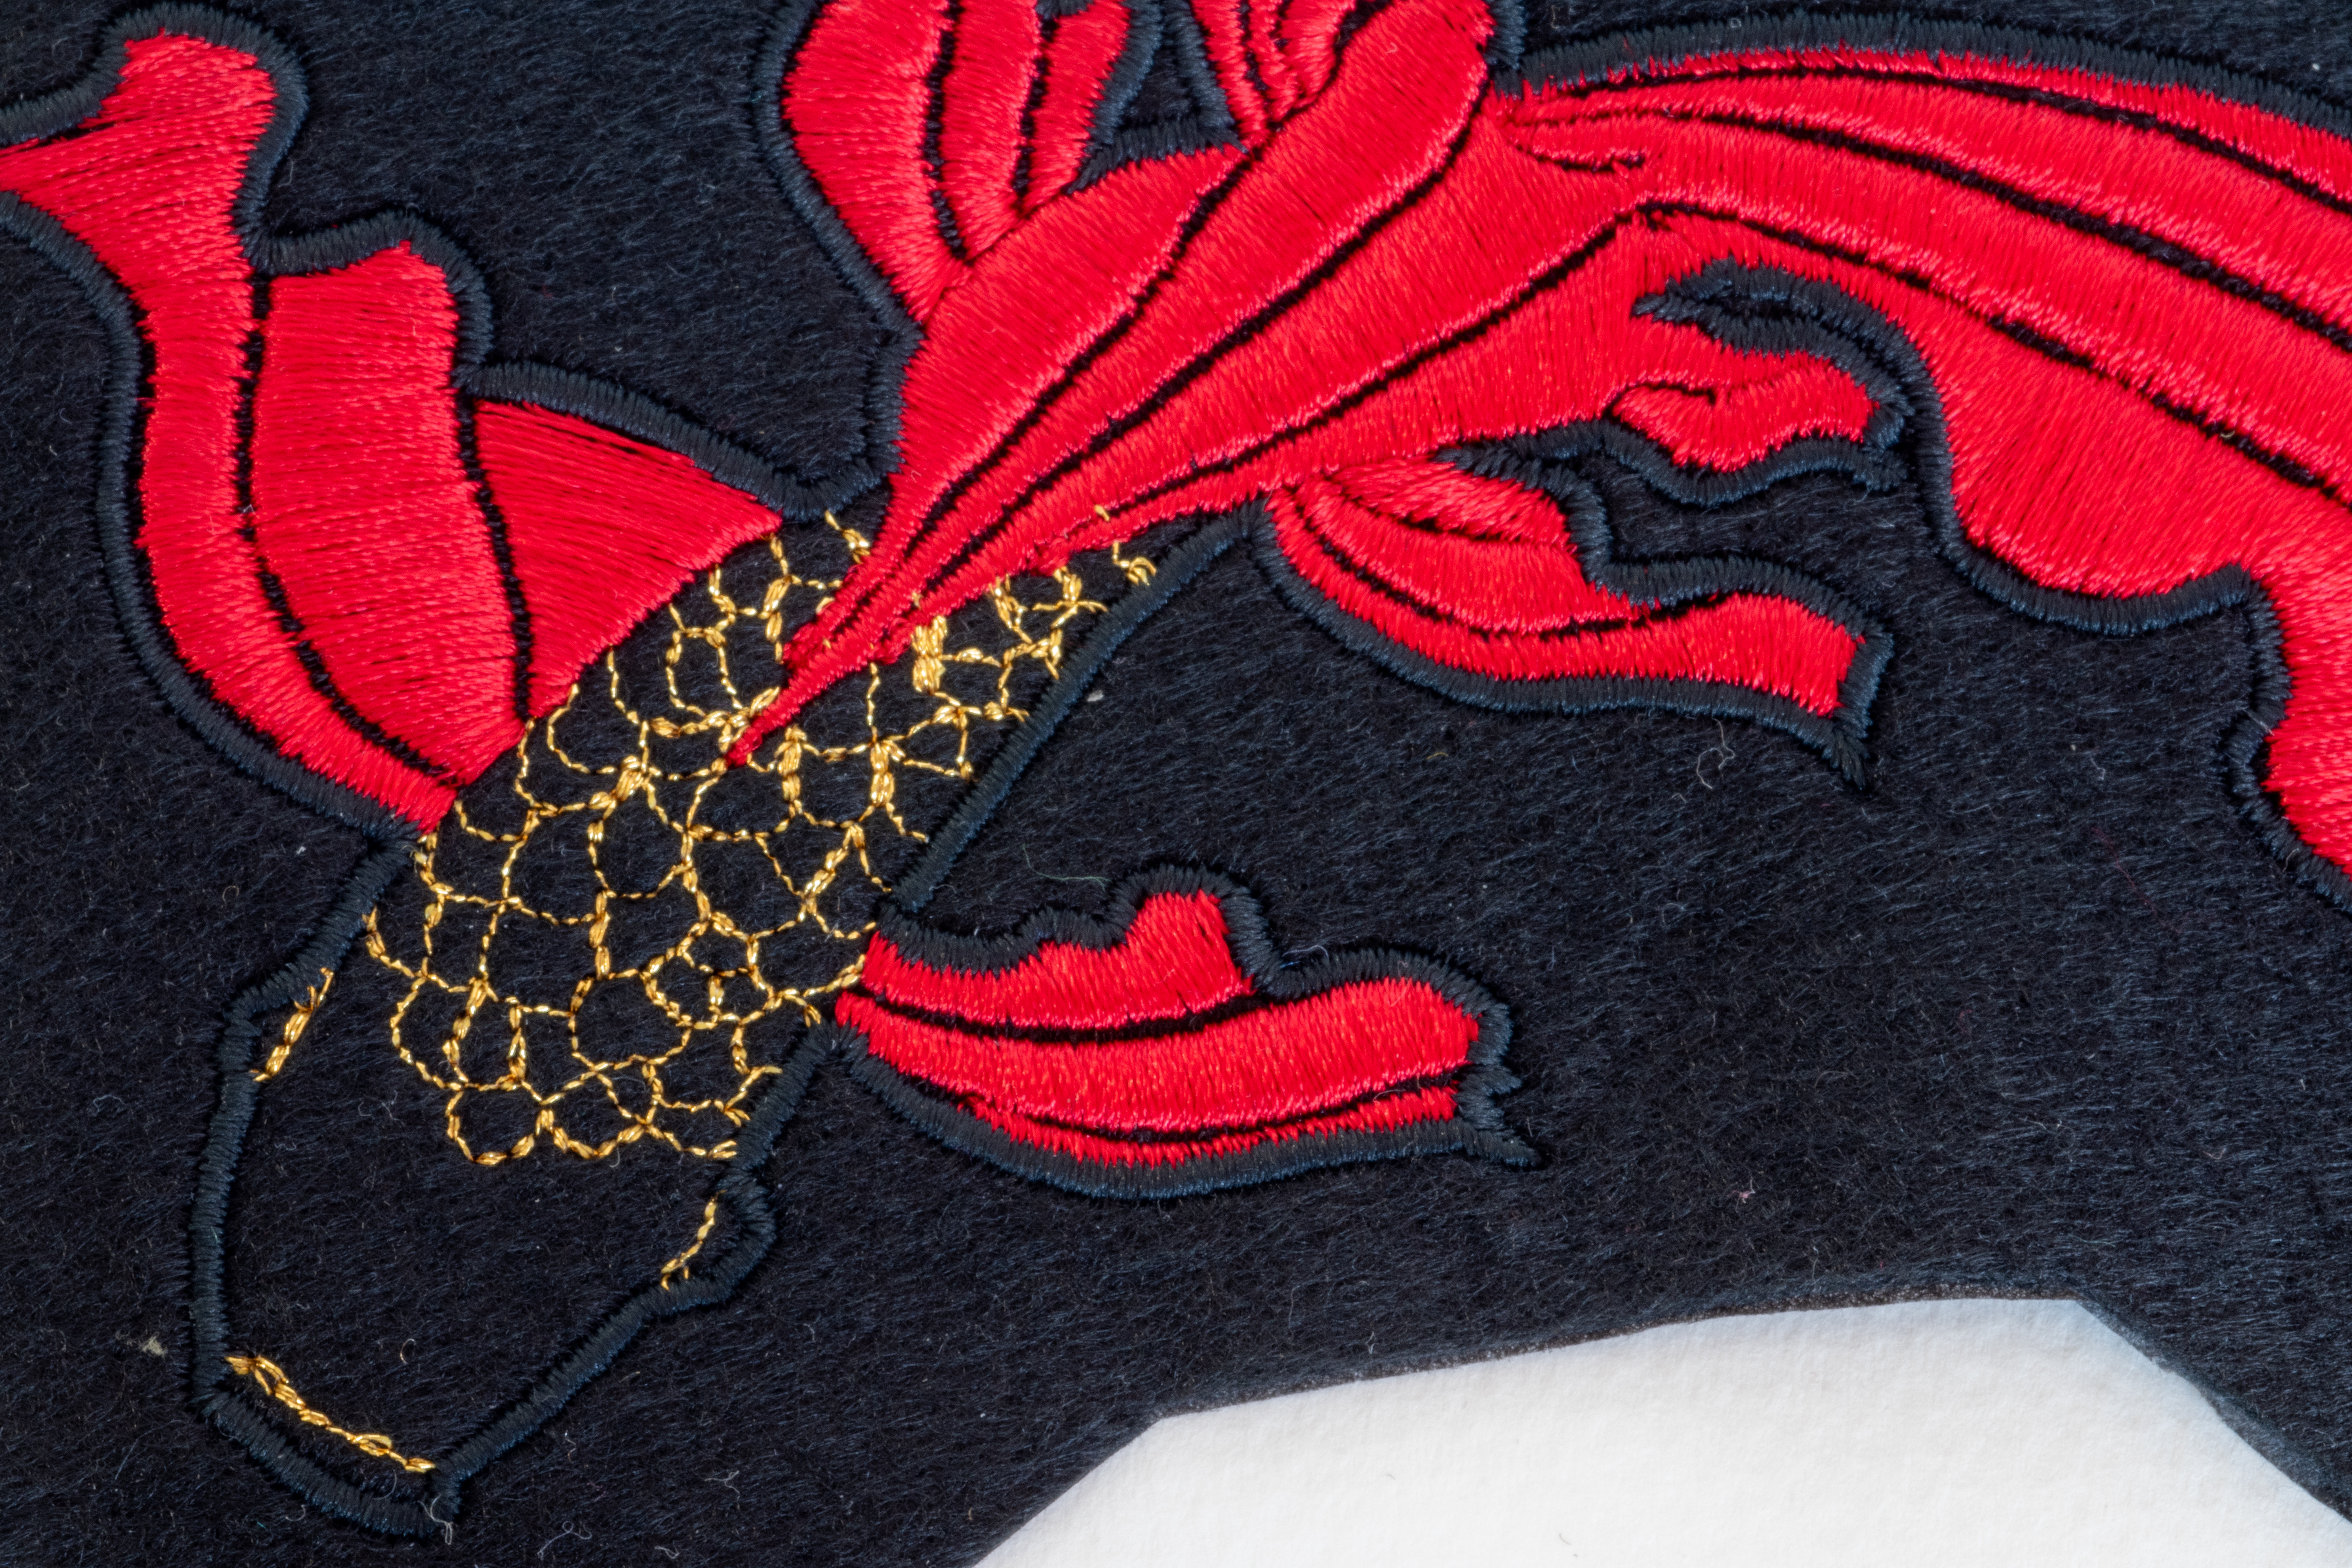
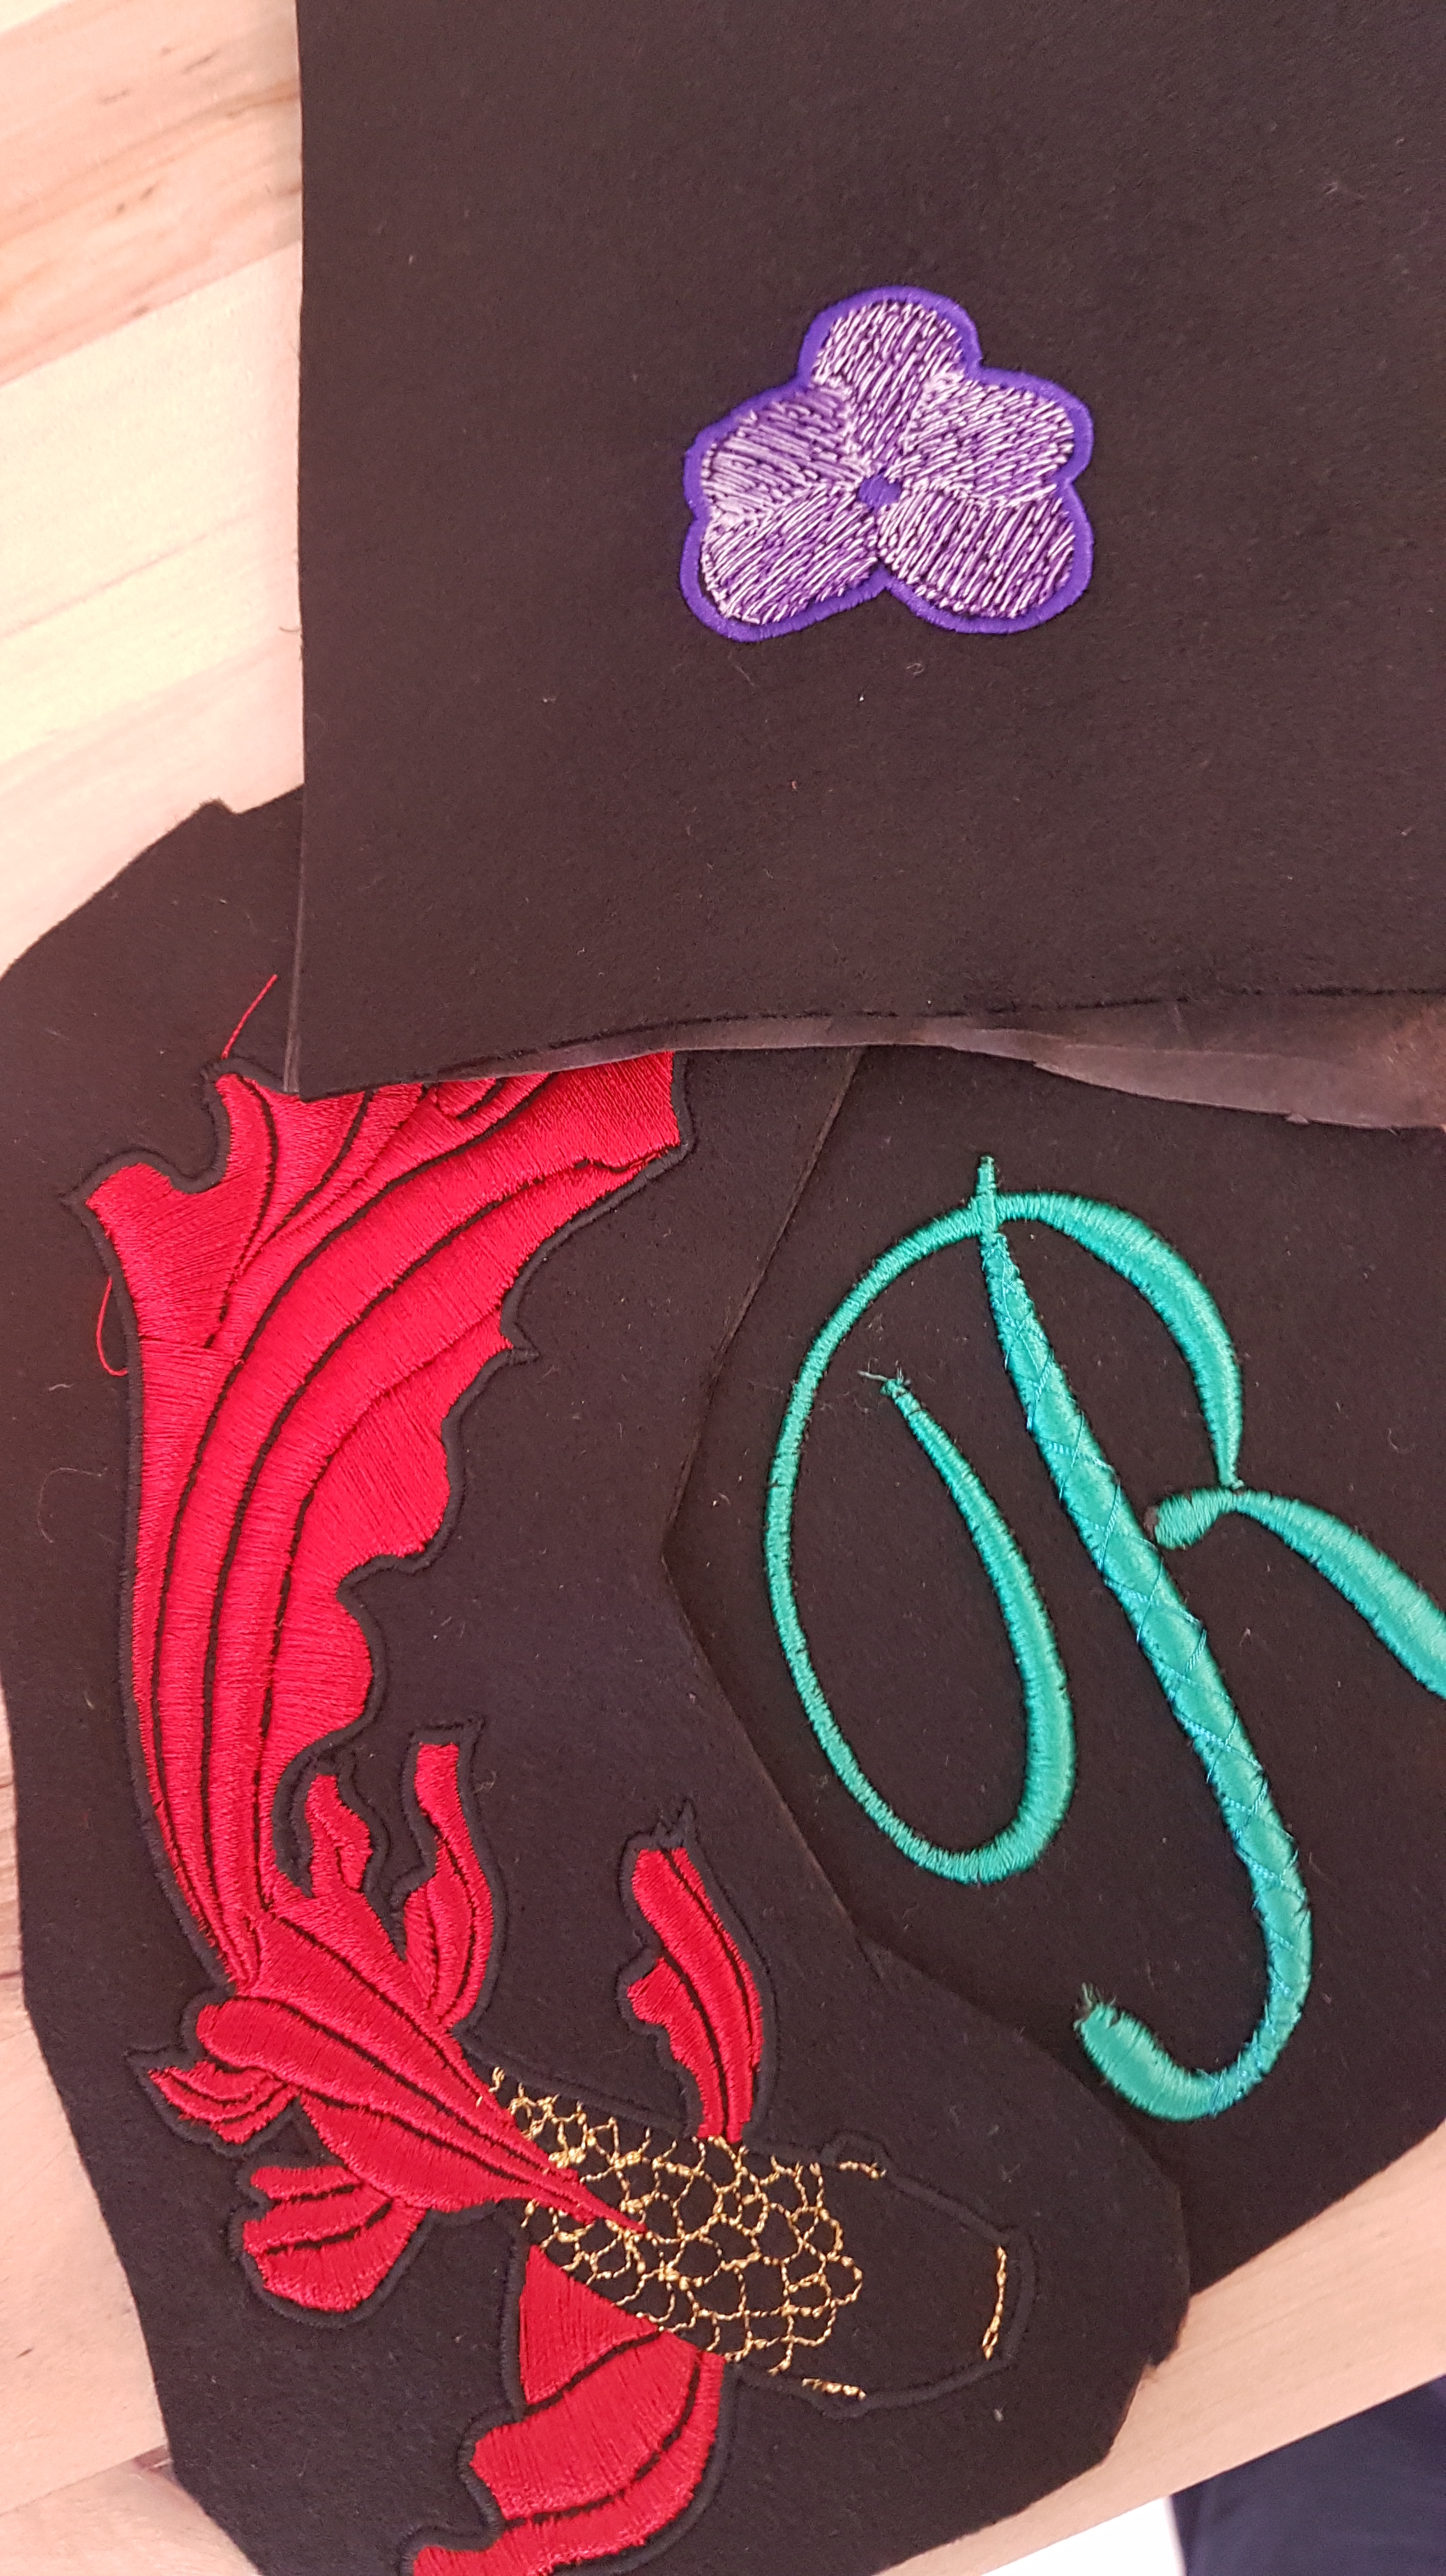
For Mr Fishy here, he’s just a combination of triple run stitch for the scales, satin outline and satin fills for the fins. He’s quite big but once I’d got into the clicking rhythm he worked up quite quickly. If I was to do it again I would take more care to work the scales in a more ‘balanced’ weight, even if it meant a few more thread jumps. Especially with the magic Complex Shape tool. It’s a real luxury having someone else thread the machine, sort out the fabric, which is a lovely heavy badge felt I need to find some of, and just take care of things!

I was quite shocked when the design ran. I’d been very relaxed about letting the satin stitch run to its ‘natural’ length and hadn’t stressed that much about any of the shapes and spacings or overlap areas but he really just came out looking fantastic in the Maderia threads. There are a few imperfections in the stitching and a few gaps I’d modify a little (and one area I won’t talk about in the tail where I changed digitising strategy half way through and needs redoing) but I was ever so pleasantly shocked with what came out. Hand embroidery and too much silk shading is excellent practice for having the eye for stitch angles but there’s really nothing major I’d change with this one.

Emboldened by the fancy tools, I decided to go for a very raised monogram but done on foam. You can see a few of the remnants on some of the photos but this design felt like a bit of a joke. I think it took me less than half hour to digitise it, the Tajima made light work of stitching it, and then the foam tore away with minor problems. How easy was that? The most work was increasing the stitch density to deal with the foam. I have just noticed from the photos that one of the ‘wraps’ is a triple stitch and the other a single but that is a cool effect that I like. Needs a bit of cleaning but that’s about it!

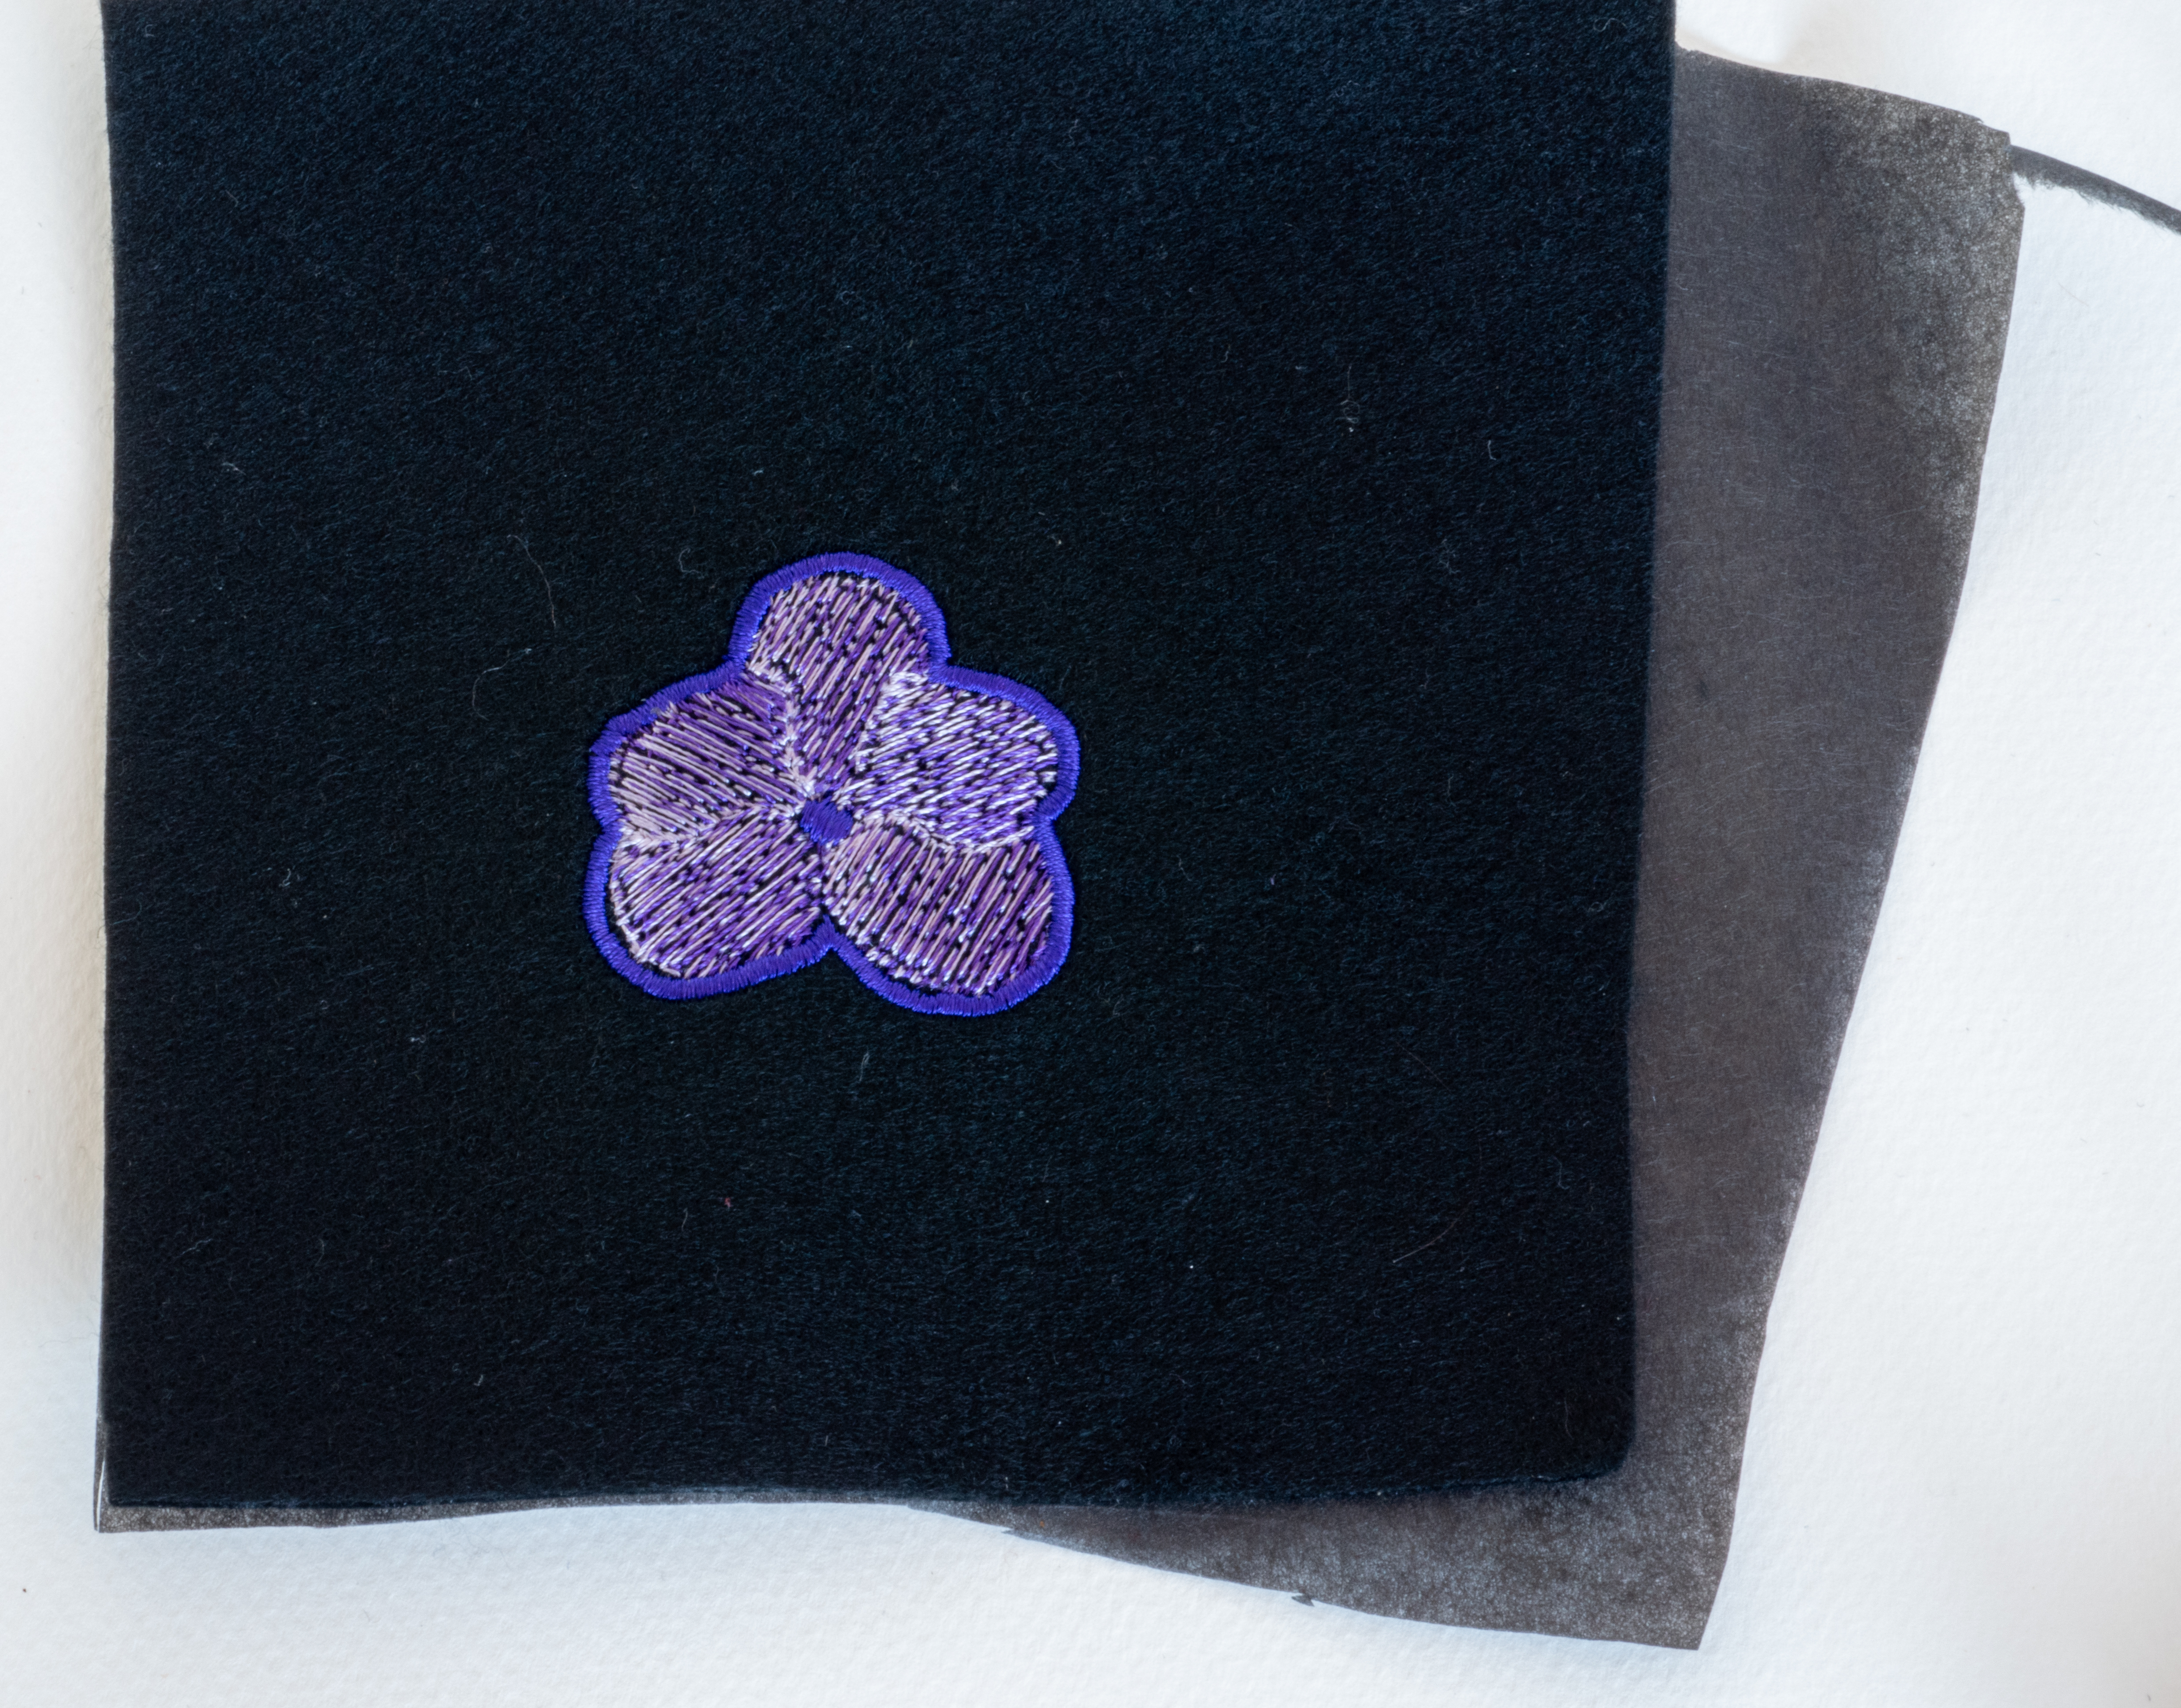
For the final design, I wanted to have a go at some of the colour blending you can do with tatami fills. There’s a bit of pull on the bottom of this one that I’d need to correct for and I’m not sure the effect is quite right for the object, but given this was a very quick, throw away test, I have to say I do really like it. I really like how, with minimal effort, the petal definition has remained subtle yet noticeable. Can’t decide if the stitch angle on the bottom right petal is good mistake or bad, I like the asymmetry but I am sure the RSN would kick me for being ‘incorrect!’
I have to thank Andrew for being incredibly patient for what probably felt more like an interrogation from me than teaching but I found the day just so incredibly helpful overall and just very, very fun. I really like his ‘sample and see’ approach and general aura of calm about the whole thing. I think I have been finding running machine designs ‘stressful’ in a way I don’t with hand embroidery. It has helped getting more confident with just dealing with whatever the Bernina vomits up which, to be fair, it does less and less as I make smarter stabiliser choices and get better at hooping.
I think it’s probably the greatest compliment to a class that, as soon as I got home, I did open up Hatch to see if it had some of the same tools that I’d been using during the day. I was somewhat bereft at first to find it doesn’t explicitly have either of the tools I’d been wanting, but I found a way to recreate one of them without much more effort and Hatch does have the colour blending options. Haven’t found a good way to recreate one of the column tools, but I think I’ll get there!
This class was just so, so nice. Lovely setting, lovely atmosphere, lovely people and I had so many lightbulb moments it was like Christmas. Now to go and digitise all the things…!

That sounds like such an interesting class! Your projects turned out really well – thank you for sharing 🙂
LikeLiked by 1 person
Thanks! I had far too much fun with mass machine embroidery production.
LikeLiked by 1 person
It does sound really interesting and fun!
LikeLiked by 1 person
You’re absolutely right that this was just the time to risk an unholy tangle by being more experimental, and from the sounds of it, you managed to take the utmost advantage of it!
LikeLiked by 1 person
Absolutely! I didn’t even actually manage to make a mess… Now we’ll have to see if we can repeat the experiment at home…
LikeLiked by 1 person
[…] had such a great experience with the badge felt at the class at London Embroidery Studio that I’ve been scouring the internet to try and find a supplier of something similar. This is […]
LikeLike
[…] thanks to the wonderful Andrew Kenny over at the London Embroidery studio as I think that course really helped me find my confidence for […]
LikeLike
[…] colours would look and what types of shading and effects I could create. I had seen while using the Wilcom Embroidery Studio that this had very sophisticated automated ways to create ombre effects with quite complex colour […]
LikeLike
[…] much better! However, the one course I did make though was the utterly excellent day at the London Embroidery Studio. I honestly cannot believe I only went to one in person course all year… I did also attend a few […]
LikeLike